 This post will cover how to setup a Transmission reverse proxy on any operating system (Windows, Linux, Mac OSX) so you can access transmission outside your home network. I recommend using a free DNS service like Afraid DNS (Guides: Windows, Mac, Linux) so you can type in http://yourname.crabdance.com/transmission to remotely manage your transmission torrents. This will make it more secure and leave fewer open ports on your server because you can access Sabnzbd, NZBGet, Sonarr, SickRage, SickBeard and CouchPotato behind the same reverse proxy. I use nginx as the web server because it is lightweight yet robust, I show you how to install nginx on all the operating systems and configure it to use with Transmission. You must port forward port 80 from your router to your server's local IP address for this to work outside your home network. I also assume you already have Transmission installed but I do show you how to enable the web interface.
Also, consider reading Comparing Usenet vs Torrents – Which is Better?
Configure Transmission Reverse Proxy Any OS with Nginx
Windows
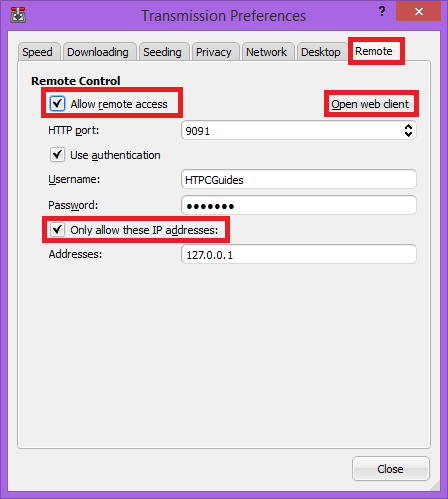
Open up Transmission and click Edit -> Preferences

Click the Remote tab and check Allow remote access.
If you want to be able to access Transmission remotely uncheck Only allow these IP addresses. Now click Open web client to open the web interface.
Mac OSX
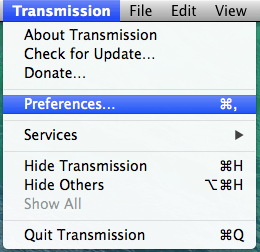
On Mac OSX, go to the Transmission menu and choose Preferences
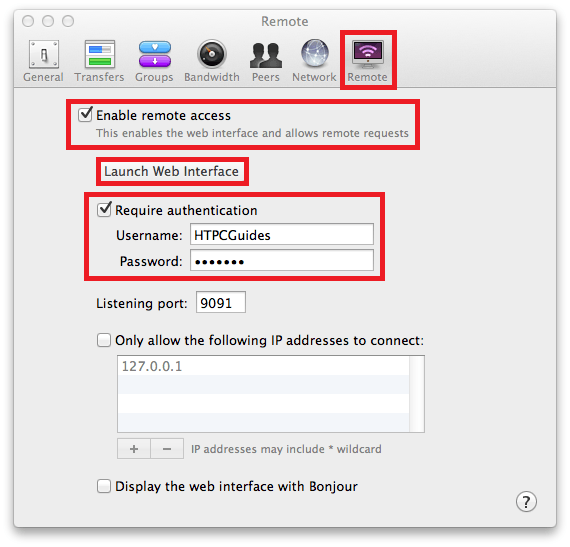
Click the Remote tab and check Enable remote access
Check Require authentication and enter a username and password.
Click Launch Web Interface to open up Transmission's Web UI.
Debian, Ubuntu and Raspbian Linux
On Linux you need to SSH in to your machine and stop the transmission service
sudo service transmission-daemon stopEdit the transmission settings
sudo nano /etc/transmission-daemon/settings.jsonChange the following values.
rpc-whitelist allows IP addresses to access the Web interface it has been set to all here. You can also change it to your local home network like 192.168.*.* if you want it to be more secure. However, if you want to be able to access transmission outside your local network then it should be *.*.*.* which represents all IPs.
"rpc-whitelist": "*.*.*.*",
May as well disable the whitelist if you are allowing all IPs
"rpc-whitelist-enabled": false,
Change the remote access username and password to your liking
"rpc-password": "password",
 "rpc-username": "username",
Ctrl+X, Y and Enter to save and exit
When you are done restart transmission
sudo service transmission-daemon restartIf you are on linux open your Transmission torrent web interface at http://ip.address:9091.
Install and Configure nginx Transmission Reverse Proxy
Windows
Install nginx by downloading their official stable zip file currently version 1.6.2
Open the zip and unpack it to c:\nginx-1.6.2 by dragging the folder to the C: drive
Open the configuration file in c:\nginx-1.6.2\conf\nginx.conf with Notepad or Notepad++
Find this section and change your server_name localhost to your dynamic dns address and your media server's local IP address
server {
        listen       80;
        server_name  localhost;

        #charset koi8-r;

        #access_log  logs/host.access.log  main;
Mine looks like this so I can access it locally and remotely. htpcguides.crabdance.com needs to be replaced with your own dynamic DNS address and 192.168.40.100 needs to be replaced with your home media server's local IP address.
server {
        listen       80;
        server_name  htpcguides.crabdance.com 192.168.40.100;

        #charset koi8-r;

        #access_log  logs/host.access.log  main;
Underneath the #access_log line, add these lines. 127.0.0.1 points to the loopback address on your media server
location /transmission {
		proxy_pass http://127.0.0.1:9091;
		proxy_set_header Host $host;
		proxy_set_header X-Real-IP $remote_addr;
		proxy_set_header X-Forwarded-For $proxy_add_x_forwarded_for;
	}
The whole section will now look like this
server {
        listen       80;
        server_name  htpcguides.crabdance.com 192.168.40.100;
location /transmission {
		proxy_pass http://127.0.0.1:9091;
		proxy_set_header Host $host;
		proxy_set_header X-Real-IP $remote_addr;
		proxy_set_header X-Forwarded-For $proxy_add_x_forwarded_for;
	}
Run a command prompt and enter these commands to start nginx, you can highlight each, right click and paste them in the command prompt window
c:
cd c:\nginx-1.6.2
start nginx
See if you can access Sonarr at your home media server's IP address http://ip.address/transmission
Let's make nginx autostart on boot for your Windows media server
Create nginx.vbs in c:\nginx-1.6.2 and paste this code and save it.
Dim sh
Set sh = WScript.CreateObject("WScript.Shell")
sh.run "cmd /K CD C:\nginx-1.6.2\ & start nginx", 0
Create a shortcut of the nginx.vbs file and drag it to your Windows Startup folder
Reboot and it should all be working
If you ever edit your nginx.conf file you can reload the configuration with this command in the Windows command prompt
cd c:\nginx-1.6.2
nginx -s reload
Enjoy your reverse proxy server for Transmission that you can access at http://dynamic.dns.address/transmission or http://local.ip/transmission.
Mac OSX
Open Terminal and Install X-Code
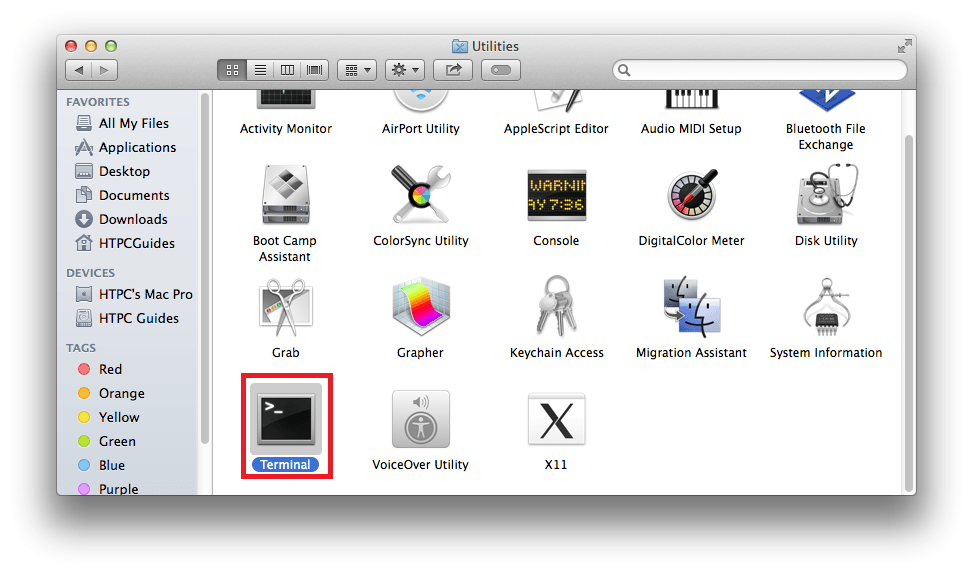
Open up terminal which you can find Terminal in Applications -> Utilities

Now Scroll down to Terminal and open it
The Mac Terminal is nice and white.

Nginx requires command line tools on the Mac in order to install nginx using homebrew.
Install x-code tools with this command.
xcode-select --install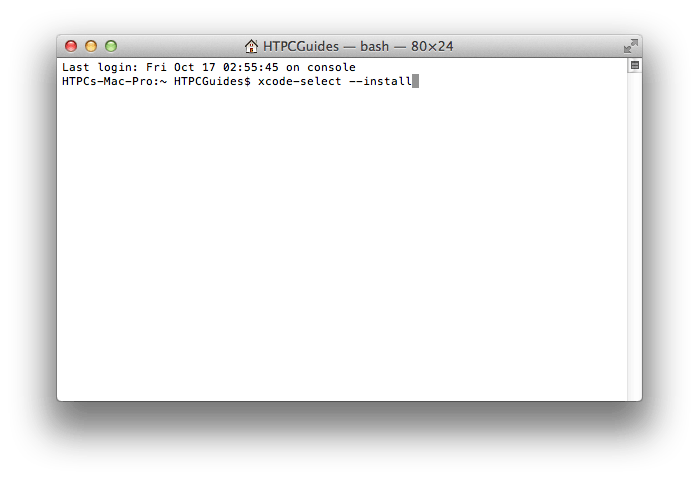
You will get a pop up asking to install command line tools. Click Install.
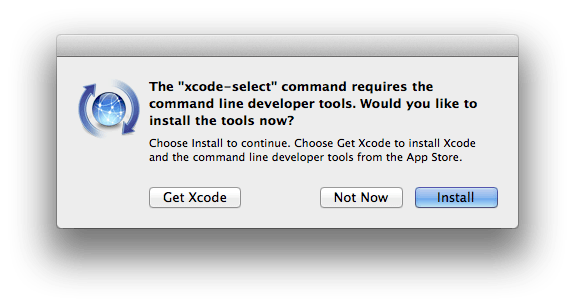
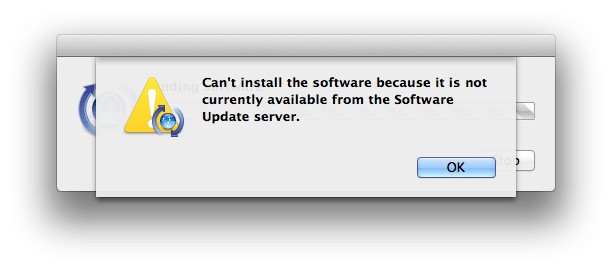
If it says it couldn't be found then you already have command line tools installed
Install nginx using Homebrew on Mac OSX
Instructions adapted from Kevin Worthington's site
In the terminal (which is not that scary) all you have to do is copy and paste these commands.
Install HomeBrew for Mac which faciliates the installation of other software
ruby -e "$(curl -fsSL https://raw.githubusercontent.com/Homebrew/install/master/install)"Install nginx using Homebrew
brew install nginxEnable nginx to autostart on boot by copying the nginx plist file to the LaunchDaemons directory so it runs as root, if you don't nginx wont run on port 80
sudo cp /usr/local/opt/nginx/*.plist /Library/LaunchDaemons/homebrew.mxcl.nginx.plistReboot your system
Open up a browser and navigate to http://ip.address and you should see the default nginx page which looks like this
Time to create the Transmission reverse proxy on Mac OSX
Open the nginx configuration file
sudo nano /usr/local/nginx/conf/nginx.confFind this section and change your listen pot to 80, server_name localhost to your dynamic DNS address and your media server's local IP address
server {
        listen       80;
        server_name  localhost;

        #charset koi8-r;

        #access_log  logs/host.access.log  main;
Mine looks like this so I can access it locally and remotely. htpcguides.crabdance.com needs to be replaced with your own dynamic DNS address and 192.168.40.100 needs to be replaced with your home media server's local IP address.
server {
        listen       80;
        server_name  htpcguides.crabdance.com, 192.168.40.100;

        #charset koi8-r;

        #access_log  logs/host.access.log  main;
Underneath the #access_log line, add these lines. 127.0.0.1 points to the loopback address on your media server
location /transmission {
		proxy_pass http://127.0.0.1:9091;
		proxy_set_header Host $host;
		proxy_set_header X-Real-IP $remote_addr;
		proxy_set_header X-Forwarded-For $proxy_add_x_forwarded_for;
	}
The whole section will now look like this
server {
        listen       80;
        server_name  htpcguides.crabdance.com, 192.168.40.100;
location /transmission {
		proxy_pass http://127.0.0.1:9091;
		proxy_set_header Host $host;
		proxy_set_header X-Real-IP $remote_addr;
		proxy_set_header X-Forwarded-For $proxy_add_x_forwarded_for;
	}
Autostart nginx on boot using this plist upstart script thanks to Hunter
sudo nano /Library/LaunchDaemons/nginx.plistPaste the working nginx plist code from here shown below for your convenience
    Labelnginx
    Program/usr/local/nginx/sbin/nginx
    KeepAlive
    NetworkState
    StandardErrorPath/var/log/system.log
    LaunchOnlyOnce
Restart and attempt to open http://ip.address or http://localhost if you just installed nginx on the same machine you are using Safari or some other browser
You can also try http://ip.address/transmission and you should see the Transmission interface
You may delete the /Applications/nginx folder
In terminal this command will do it or you can use the GUI.
sudo rm -R /Applications/nginxRaspbian, Ubuntu and Debian Linux
Install nginx
sudo apt-get install nginx -yCreate a new nginx site
sudo nano /etc/nginx/sites-available/reverseAdd these lines, adjust your dynamic dns address (mine is htpcguides.crabdance.com) and local IP address (mine is 192.168.40.100. If you changed your default Transmission port change 127.0.0.1:9091 to reflect your port. Note that the red curly bracket closes the server block so if you add more reverse proxies you will have to do so before the second curly bracket.
server {
listen 80;
server_name htpcguides.crabdance.com, 192.168.40.100;

location /transmission {
    proxy_pass http://127.0.0.1:9091;
    proxy_set_header Host $host;
    proxy_set_header X-Real-IP $remote_addr;
    proxy_set_header X-Forwarded-For $proxy_add_x_forwarded_for;
  }
}
Ctrl+X, Y and enter to save and exit
Disable the default nginx site
sudo unlink /etc/nginx/sites-enabled/defaultEnable the reverse proxy site with Transmission enabled
sudo ln -s /etc/nginx/sites-available/reverse /etc/nginx/sites-enabled/reverseRestart the nginx service
sudo service nginx restartRestart the transmission-daemon
sudo service transmission-daemon restartYou can now access Transmission locally within your home network at http://ip.address/sickrage.
If you have a dynamic DNS addresss you can access Transmission outside your home network at http://yourdns.address/transmission
To access it outside the home network you will need to forward port 80 in your router to the machine hosting nginx.