![]() NTV is an excellent streaming experience when used with Kodi (previously XBMC), a free media center for all operating systems. Kodi, previously XBMC, has a plug in system which allows you to install virtually any add on for use with IPTV. The friendly developers at Xunity have created a Kodi plugin for the NTV IPTV service. I have shown screenshots of the plugin in my NTV Review and now I show you how to install it using the repository in less than 5 minutes.
NTV is an excellent streaming experience when used with Kodi (previously XBMC), a free media center for all operating systems. Kodi, previously XBMC, has a plug in system which allows you to install virtually any add on for use with IPTV. The friendly developers at Xunity have created a Kodi plugin for the NTV IPTV service. I have shown screenshots of the plugin in my NTV Review and now I show you how to install it using the repository in less than 5 minutes.
This guide assumes you are running Kodi 17 or later with the default Estuary theme.
Install NTV Kodi Plugin from Repository Screenshot Guide
First go download the Updated Working NTV Repository.zip that is no longer hosted on Xfinity Repository and put it somewhere on your PC or Android box.
Open up Kodi and choose settings from the top

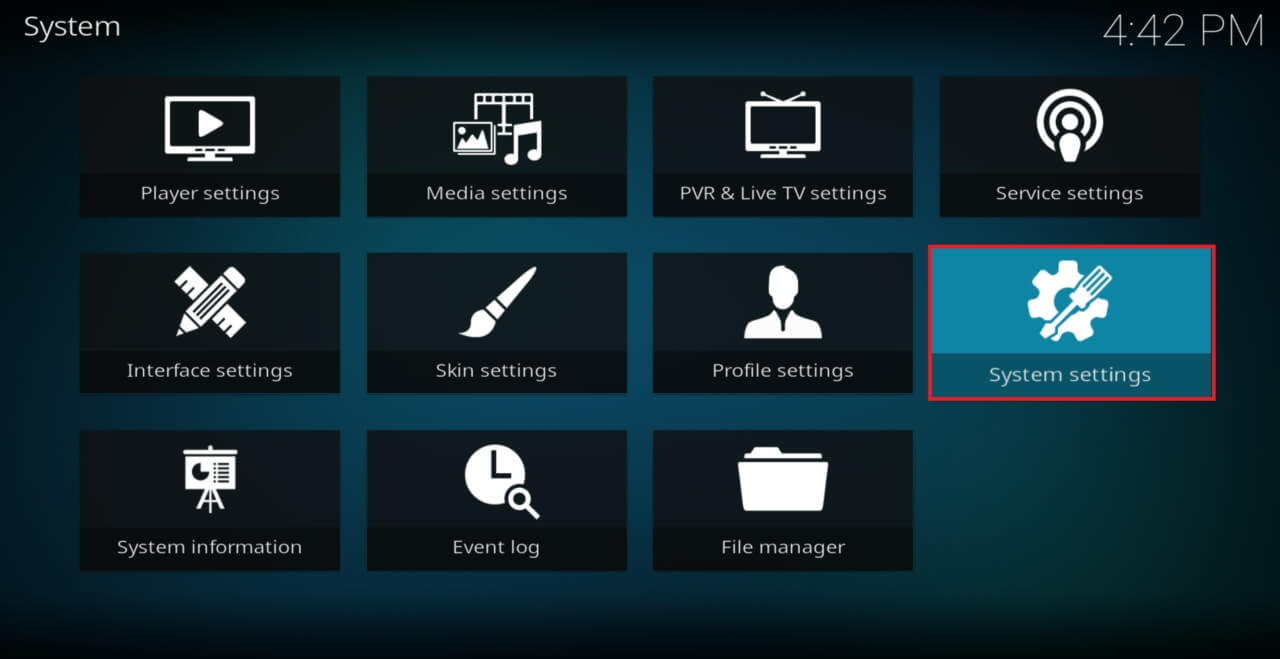
Then choose System settings
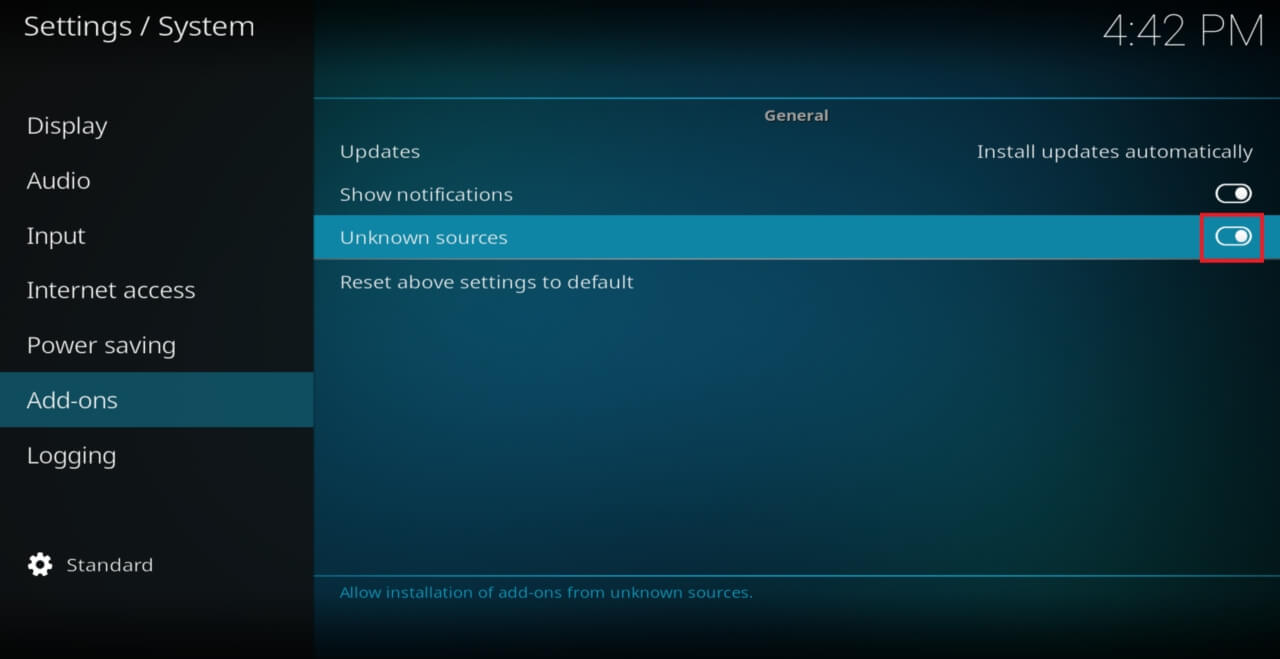
Scroll down to Add-ons and then select Unknown sources which is off by default.
Press Enter or left-click to allow Unknown sources for your Kodi installation.

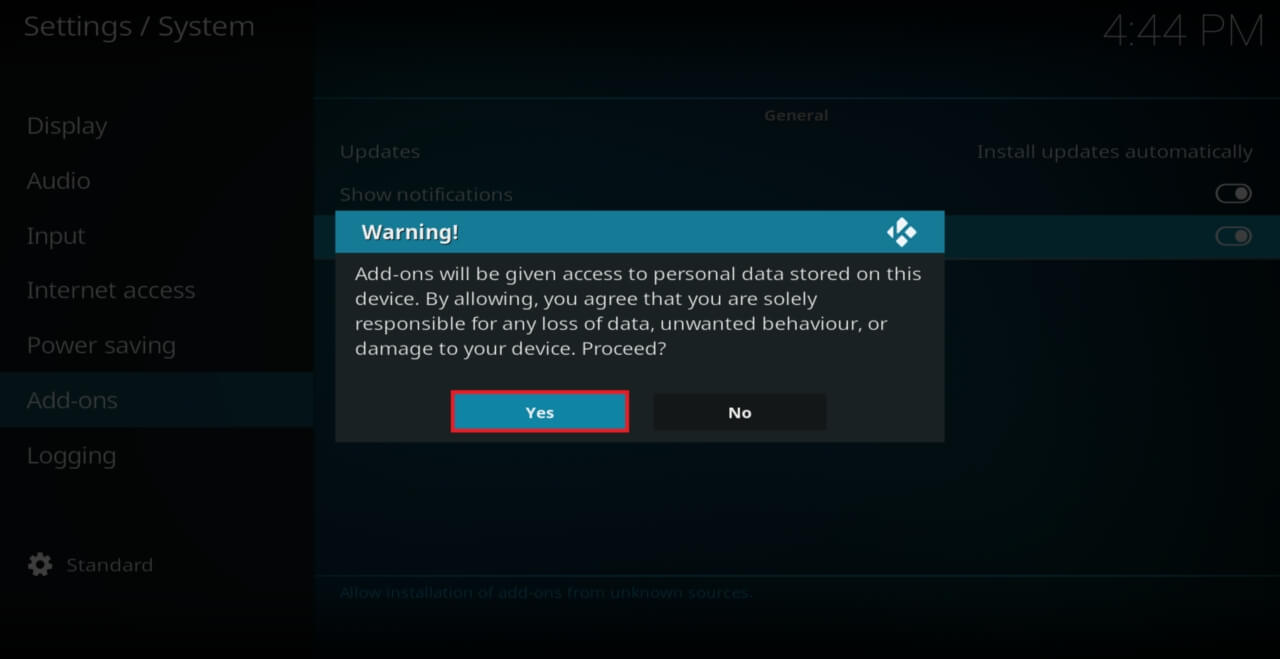
You will receive a warning to which you must say Yes I understand the risks.
Now Unknown sources are allowed for repositories and add-ons for Kodi as you can see from the white toggle button.
Right click or press Esc or Back to get to the main menu again and choose Settings.

Scroll down to Add-ons.
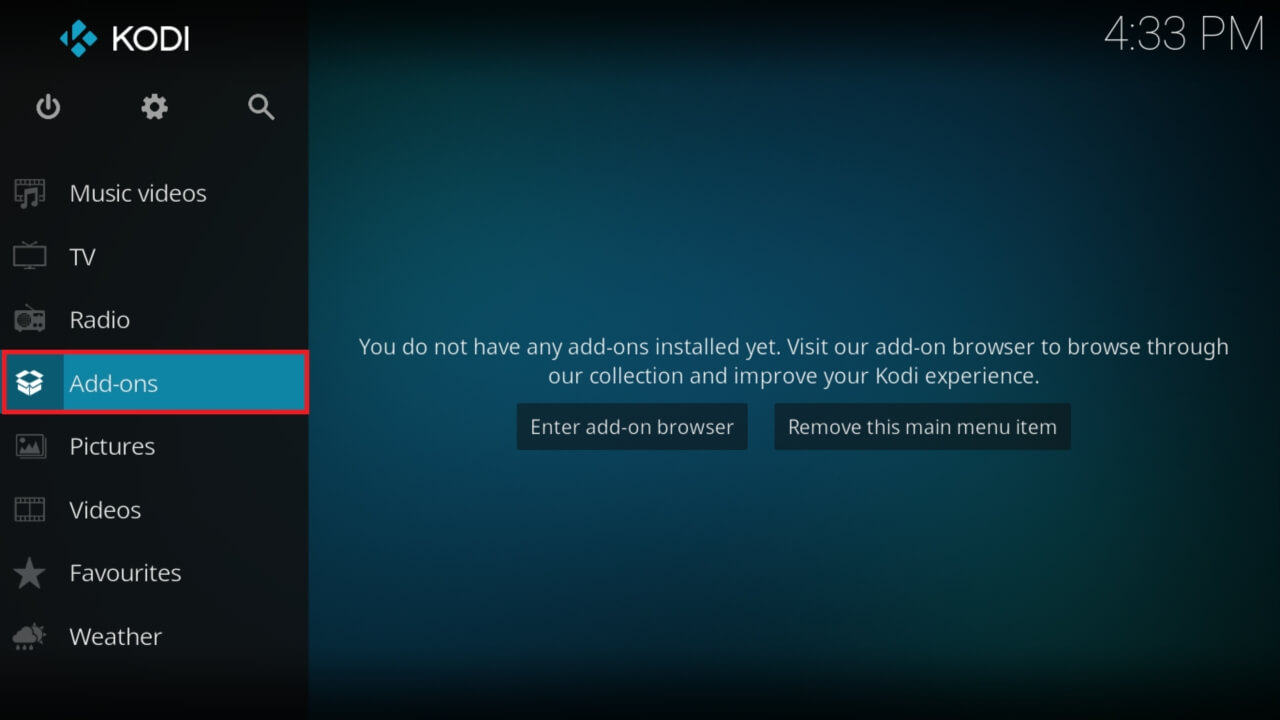
Choose the install icon at the top that looks like the Dropbox icon.
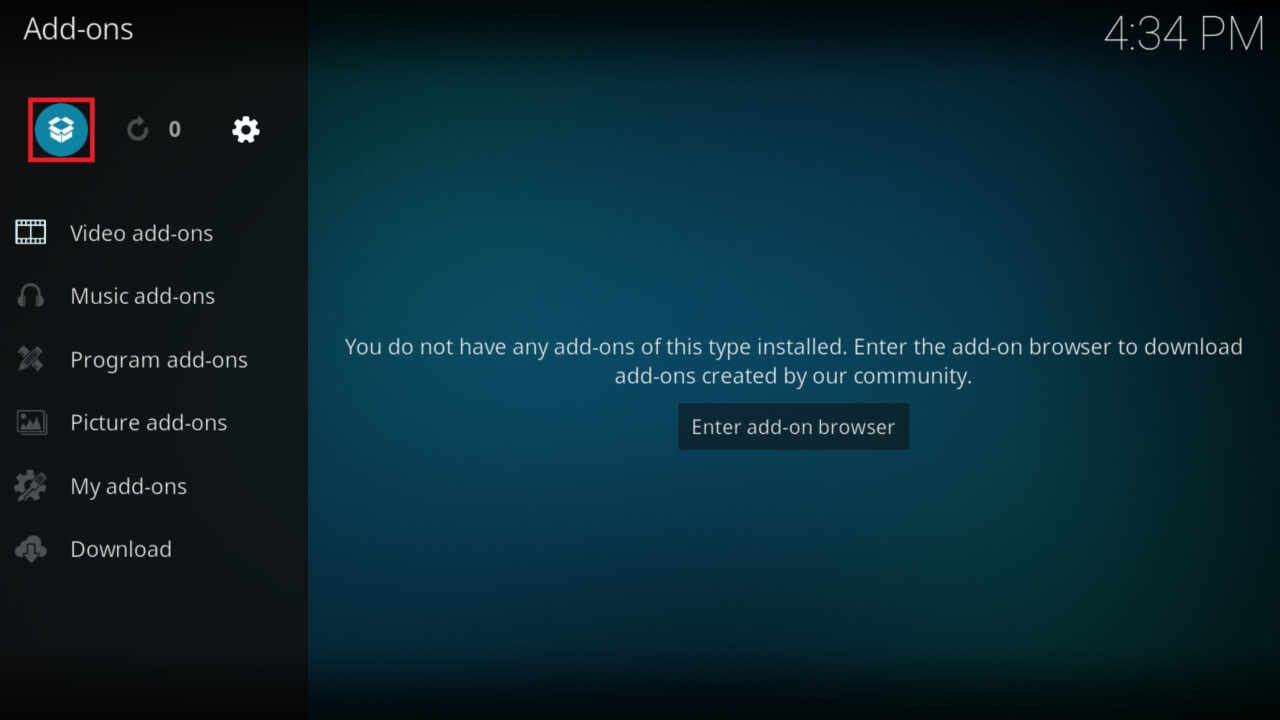
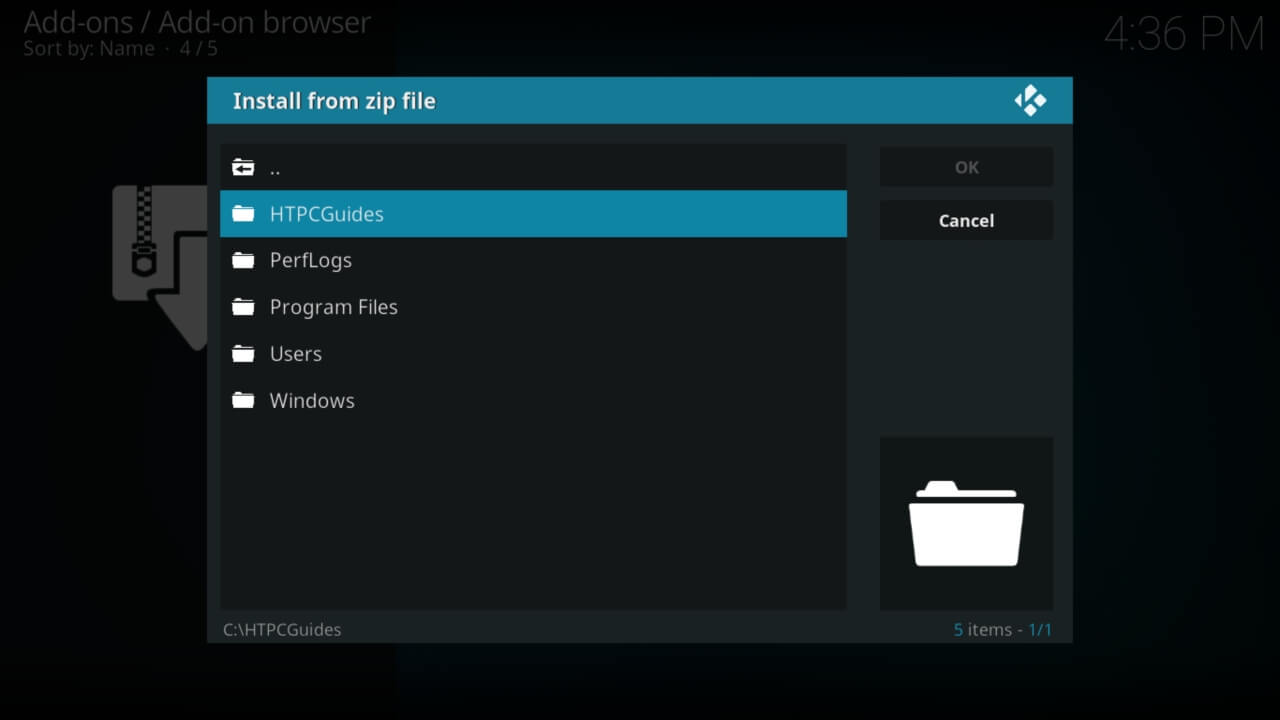
Select Install from zip file.
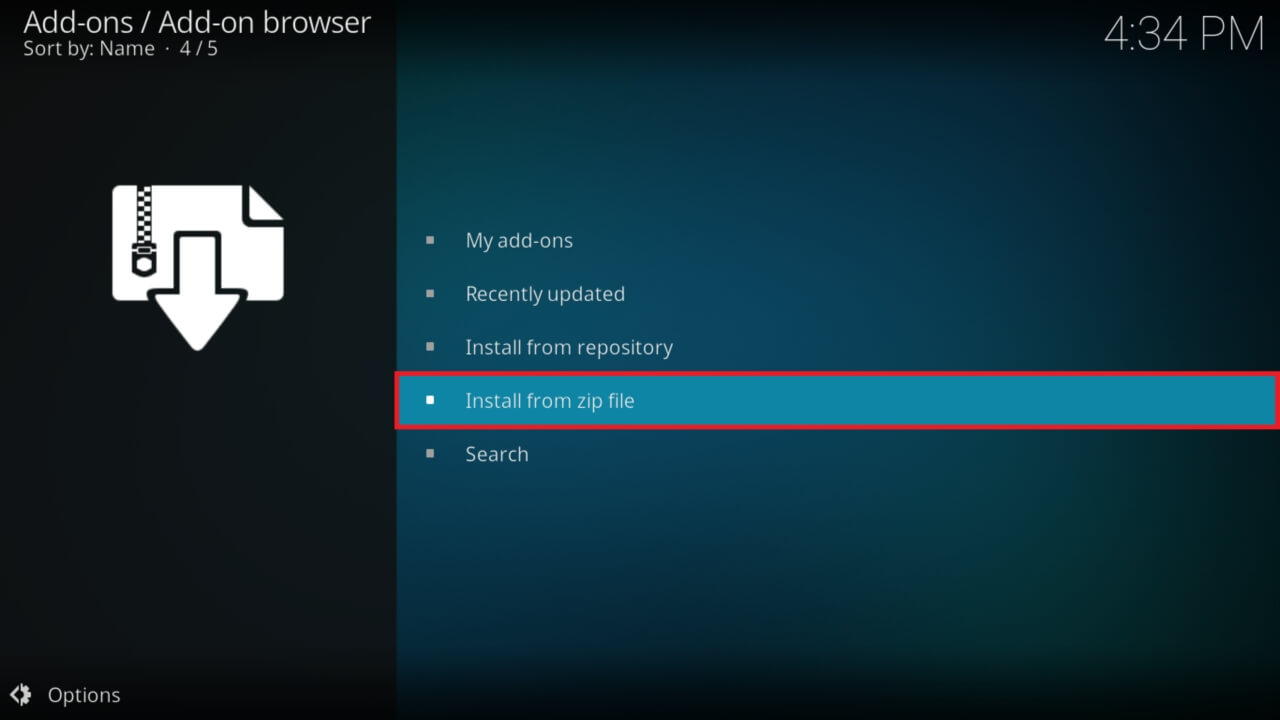
Browse to where you saved the XunityTalk_Repository.zip file
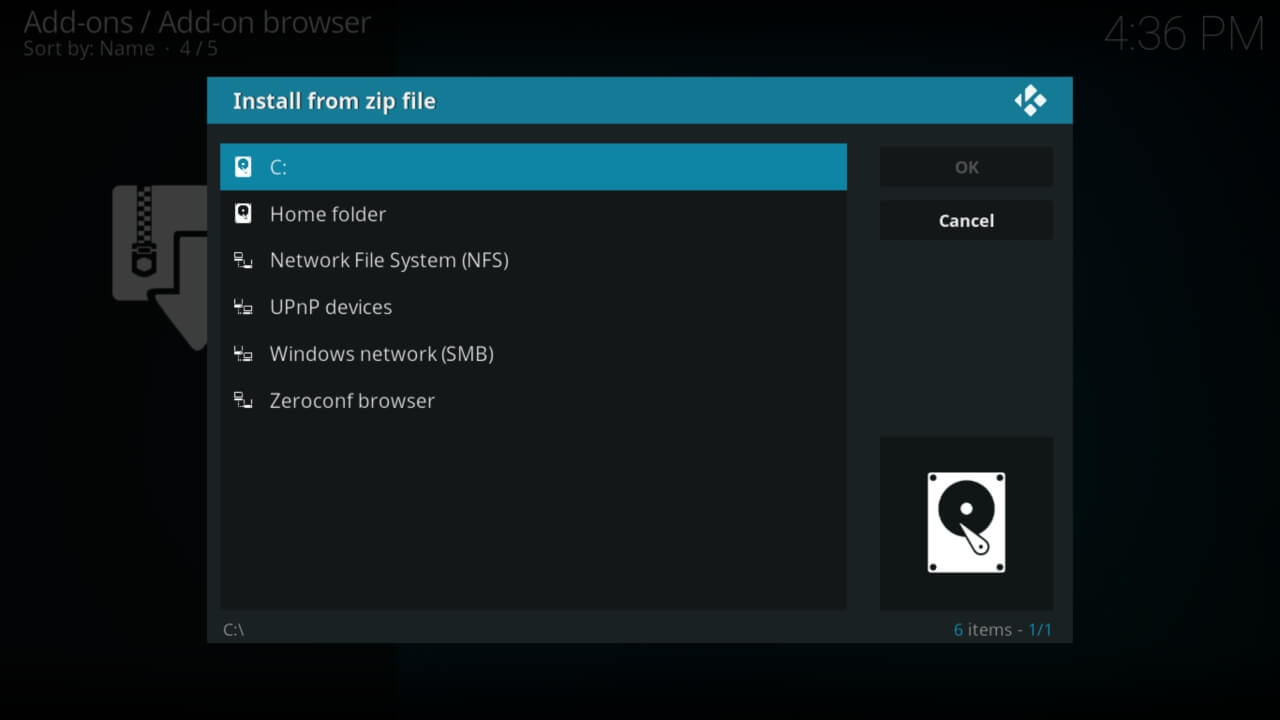
Browse to where you saved the XunityTalk_Repository.zip file
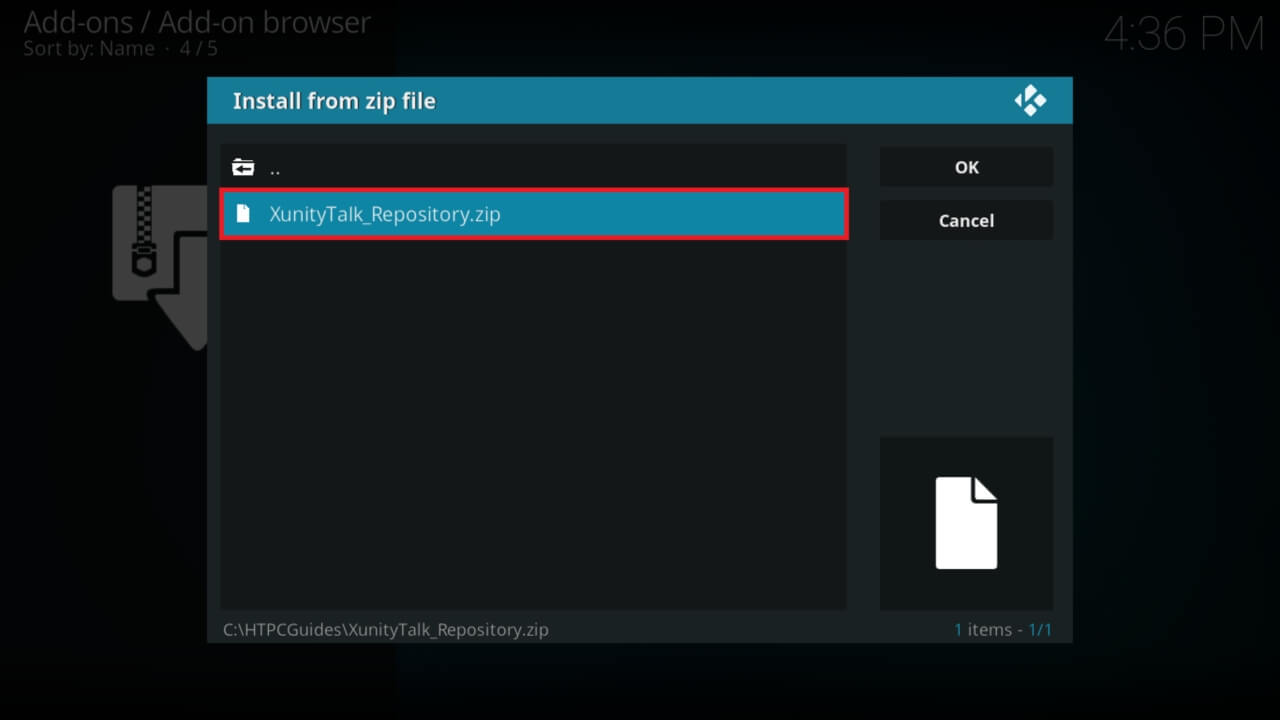
Select the XunityTalk_Repository.zip file.
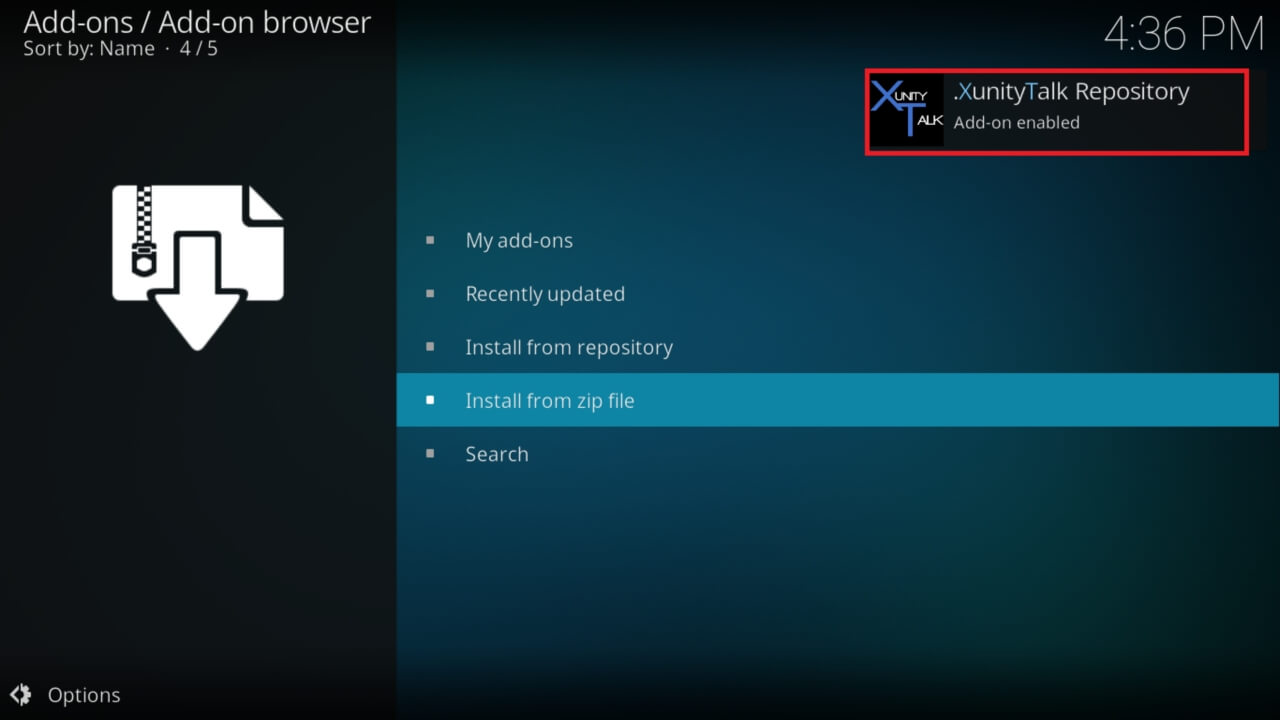
You will get a notification that the XunityTalk Repository has been installed.
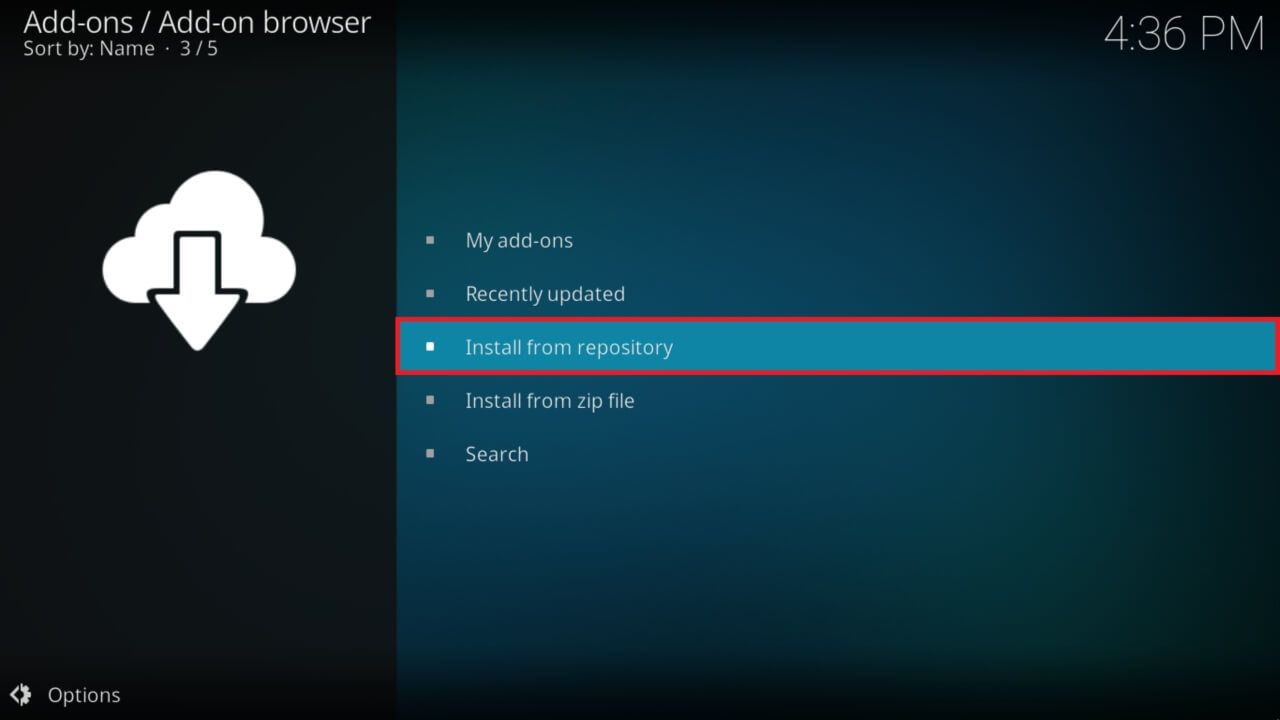
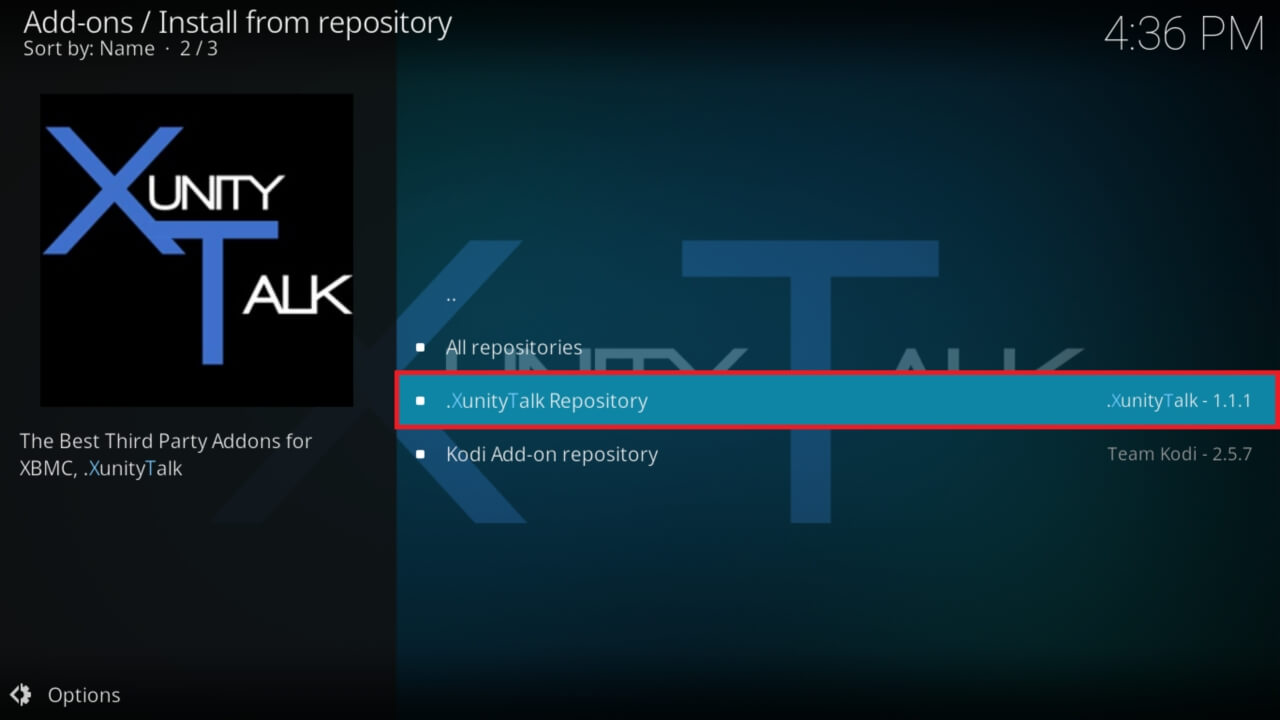
Now select Install from repository.
Choose XunityTalk Repository
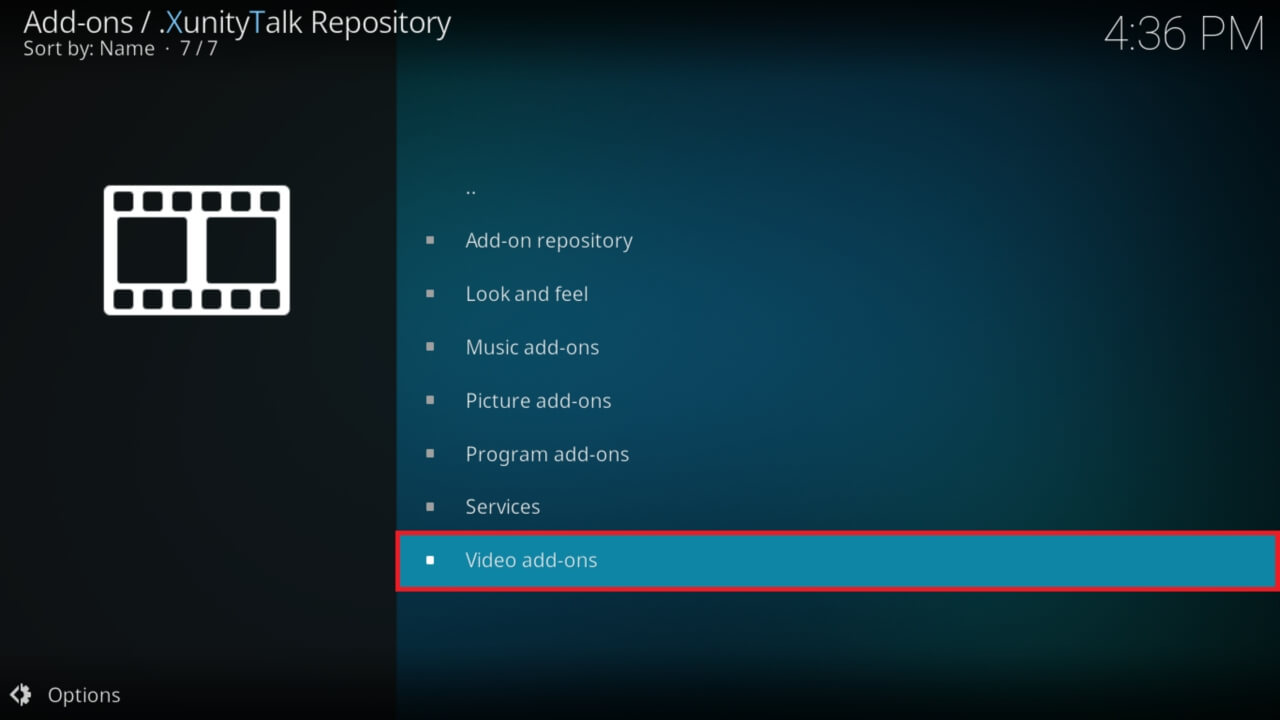
Scroll down to Video add-ons.
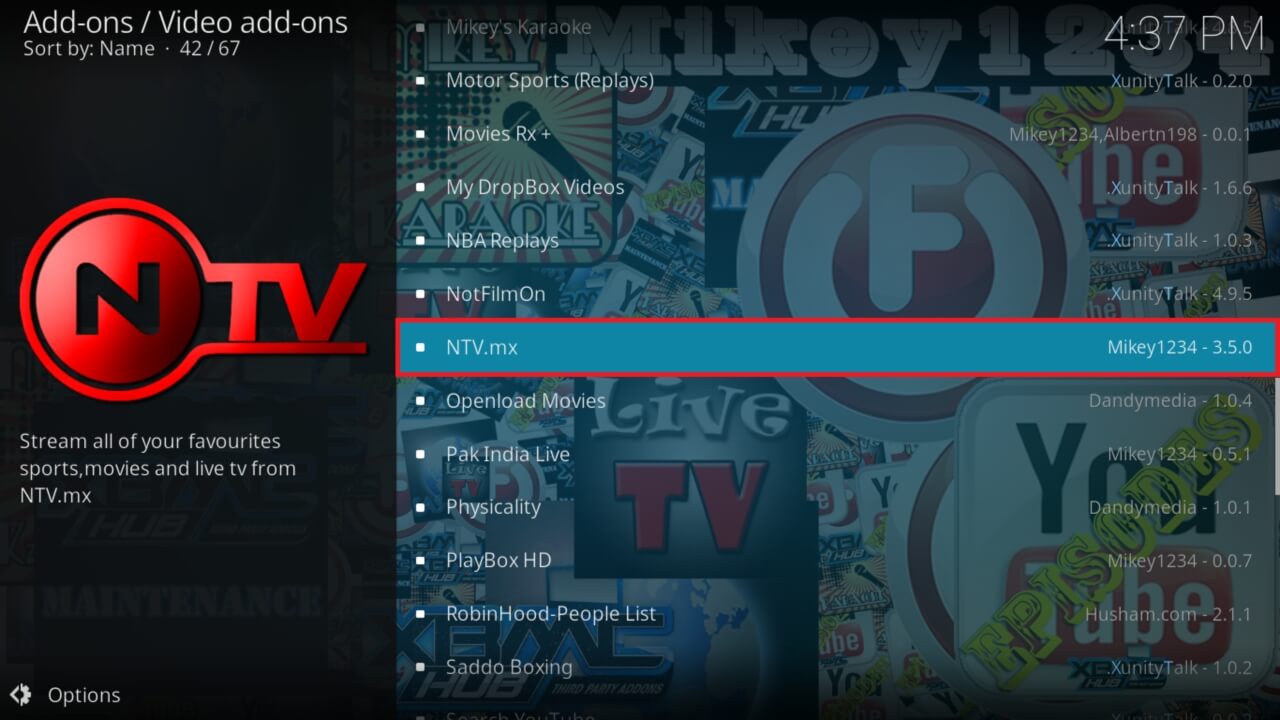
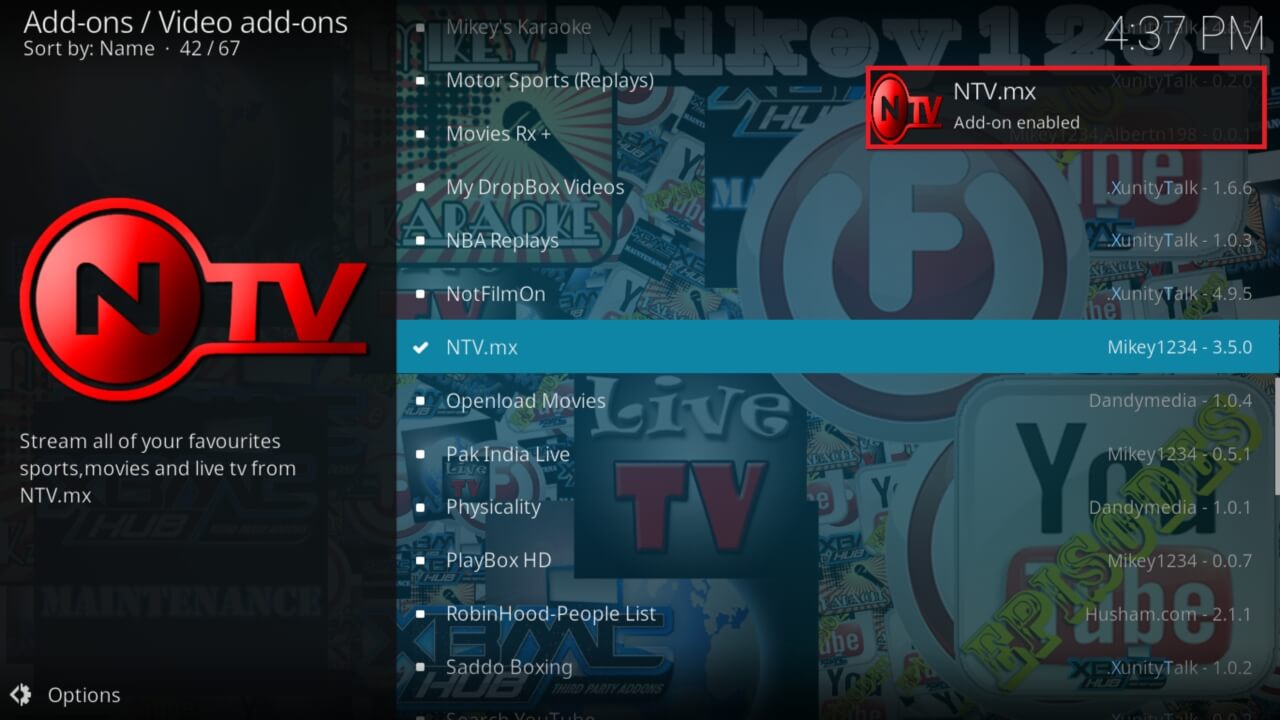
Find NTV.mx in the list and press Enter or left-click.
Select the Install Icon in the bottom right.
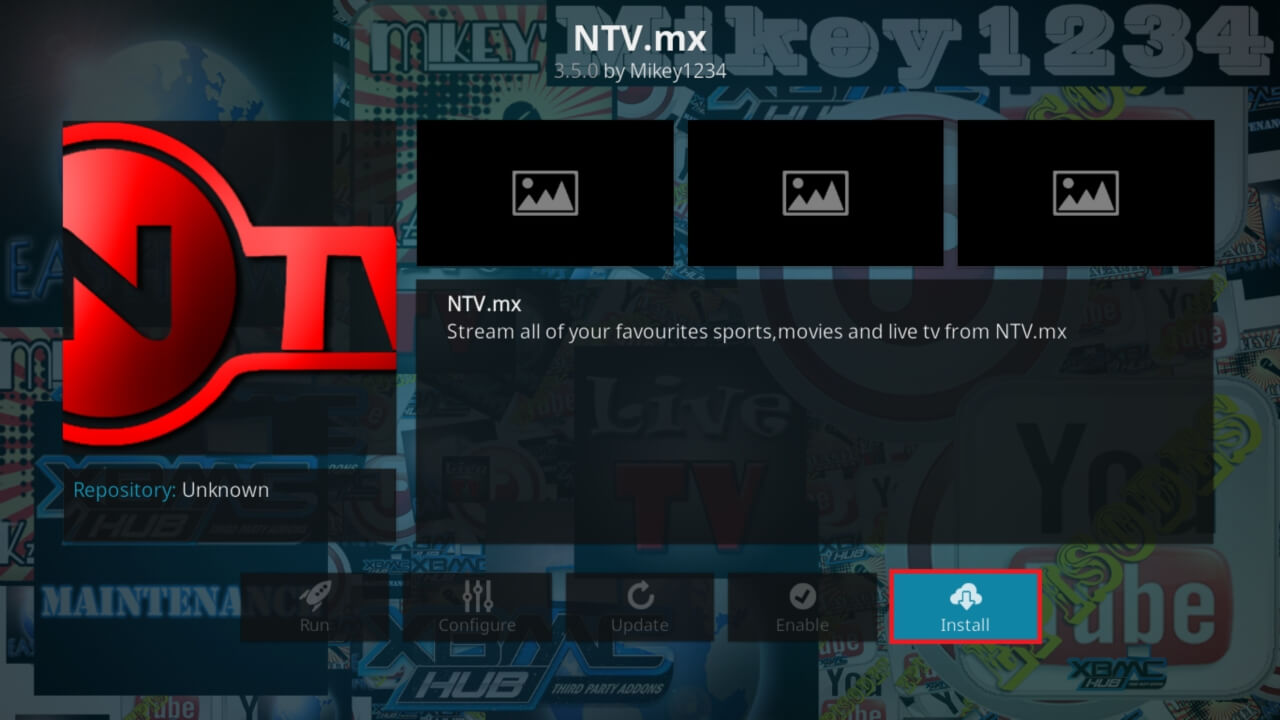
You will see a notification that NTV.mx Kodi add-on has been installed.
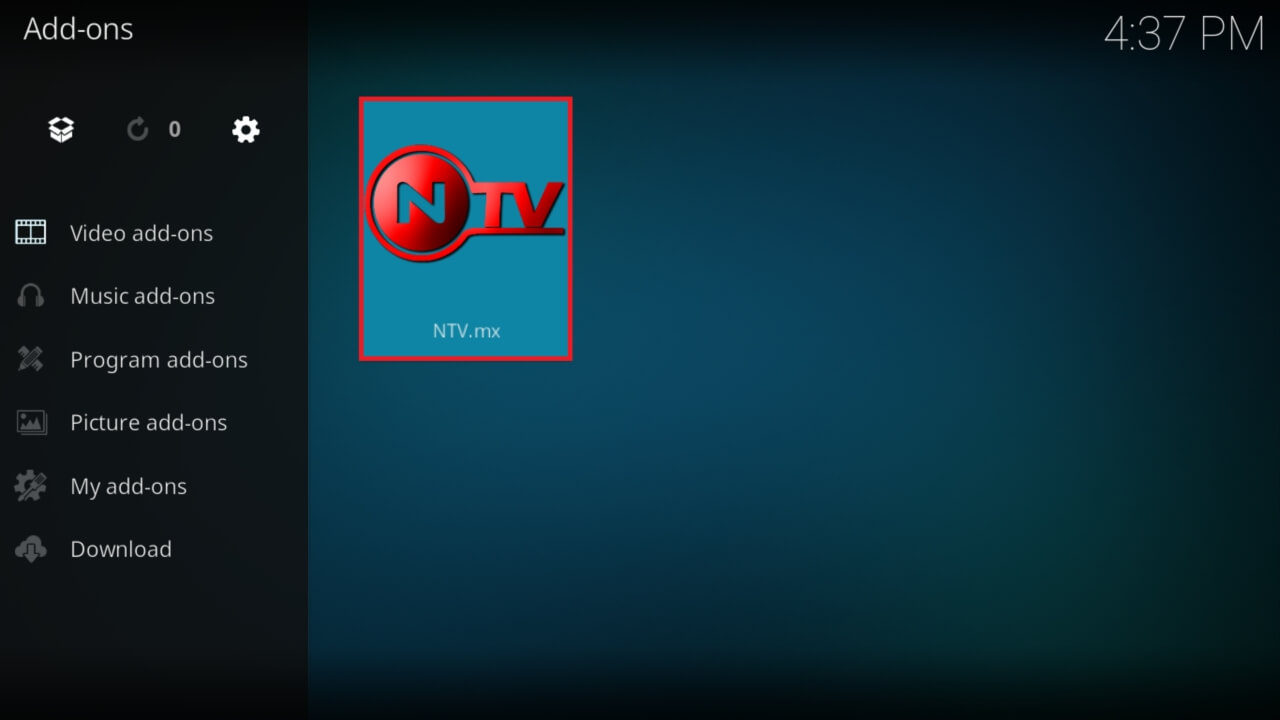
Now your Add-ons menu will show the NTV plugin and you can start streaming your channels.