![]() The SportsAccess service was promising but ultimately the site owner got overwhelmed with popularity. Lots of users started complaining about buffering issues and not getting refunds when they were dissatisfied with the service. The owner Carleton is regularly attacked by his numerous enemies because of his bad business practices (for example he refused to pay his affiliates because he's greedy). These attacks explain the SporstAccess site regularly being down and having buffering issues due to insufficient bandwidth.
The SportsAccess service was promising but ultimately the site owner got overwhelmed with popularity. Lots of users started complaining about buffering issues and not getting refunds when they were dissatisfied with the service. The owner Carleton is regularly attacked by his numerous enemies because of his bad business practices (for example he refused to pay his affiliates because he's greedy). These attacks explain the SporstAccess site regularly being down and having buffering issues due to insufficient bandwidth.
Nobody will recommend SportsAccess anymore and since they only take bitcoins, your order is likely to be mysteriously ‘lost' without the possibility of a refund. So find SportsAccess alternatives that have a good reputation with an honest site owner. Unfortunately the answer to is SportsAccess a scam? is yes.
SportsAccess is a scam see NTV for an alternative
Because the SportsAccess service cannot be trusted there is no reason to trust the Kodi plug in either which could have insecure, vulnerable and exploitable code that allows remote control of your HTPC device. This is how to install the NTV plugin.
Install NTV Kodi XBMC Plugin
Make sure you create a free NTV account before attempting this guide
Download the NTV plugin zip file (updated link new versions here) or use Krogsbell's if you want recording and place it in a location you are able to find within Kodi XBMC. If you plan to integrate NTV with FTV or TV Guide you will need the NTV plugin and not the Krogsbell version. You can however run NTV Plugin and Krogsbell's side by side. Mac users should use Google Chrome to avoid Safari automatically unpacking the zip file.
Tip if you are on and Android box – use FTP with this guide.
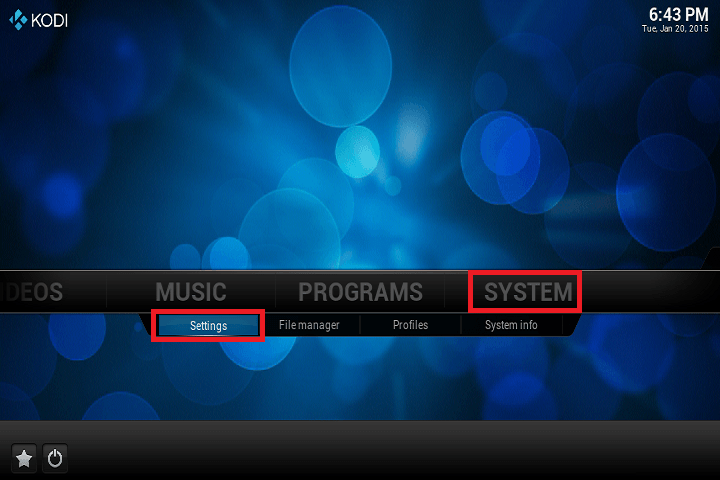
Load Kodi XBMC and go to System and choose Settings
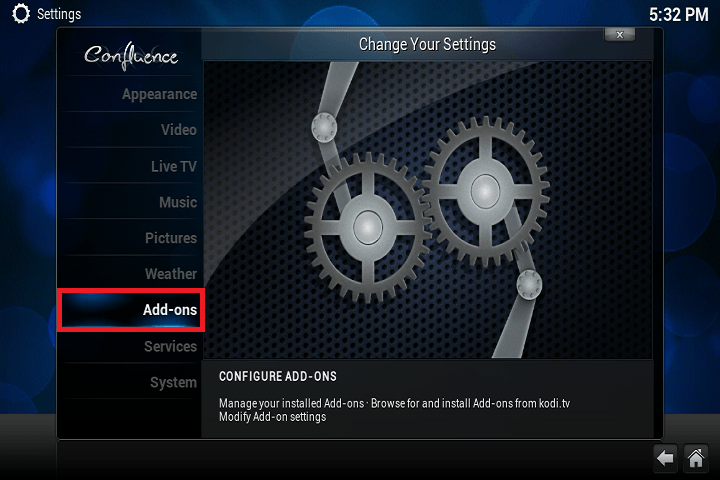
From here choose Add ons
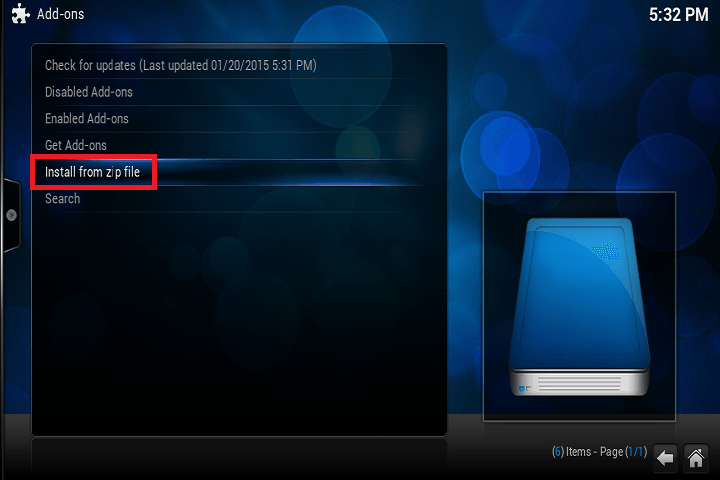
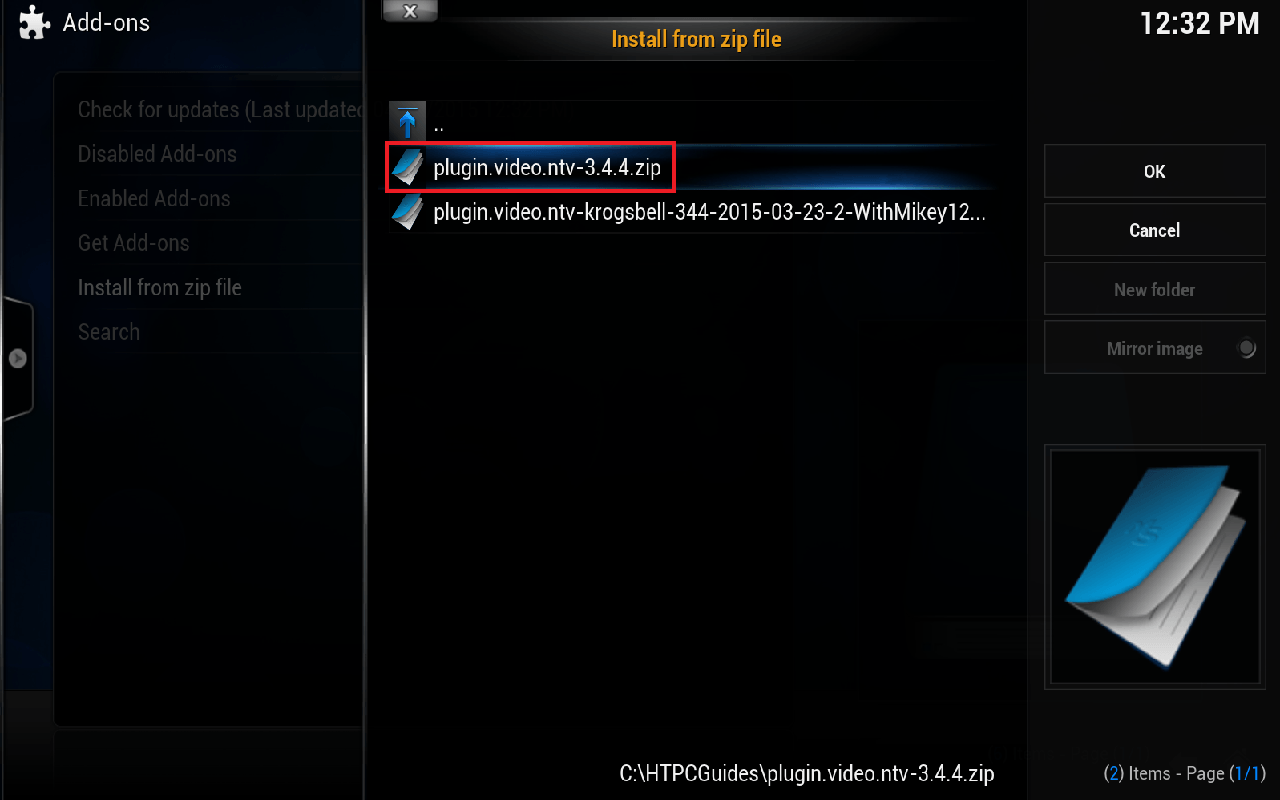
Choose Install from zip file
Now browse to the location and choose plugin.video.ntv-3.4.4.zip (or choose the krogsbell one for recording) and click or press Enter
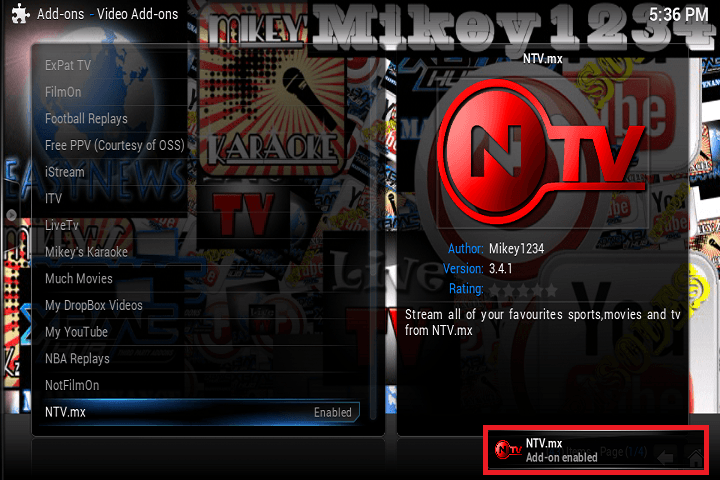
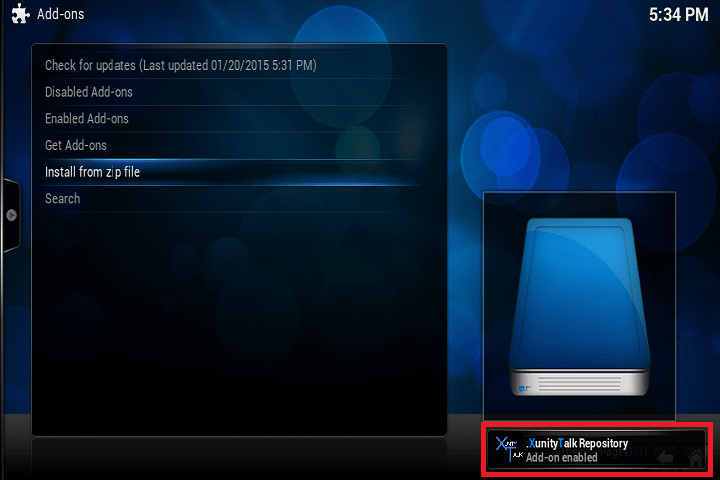
You will see a notification in the bottom right showing the Repository has been enabled
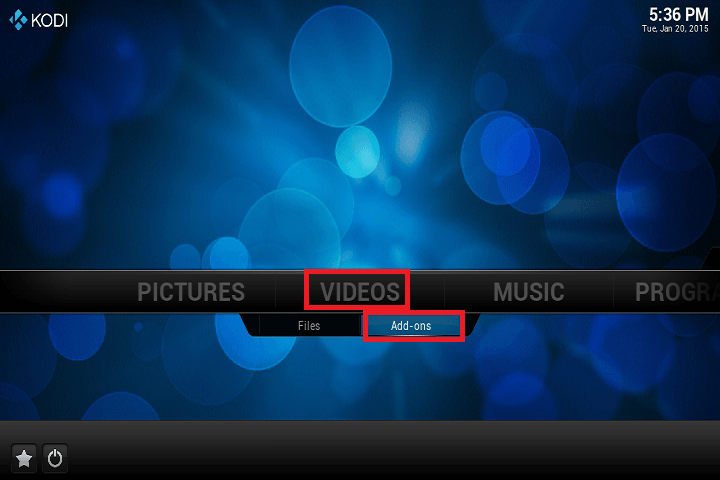
Now click the Home icon in the bottom right corner, then under Videos choose Add-ons
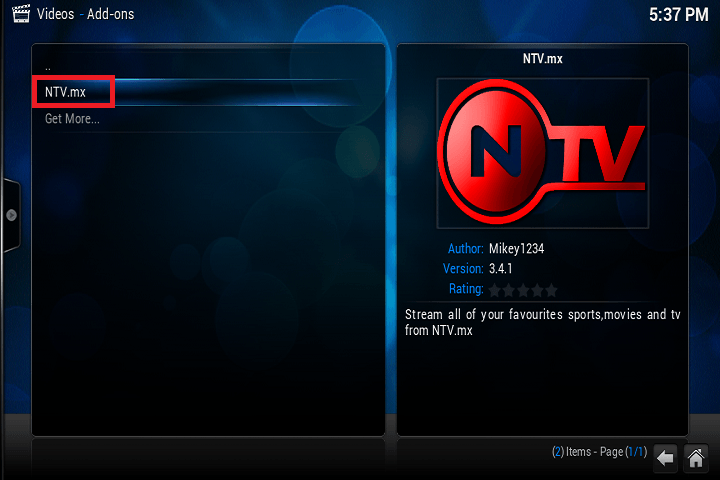
Choose NTV.mx to enter the plugin, you will be prompted for your username and password you created and you can start browsing the channels from your NTV subscription.
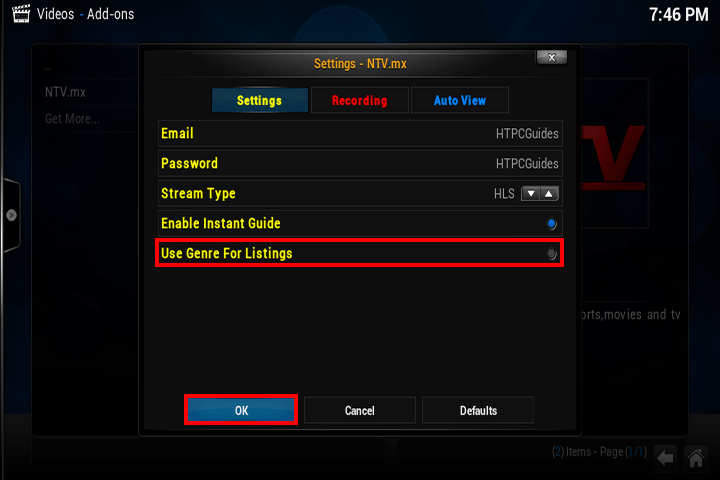
If you do not want the genres to display e.g. Entertainment, Lifestyle etc, right click on the NTV.mx add on and choose Add-on settings
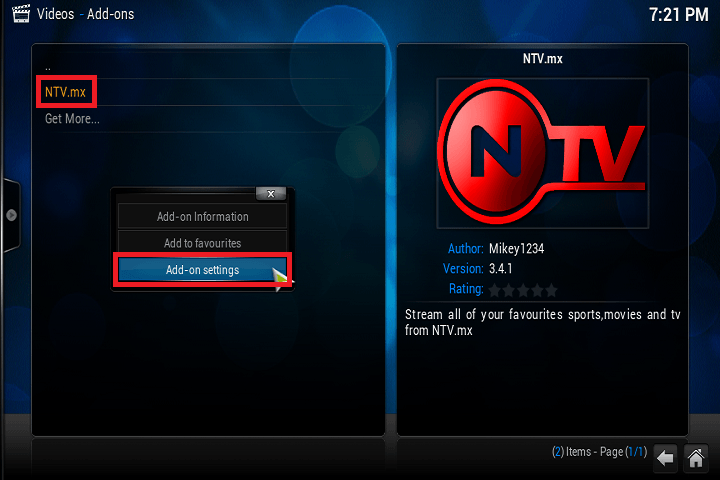
Unmark Use Genre for Listings and click OK
Enjoy the NTV plugin. You can integrate it with the FTV Guide plugin using this guide to get a better EPG visual overview. I will also be creating guides to make NTV integrate with the Scandinavian TV Guide plugin so stay updated by following or subscribing.
The rest of this guide is for the old repository that is currently down and are here for reference only if the repo comes back up.
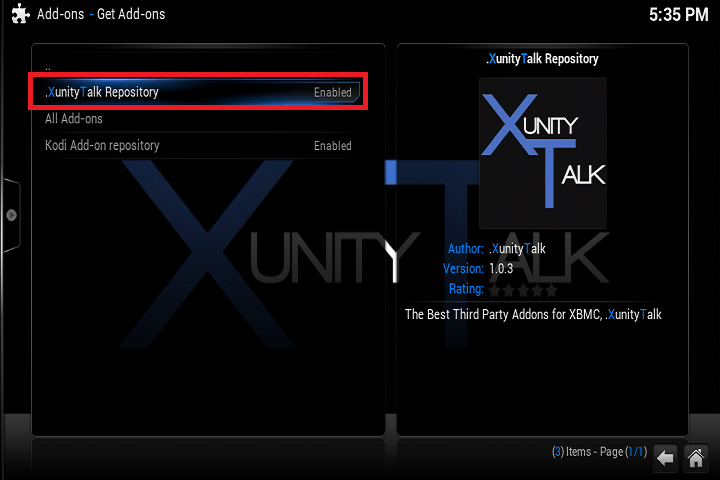
Go up to Get Add-ons

Choose the .XunityTalk Repository
Scroll down to Video Add-ons

Scroll down to NTV.mx
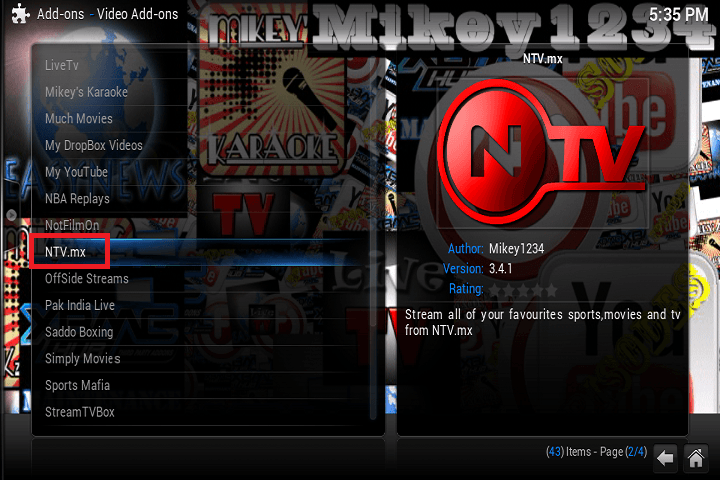
Choose Install
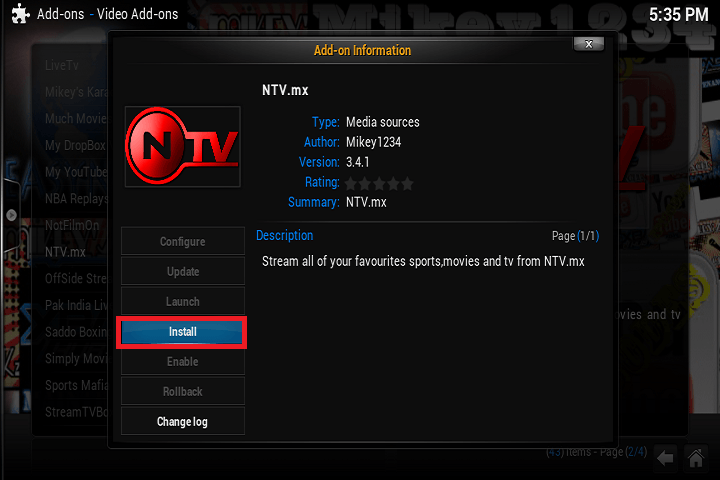
You will see a pop up saying NTV.mx has been enabled