Media Server Backend
Plex Media Server
Install Plex Media Server Windows
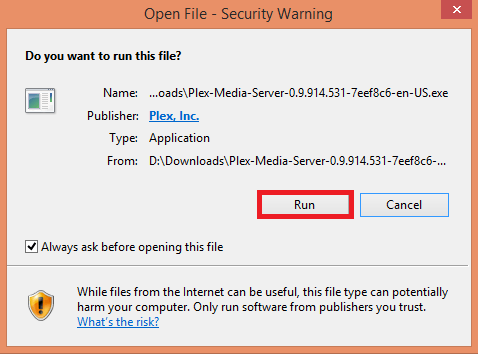
Open the plex installer and you may be prompted with a warning, click Run.
Click the Install button
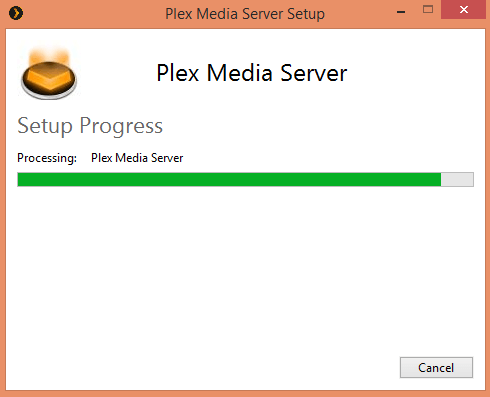
Plex will do its thing, it shouldn't take long
Then after a few minutes you'll see this screen. Click Finish.
Yes that's how easy that was.
You need to tell Plex how to deliver your content to all of the connected devices. Configuring Plex is the same on all platforms so this guide is applicable to Windows, OSX, Debian and Ubuntu Linux.
Configure Plex Media Server
Open up your Plex web interface at http://ip.address:32400/web
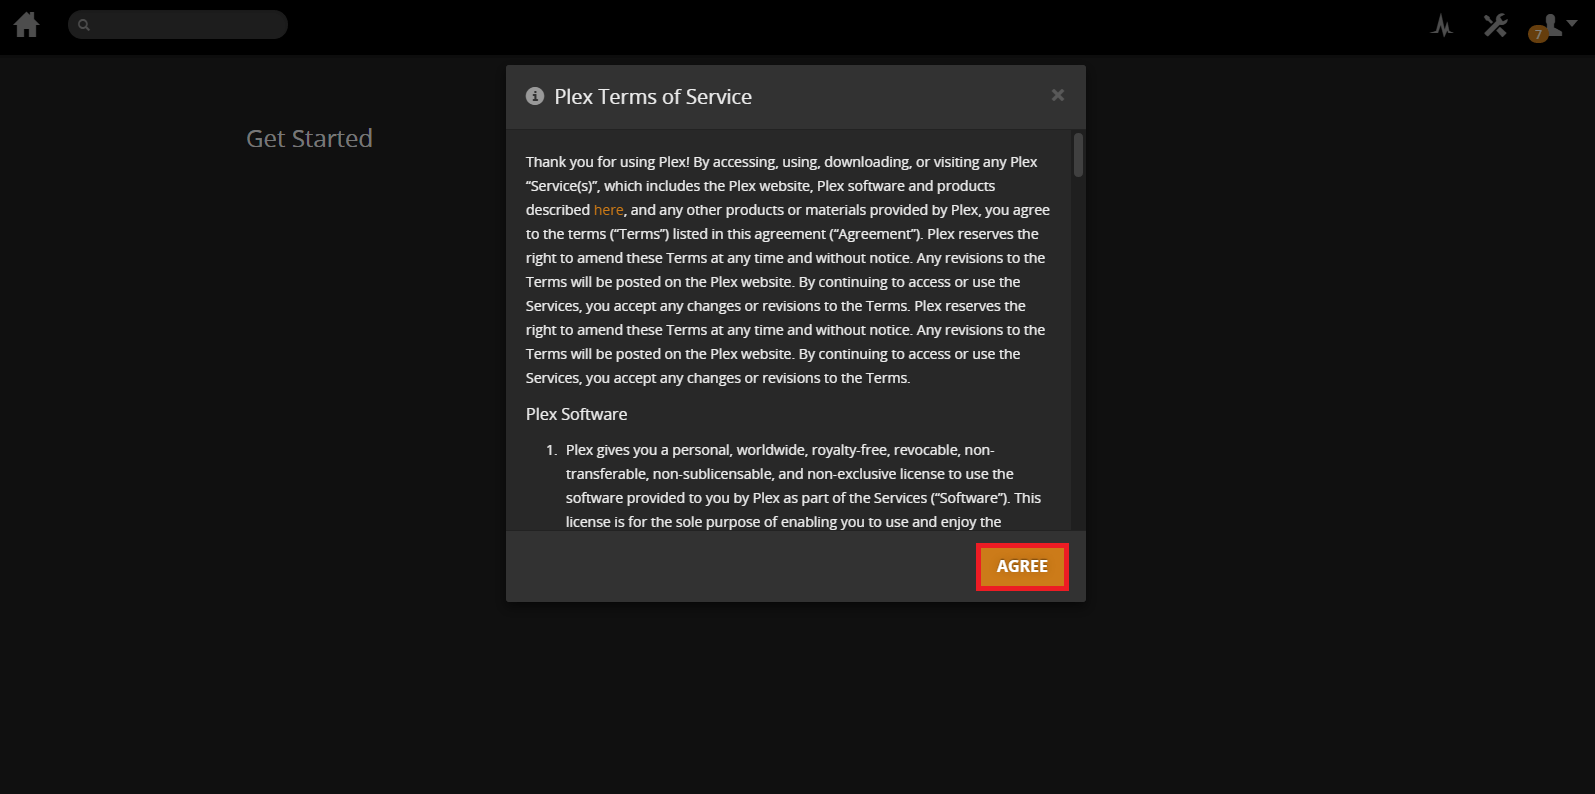
You will see this welcome screen explaining the Terms of Service. Click Next.
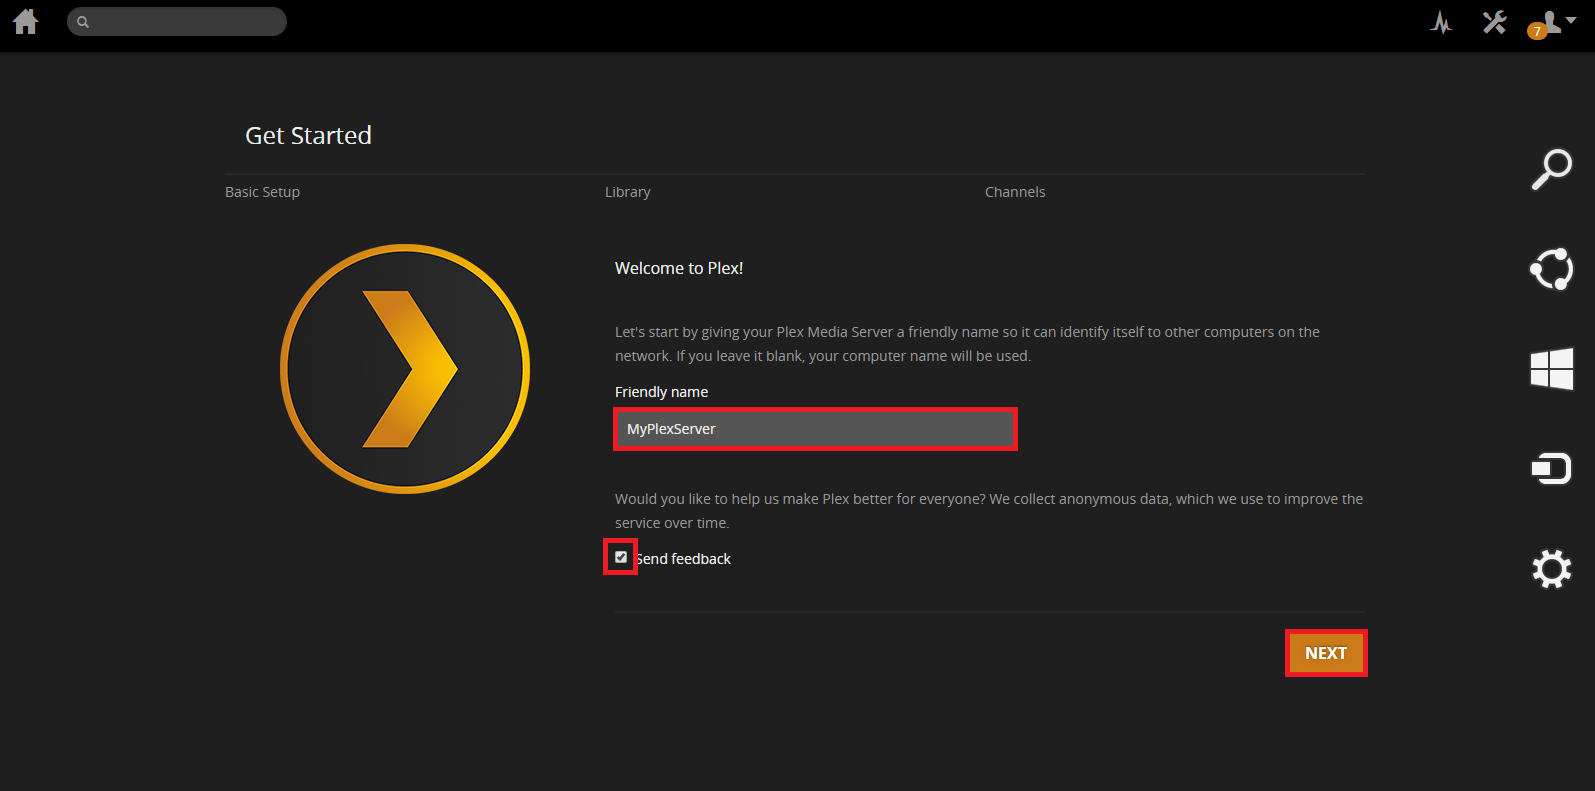
Here you can name your Plex Server and choose whether to send anonymous data that should help improve Plex.
Click Next.
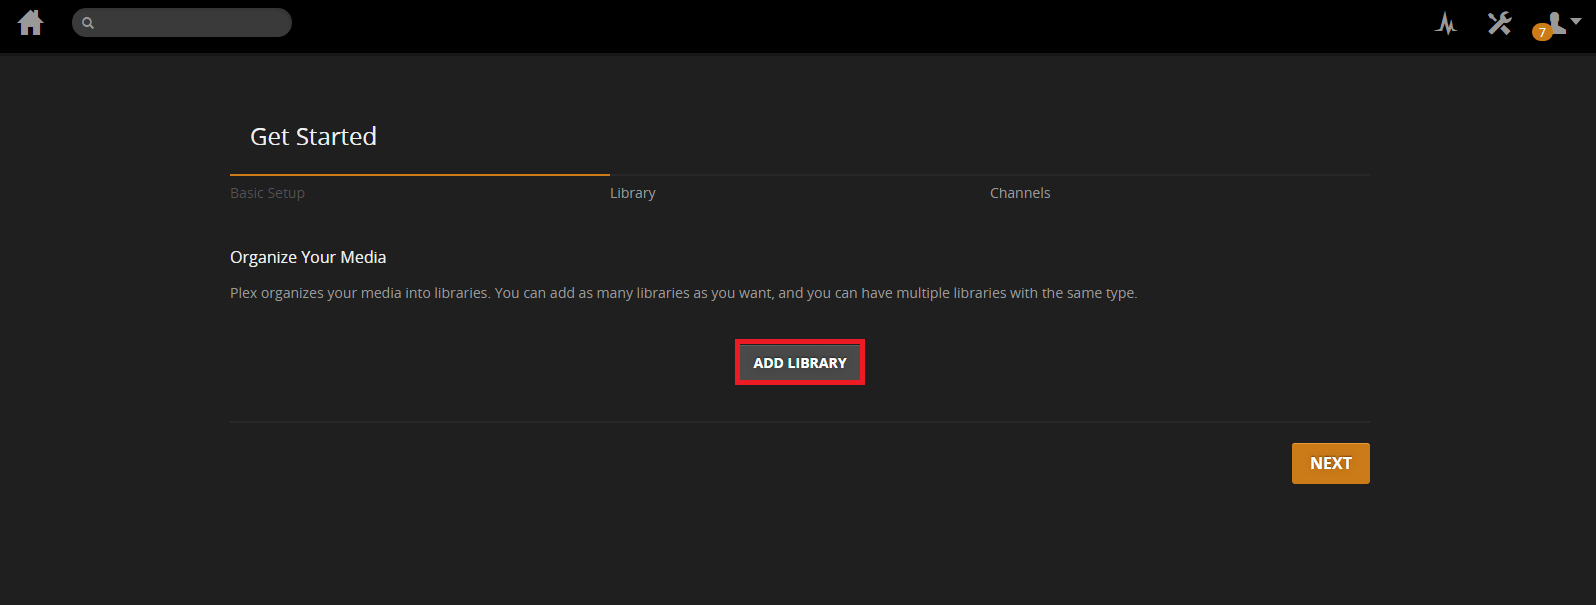
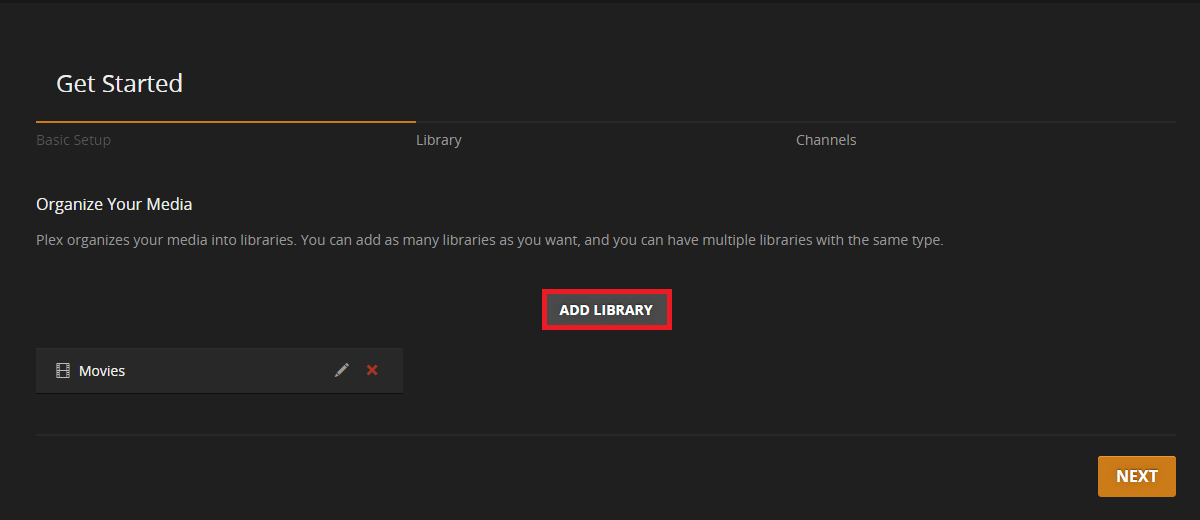
Now it's time to add media libraries. Click Add Library.
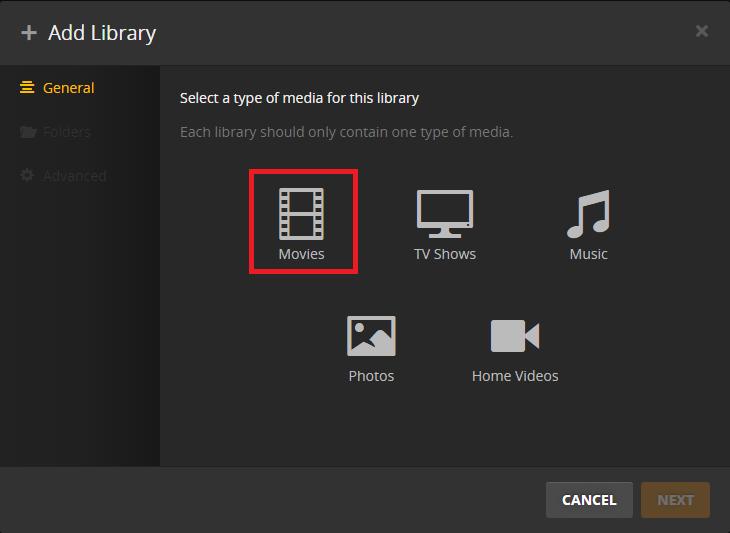
Let's add movies first. Click Movies
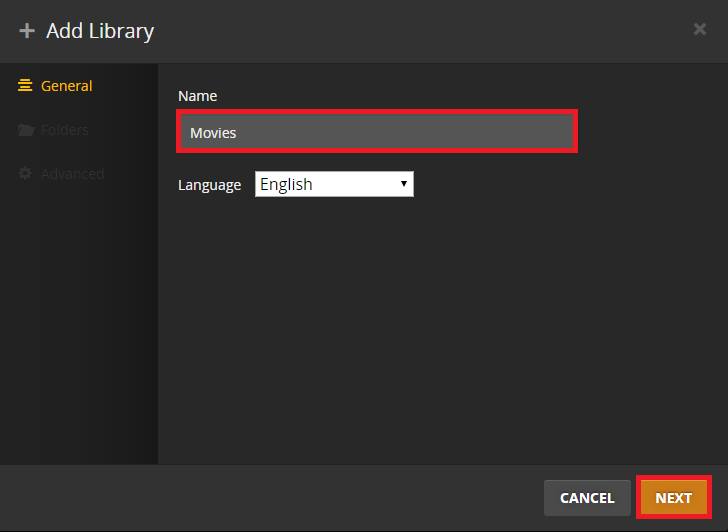
You can name your library whatever you want and change the language. Click Next.
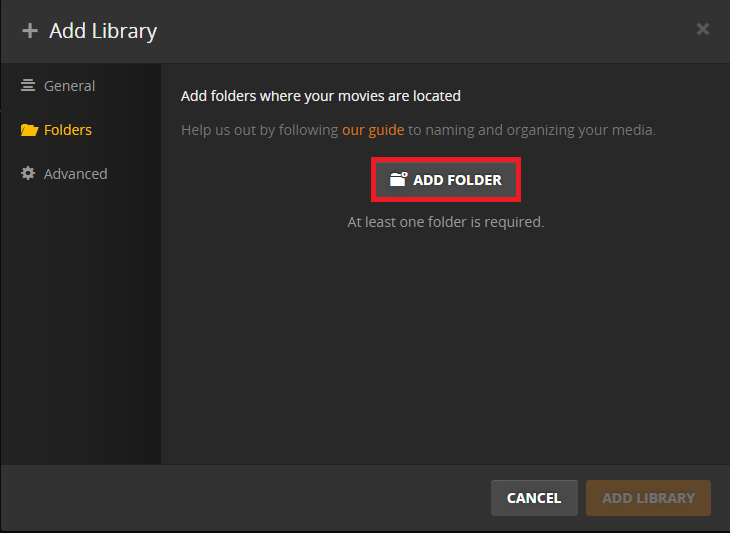
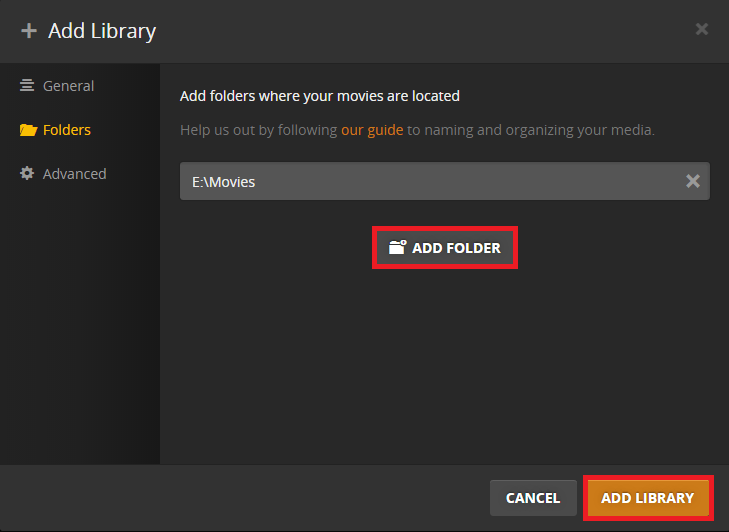
Click Add folder
Browse to the correct location and click Add.
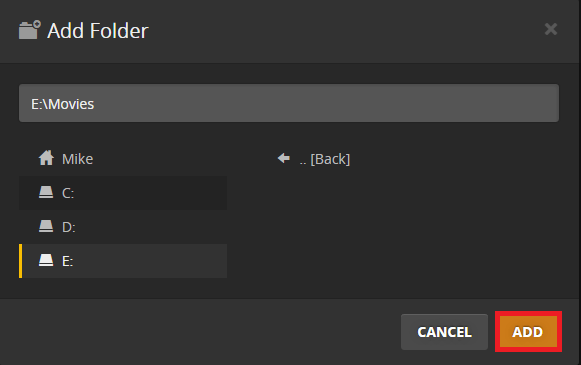
If your movies are in more than one location you can add another folder.
When you're done click Add Library.
Now your movie library is added, let's add TV. Click Add library.
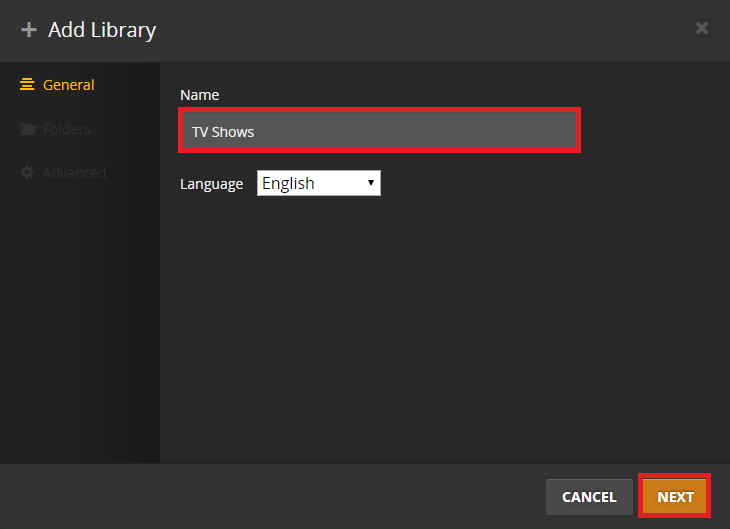
Click TV Shows
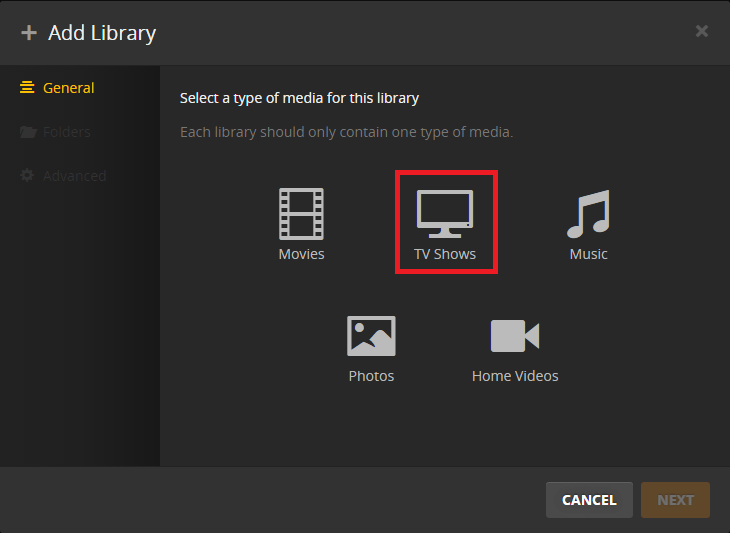
Give the library a name or leave it as Tv Shows and click Next
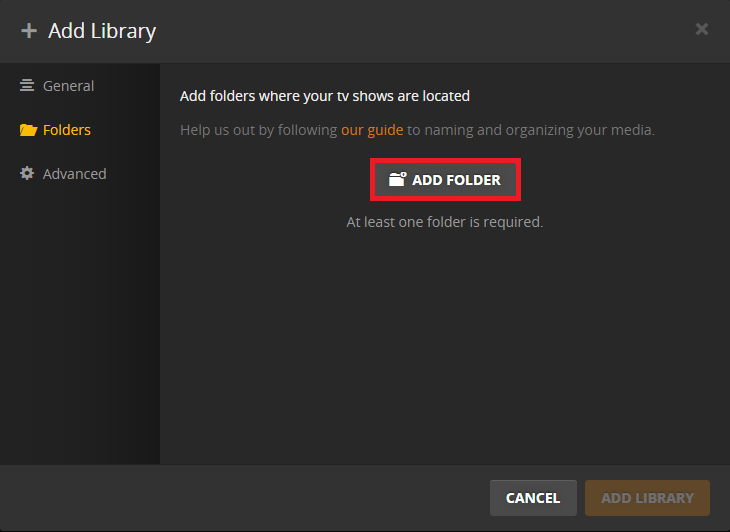
Click Add Folder.
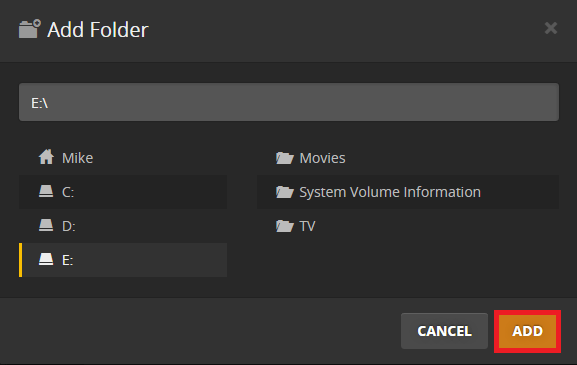
Browse to your TV series location and click Add
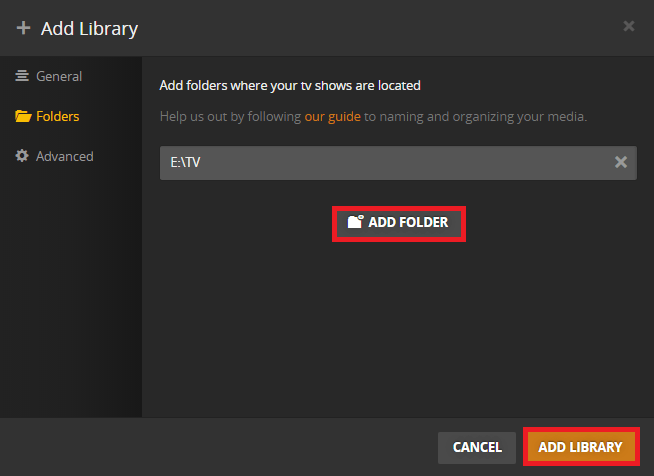
Again you can add more folders if necessary. When you're done click Add library.
Now our libraries are added :). Click Next
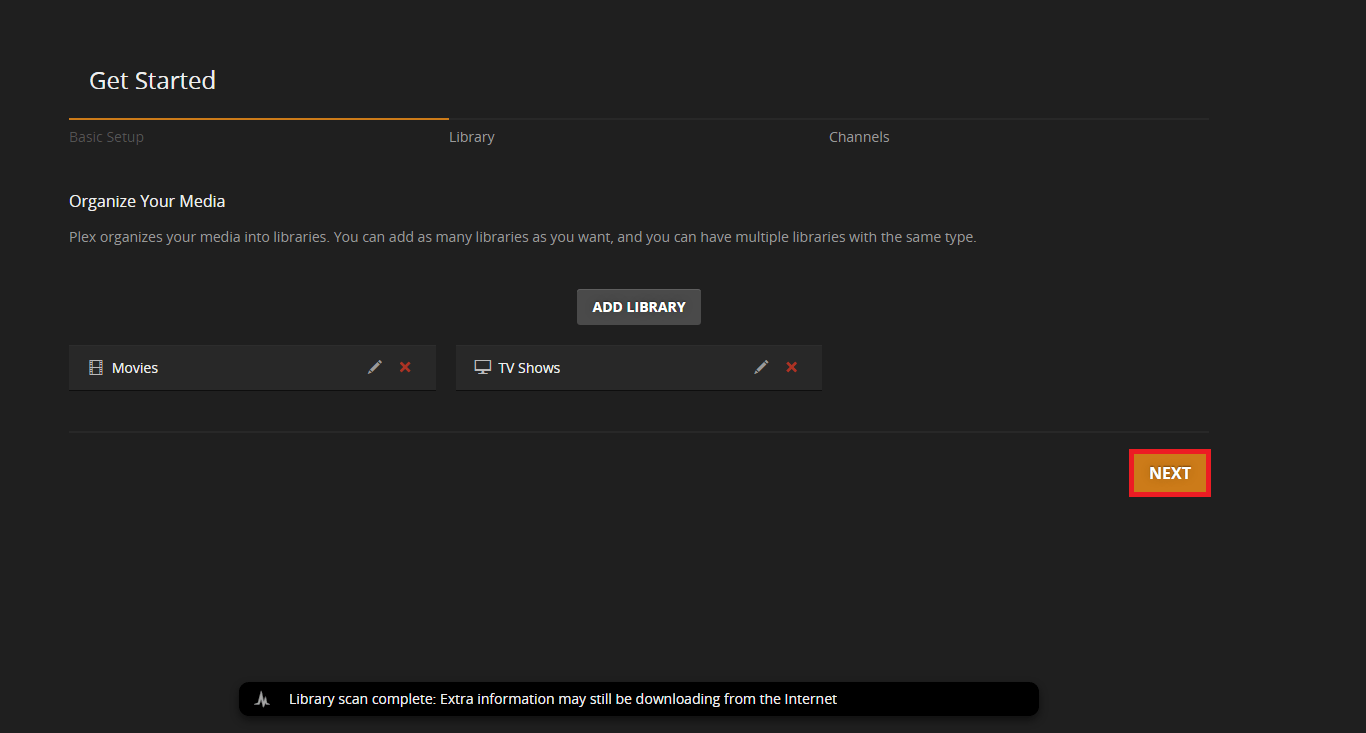
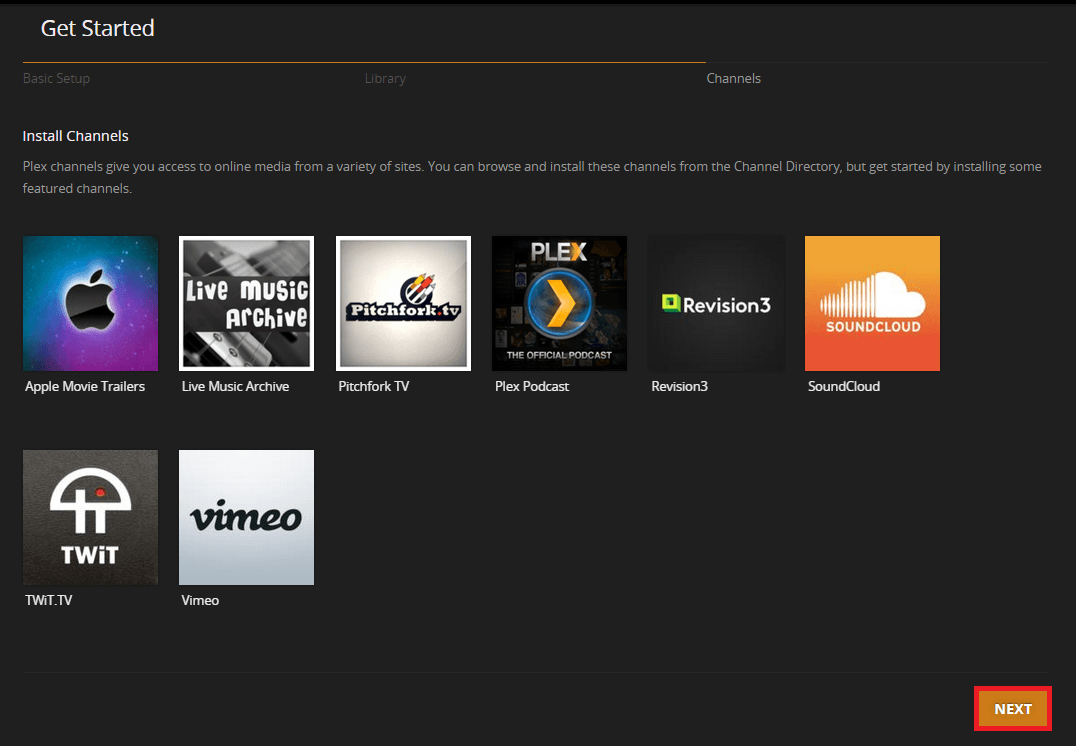
You will see this channels screen. they can be useful to integrate other services and accounts you already have. I don't use them so just click next.
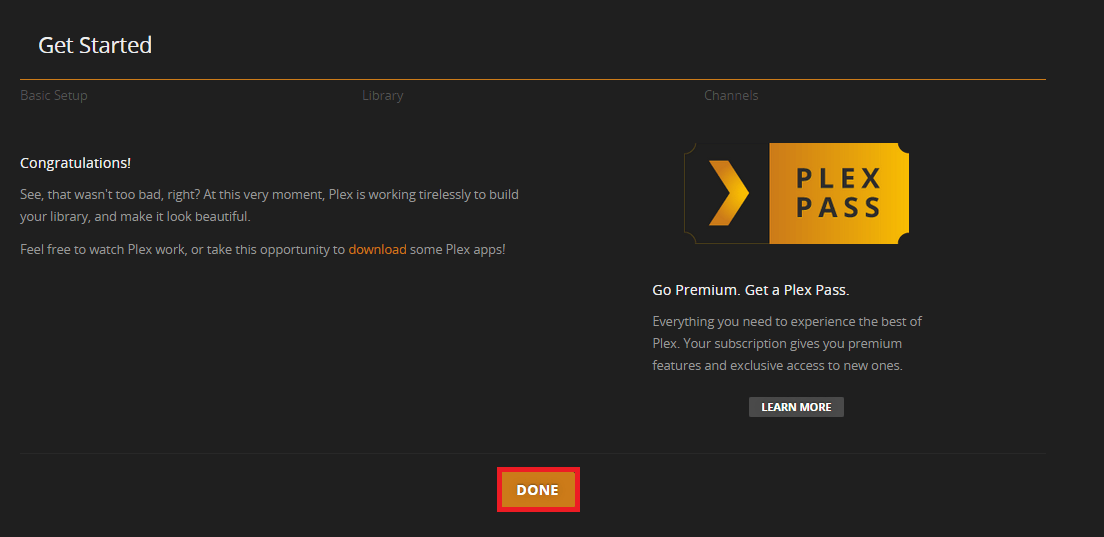
Now you're done with the basics. Click Done.
Additional Plex Settings
Create a Plex account to be able to access your content outside your home network. You do not require PlexPass to do this. Regular Plex accounts are free. This is recommended but not required.
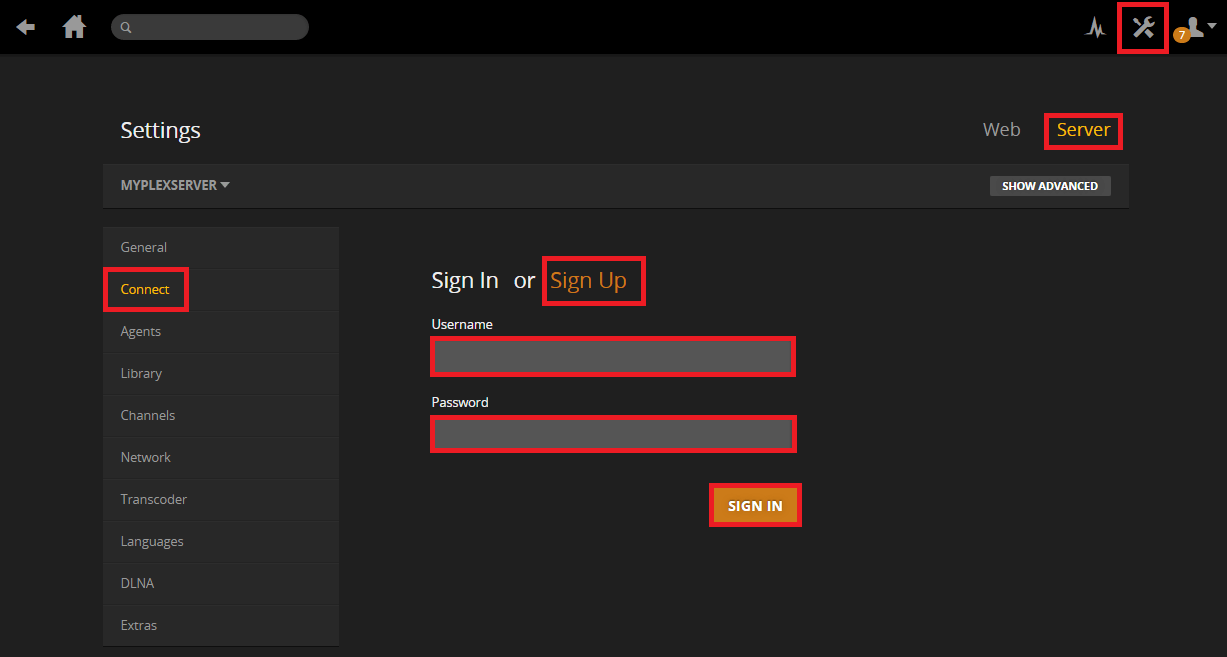
Click Settings in the top right, click Server under Settings then click Connect in the left Pane.
Click Sign Up to create a free Plex account, once completed enter your username and password here and click Sign in.
Automatically Download Subtitles
If you want subtitles to automatically download click Agents in the left pane.
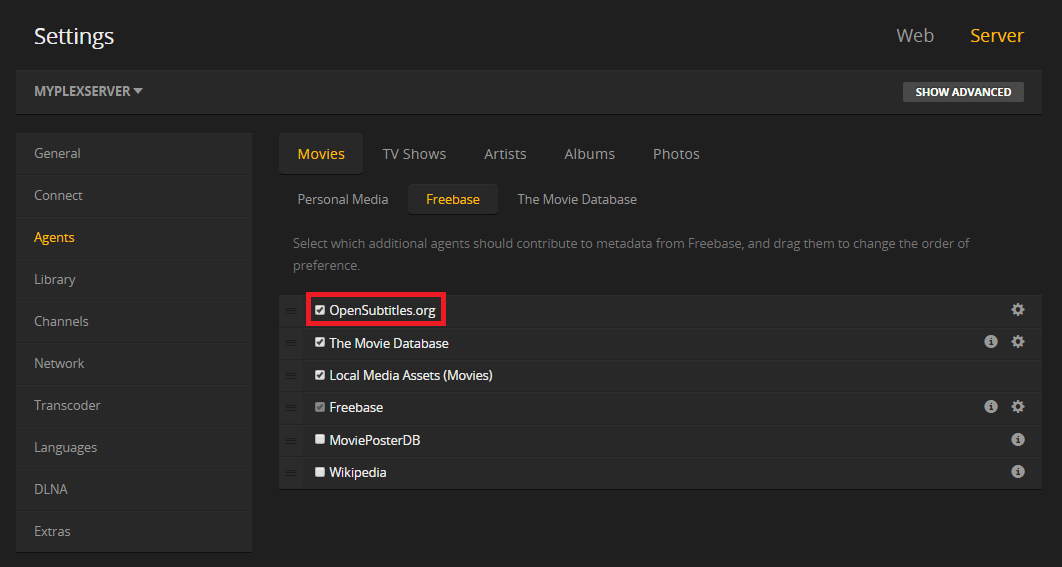
Click Movies, then Freebase and drag Open subtitles and drag it to the top.
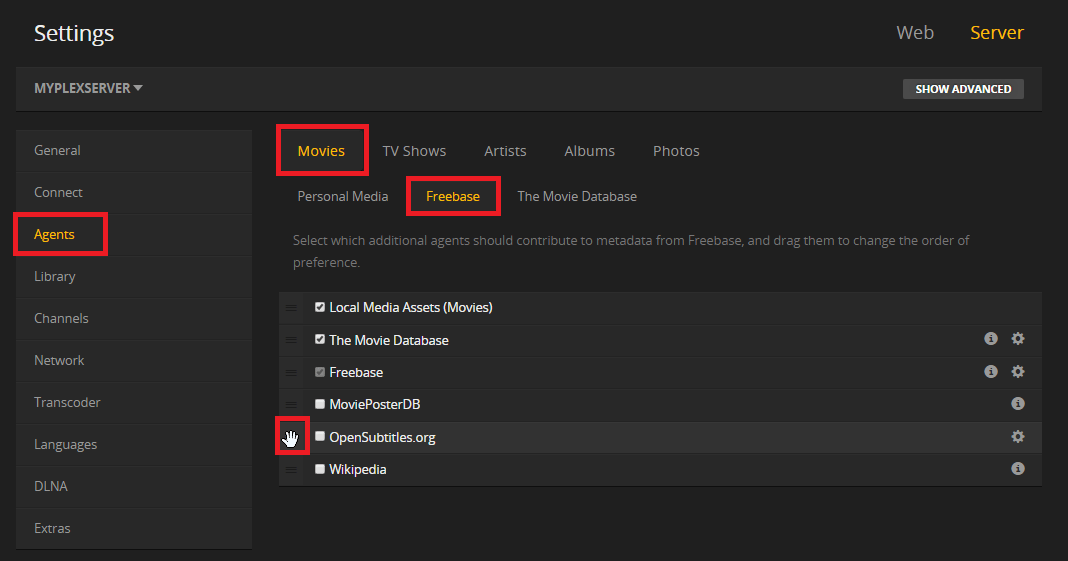
Make sure Open Subtitles is checked.
If you want subtitles for TV shows, repeat the steps above but click TV shows
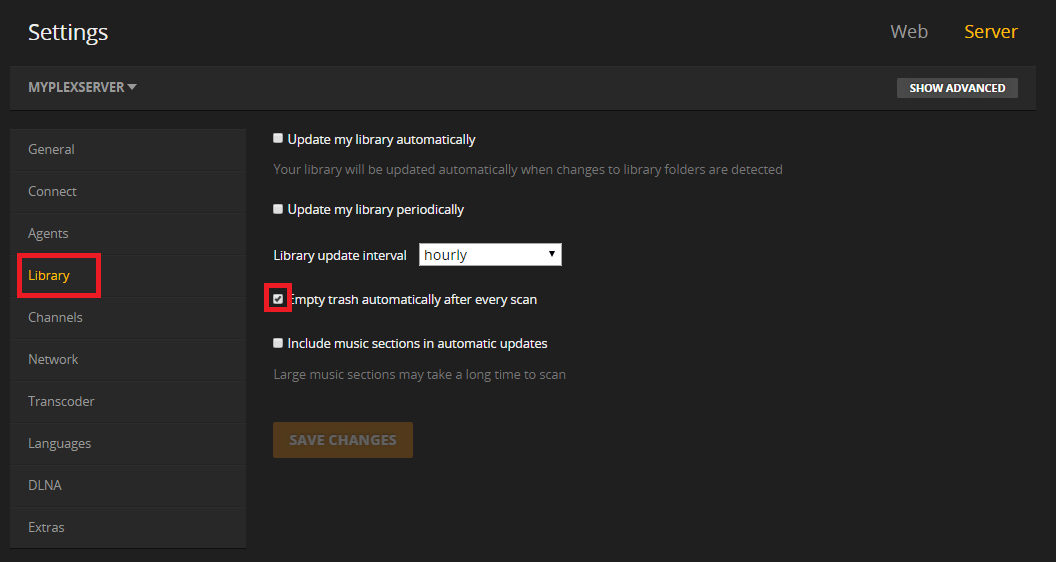
Set the library update interval.
You can ask Plex to monitor the folders you added for movies and tv and it will automatically update them when changes are detected.
If you are happy to have the library update every hour you can set that here as well.
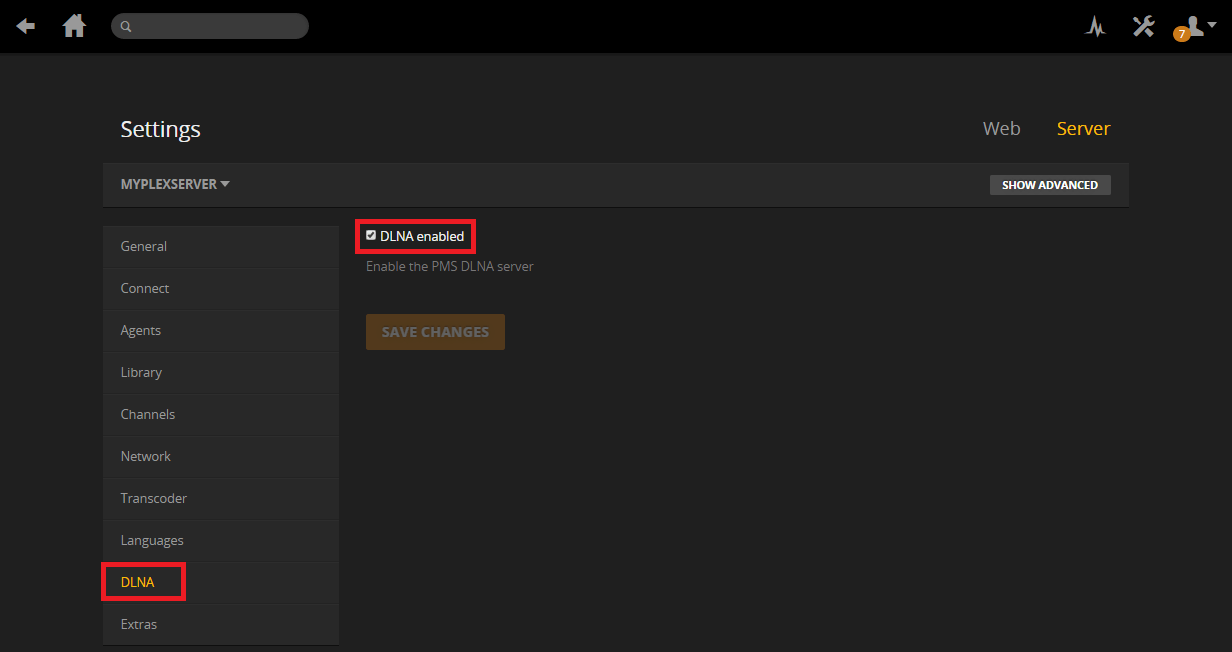
Enable DLNA server which will allow direct streaming to DLNA enabled devices that do not support the Plex App or Plex Home Theater.
If you are still in the Settings -> Server, click DLNA on the side.
Make sure DLNA is checked and cli
Enable Direct Play to avoid transcoding if possible. Click settings in top right.
Then click Web, click the Show Advanced button underneath Web.
Make sure Direct Play and Direct Stream are enabled.

That is it for Plex. Now you can connect to your Plex Server using any laptop, most consoles (like PS3, PS4 and Xbox variants). You can use a Raspberry Pi to stream video from Plex using RasPlex. Portable devices like iPads and other iOS devices plus Android gadgets will play back video from Plex too though the apps cost $5 unless you have a PlexPass.
Install Serviio Windows Guide
Serviio is not necessarily required but is a good option. You can hold off installing it if Plex suits all of your needs which for most is usually the case.
The first step is to grab the Serviio installer and optionally the webui so you can manage it remotely.
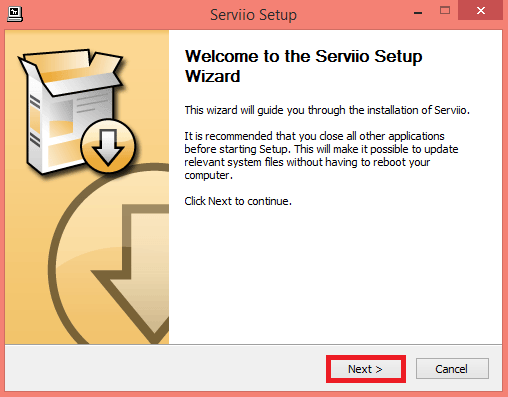
You will be met with the Serviio setup wizard, click Next
Agree to the license by clicking I Agree

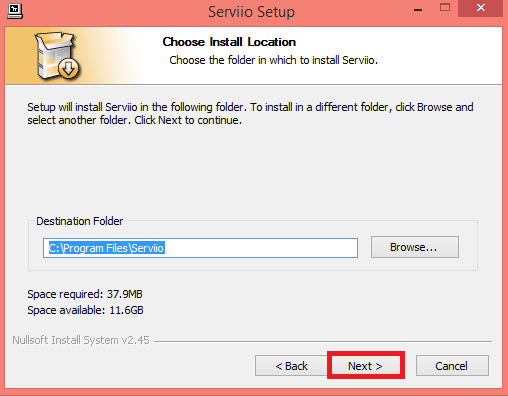
Choose the destination folder, the default should be fine
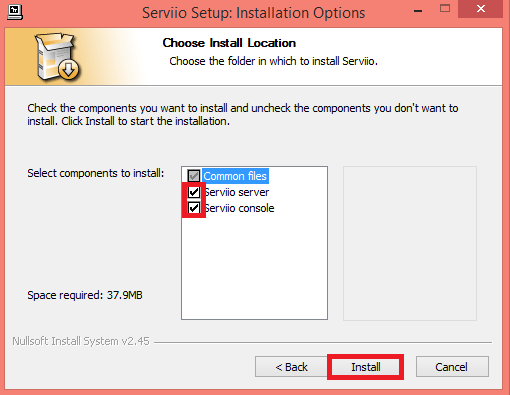
Make sure Servvio server and Serviio console are checked. Click Install.
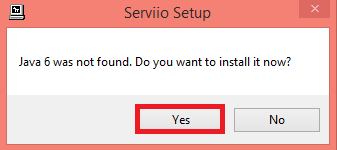
If you are missing Java 6 click Yes to install it
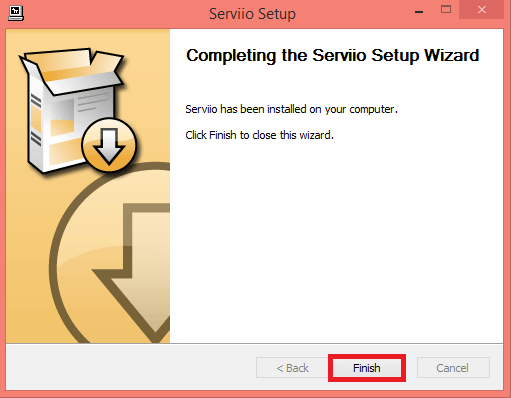
When Java is done Serviio will complete its setup. Click Finish
Configure Serviio
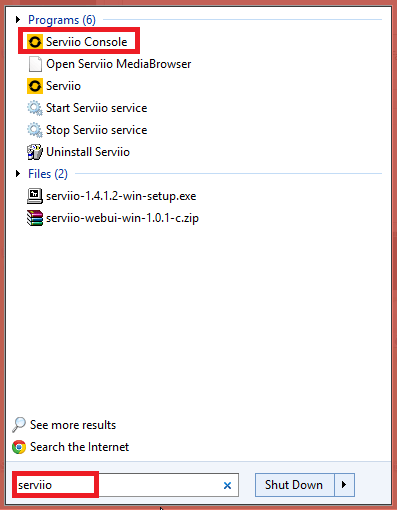
Find Serviio in your start menu, choose Serviio Console
You will see that Serviio server is started and any DLNA enabled devices on the network
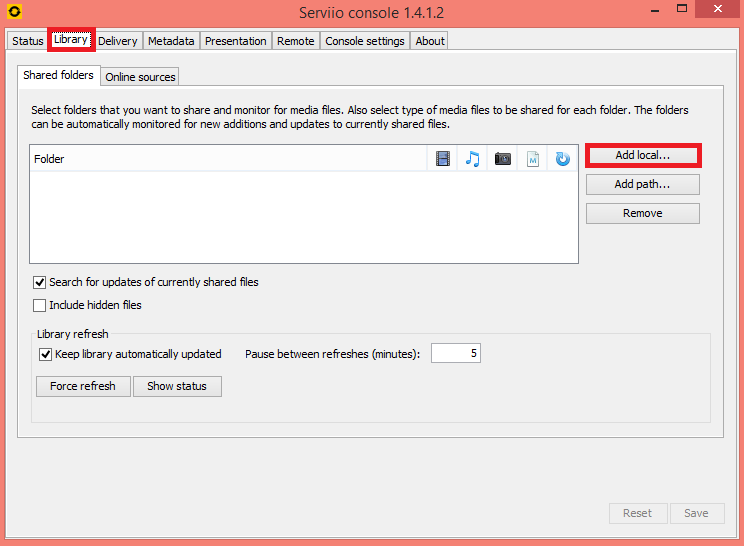
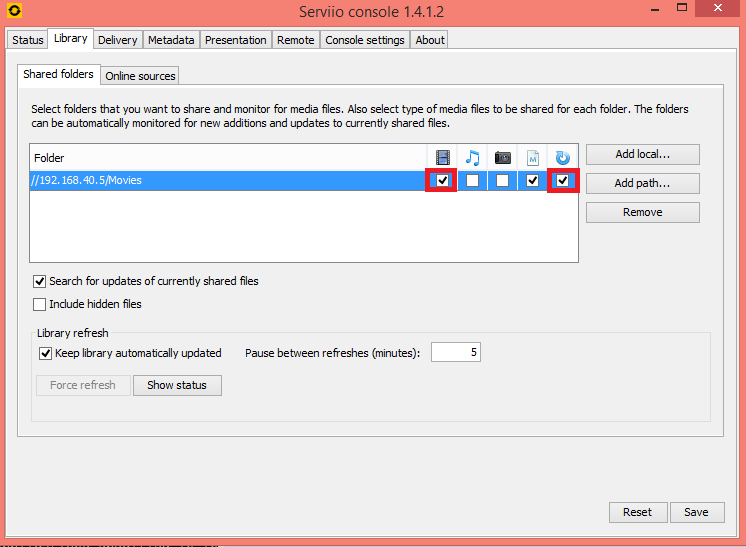
Click Library tab, then choose Add local if your media is locally stored on your serviio machine which is the ideal setup. I had issues getting Serviio to find my media stored on a network path. I am adding some movies here.
Since the media folder contains movies, I checked the movie box and the refresh box so as your collection grows Serviio updates the library.
Repeat as necessary for TV, music or whatever other kind of media you have.
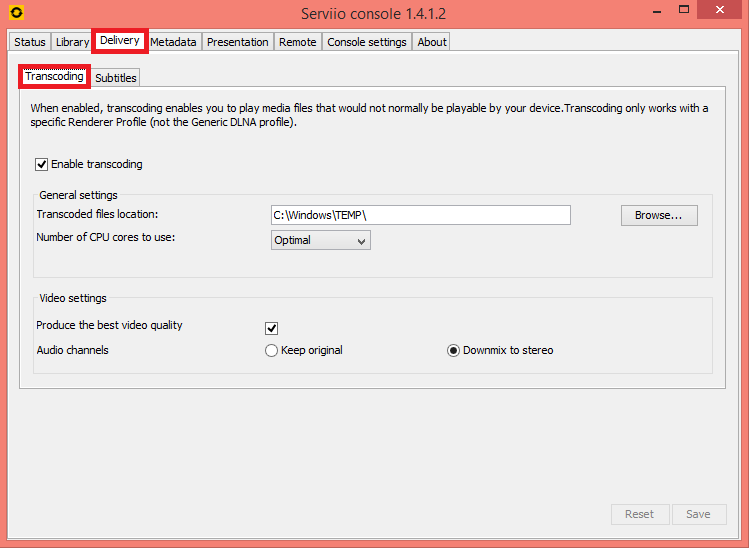
Now click the Delivery tab and then the Transcoding tab. Make sure Enable Transcoding is checked.
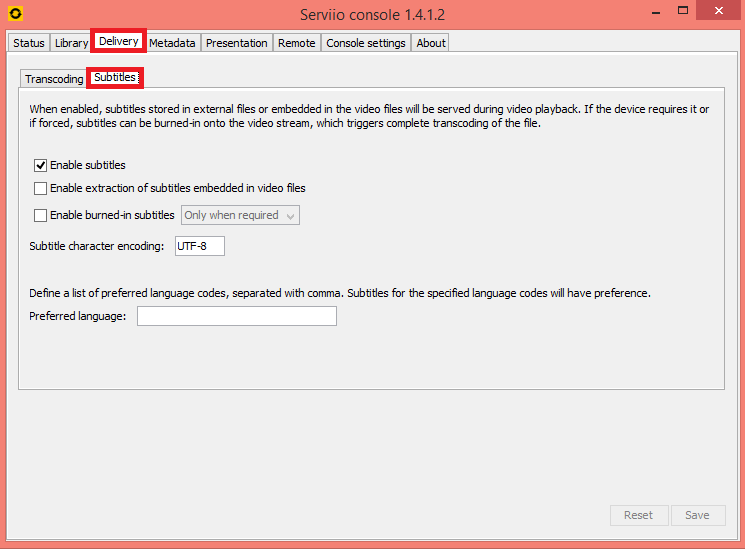
If you have subtitles click the subtitles tab and Enable subtitles.
Click Save and try to access the Serviio DLNA server from an android device using BubbleUPNP or a DLNA enabled TV or Bluray player. Serviio is usually smart enough to detect the device and automatically choose the transcoding profile. You may need to be patient the first time you browse Serviio from a device as it caches the media database. If your database is large it may take a few minutes but on subsequent browsing sessions it should be markedly snappier.