Remote Access Outside Your Home Network
 For most of us our IP address changes from time to time which is annoying if we want remote access to our home media servers. Dynamic DNS solves this by automatically registering your new IP address with a domain like chickenkiller.com. I have tried several free dyndns providers over the years. They have been increasingly getting annoying to manage because they nag free accounts to log in once a month to reactivate their account. Fortunately, freedns.afraid.org have a completely nag free gratis dyndns service and it is very easy to setup for your home media server.
Free Dynamic DNS
All you have to do is go sign up a free account at freedns.afraid.org
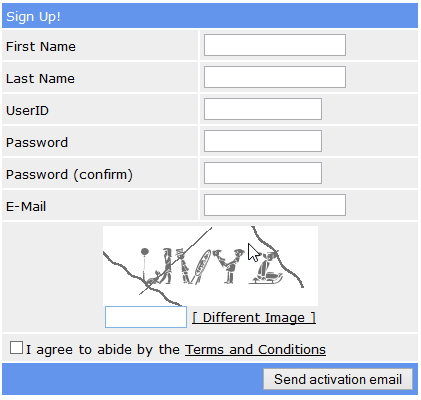
Create your free account and remember to click the activation link in your email.
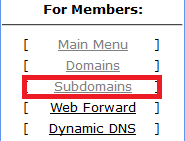
Now log in to your new free account and choose a domain
Click subdomains on the left
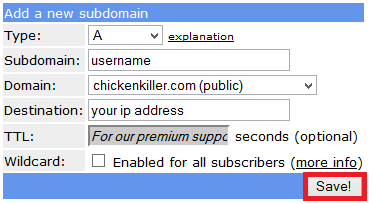
Then click add subdomain
![]()
Choose your desired username, select a free domain and click Save
Now you need to configure your router or htpc to routinely tell freedns what your IP is.
You may have a router that supports afraid.freedns.org (dd-wrt and OpenWRT do so you can always flash those)
Otherwise you need to download a client for your platform (Windows, Linux)
Just pick a client or script you like and install it. I use Afraid Updater Service for Windows machines.
Install Afraid Updater
Afraid Updater requires .NET 4.0 Framework.
Extract the AfraidServiceUpdater4Installer.msi installer from the zip.
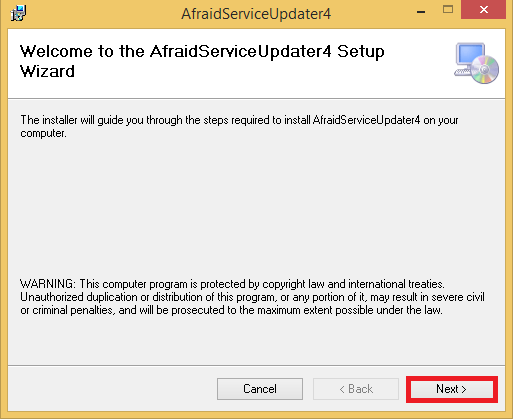
Open it and you'll see the Wizard screen, click Next.
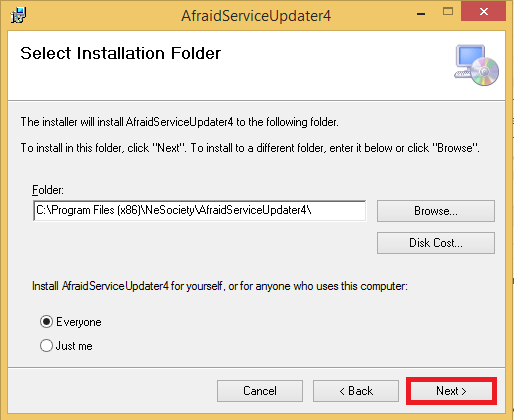
Choose your destination folder, default is fine. Click Next
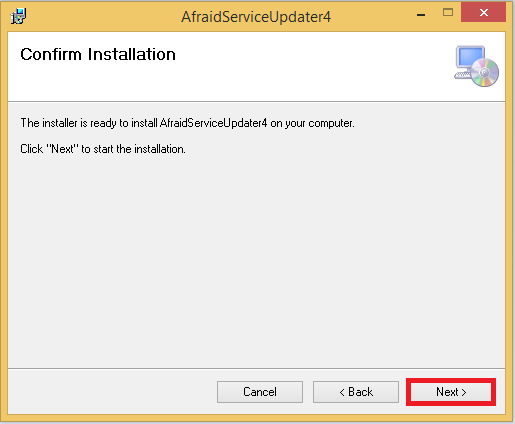
Click Next and it will install.
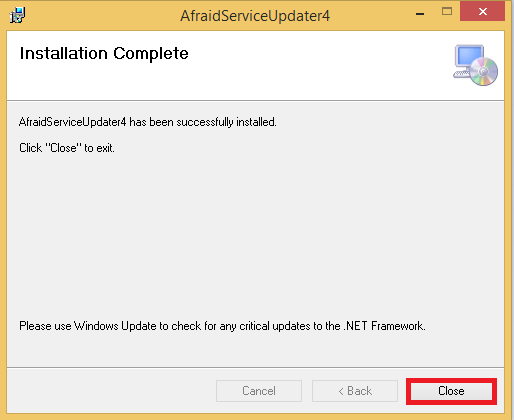
Click Close
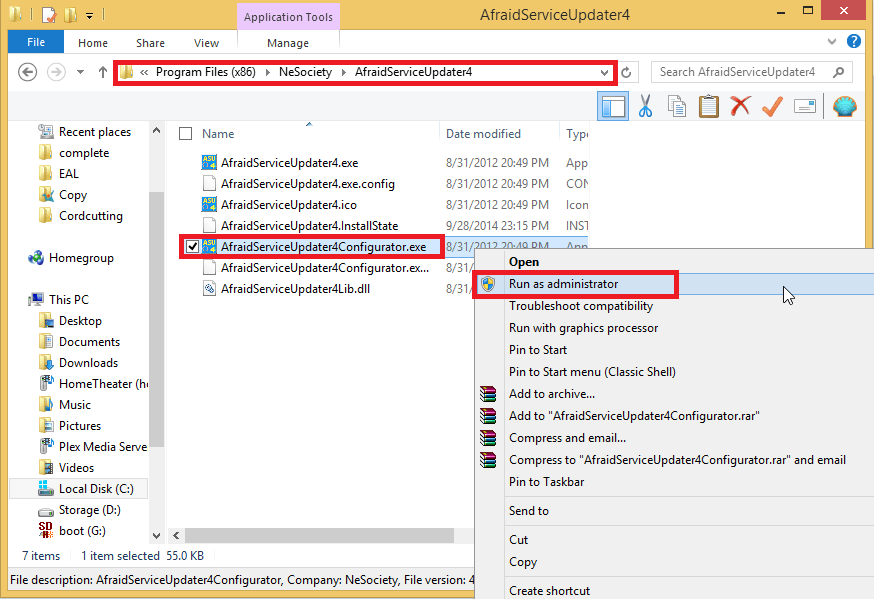
Browse to the folder you installed Afraid Updater to, right click on the configurator and Run as Admin
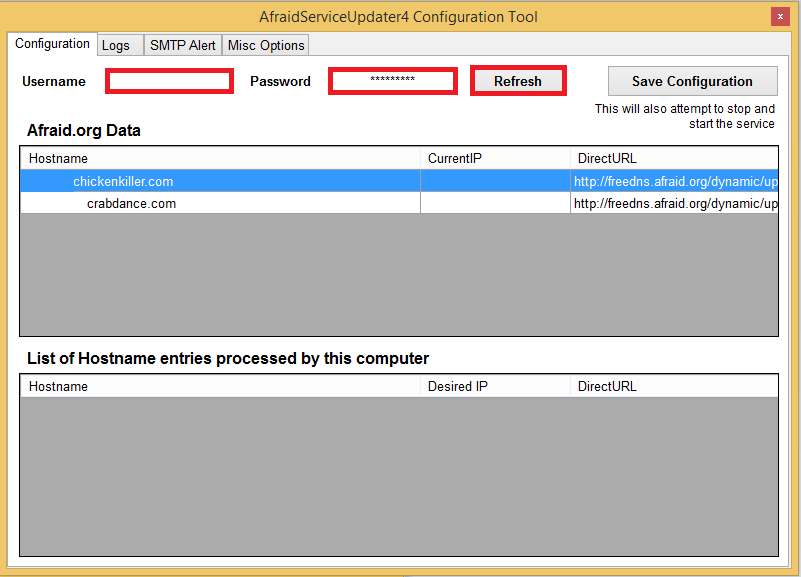
Enter your username and password, click Refresh
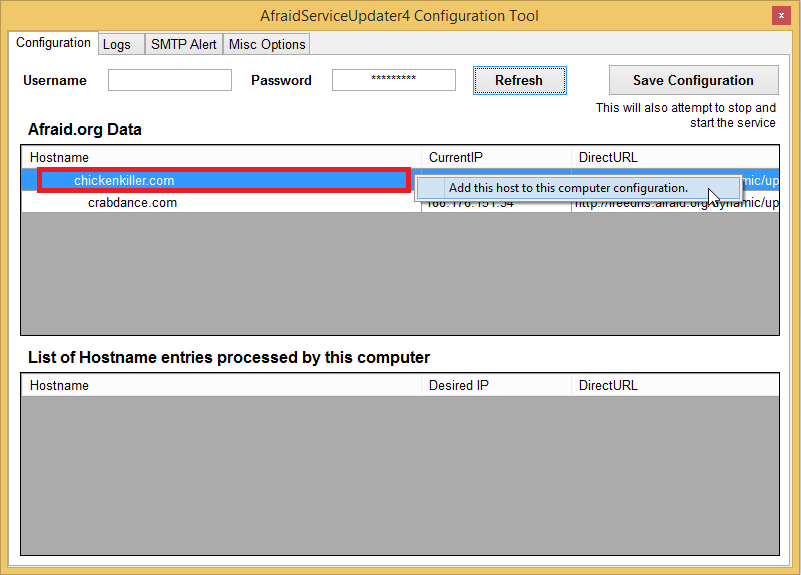
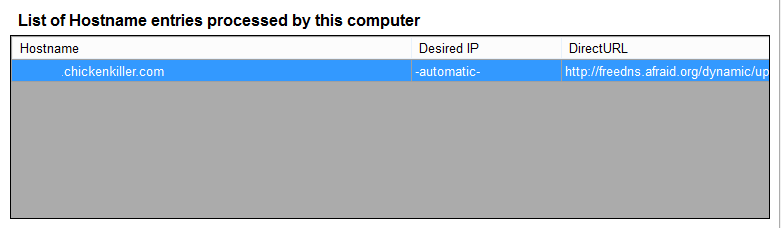
Select the subdomain you created, right click on it and say Add this host to this computer's configuration
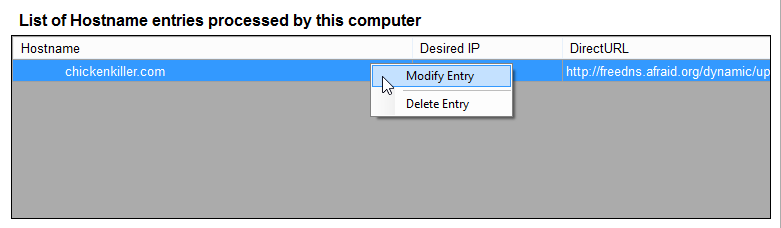
Now right click on the entry and click Modify Entry
Check Automatic Detection and Click Save
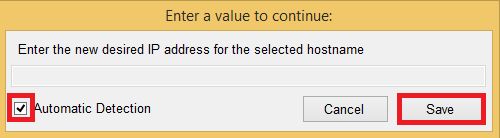
Now it should say the Desired IP is automatic
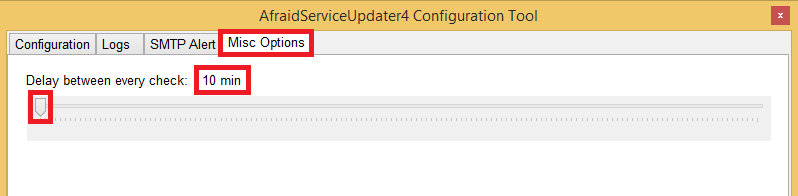
Now click Misc Options and slide all the way to the left so it says 10 minutes
Afraid Service Updater will check the IP information every 10 minutes and update if necessary
Click Configuration and then Save configuration

Now you have a free dynamic dns service all setup so you can use all of your services without having to remember your home ip address as it changes. Setup remote access to your machine using VNC viewer, remote access to sabnzbd, nzbget, couchpotato and nzbdrone.
Setup Port Forwarding
In order to be able to access all of the services on your home server from outside your home network you need to set up portforwarding in your router. Add the following entries and you are good to go.
| Service | Port |
|---|---|
| Sabnzbd | 8080 |
| Nzbget | 6789 |
| Nzbdrone | 8989 |
| Couchpotato | 5050 |
| Plex | 32400 |
| TightVNC | 5900 |
This concludes the ultimate home media server guide. Now you can just create your media lists and have the server do all of the work. It can remain headless (not connected to an LCD screen) and you can remotely manage all of the services or even the server's desktop itself.