 NZBMegaSearch aggregates all of your usenet indexers into one convenient place. It has the same API as newznab indexers so it will work with automation software like SickRage, Sonarr and CouchPotato. The NZBMegaSearch fork used in this guide includes patches so that it works with Sonarr (previously NzbDrone). I have also included how to create an NZBMegaSearch Windows system service that will work on Windows 7, 8 and Server 2003-2012 – Windows 10 should work too.
| Usenet Provider | |||||||
|---|---|---|---|---|---|---|---|
| UsenetServer | |||||||
| Newshosting | |||||||
| Frugal | |||||||
| Usenetlink |
Install NZBMegaSearch Windows from Source
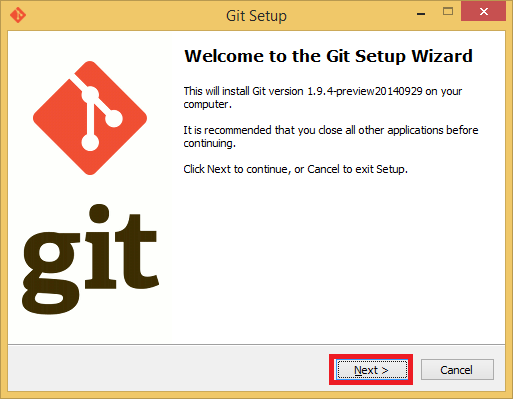
Install Git Windows
Download gitshell and run it. You will see this wizard.
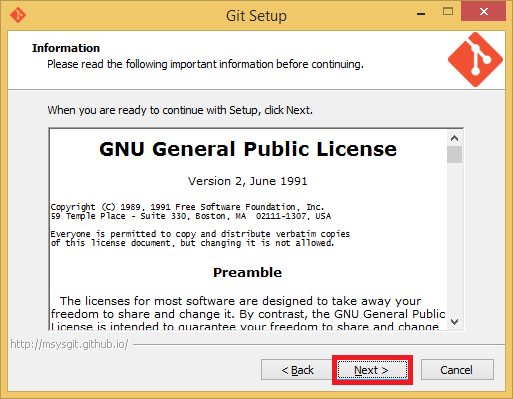
Accept the license
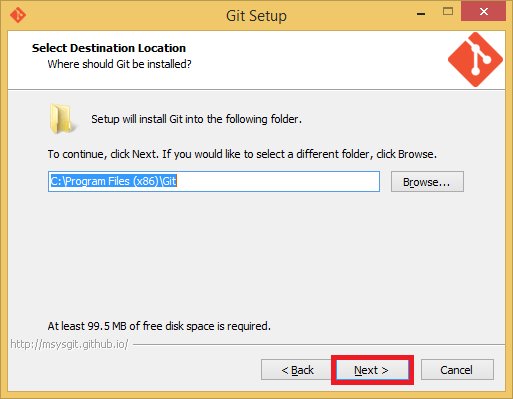
Choose the install location
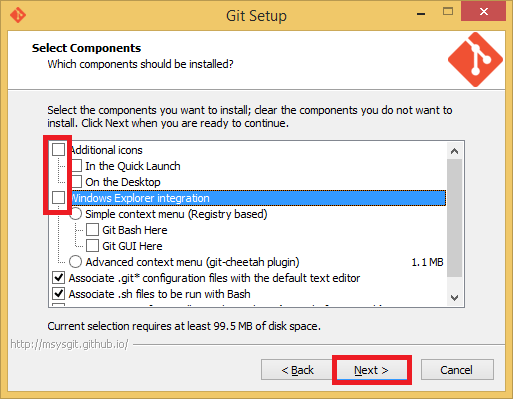
Uncheck these options Additional icons and Windows Explorer integration. You won't need them. You can uncheck the bottom ones as well.
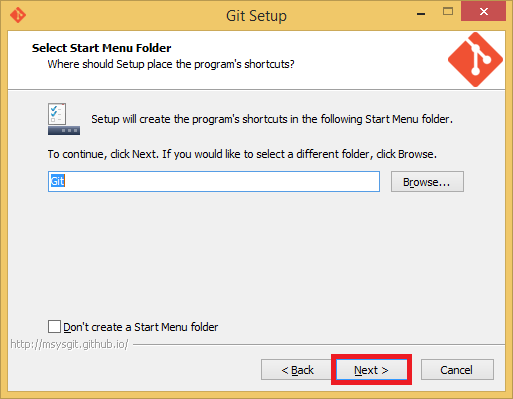
Leave the start menu folder as is or change it to your liking
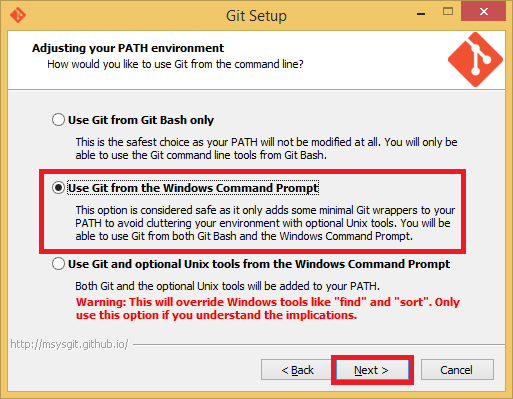
This is important, for Adjusting your PATH environment, choose Use Git from the Windows Command Prompt
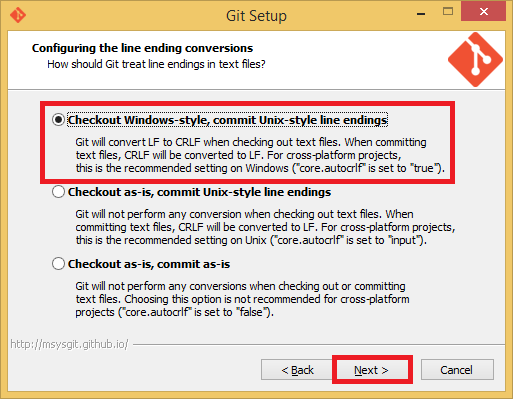
This is less important but I chose the top option Checkout Windows-style. It only matters if you are using git to create programs and commmit changes to repositories.
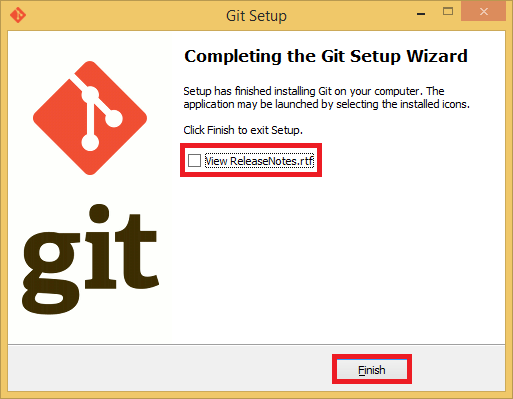
Unless you want to see the Release Notes uncheck it and click Finish
Install Python 2.7.x
Download Python 2.7 32-bit or 64-bit which will work on 64 or 32 bit systems
Run the installer, for the most part you just click Next through the Wizard
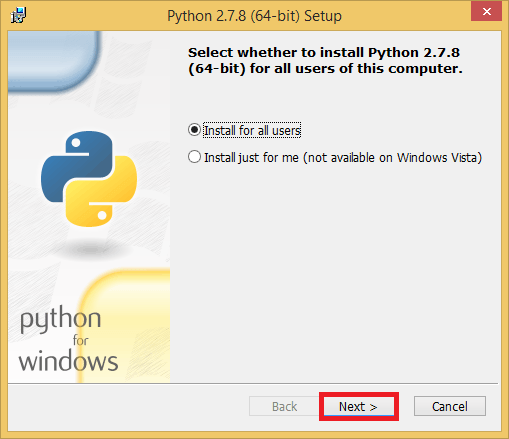
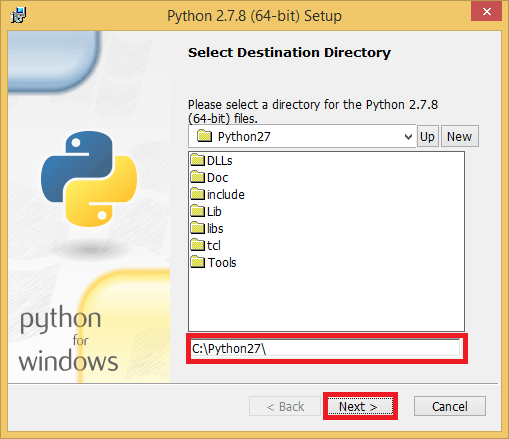
The guide will assume you are installing to C:\Python27
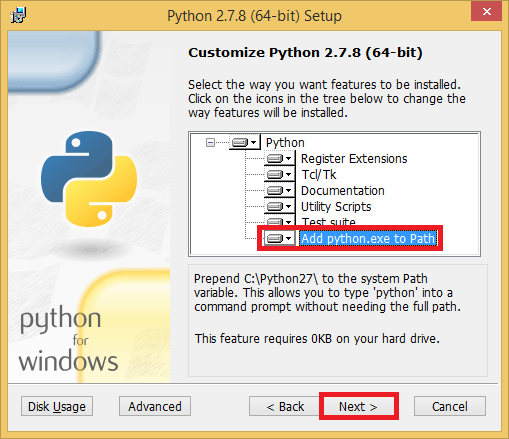
In the Customize Python 2.7.x enable Add python.exe to Path.
This allows you to run python from the command prompt in Windows without having to specify the executable's exact location.
Click Next
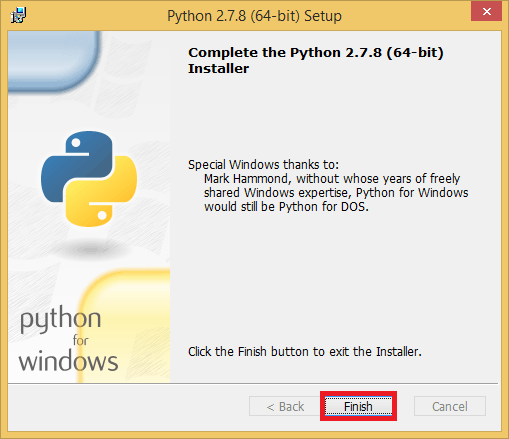
Click Finish to exit
Install OpenSSL
The easiest way to install python openssl is using pip in a command prompt running as an Administrator
You can skip this if you don't need https support, you can always use a reverse proxy with https support to access NZBMegaSearch
pip install pyopensslInstall NZBMegaSearch
I use the Mirabis branch because it is more actively developed and includes the Sonarr (NzbDrone) fixes.
git clone https://github.com/Mirabis/usntssearch C:\NZBMegaSearchRun NZBMegaSearch to make sure it works
pythonC:\NZBMegaSearch\NZBMegasearch\mega2.py
Access NZBMegaSearch at your IP address http://ip.address:5000
Update NZBMegaSearch like this in Command Prompt
cd c:\NZBMegaSearch
git pull
Create NZBMegaSearch Windows System Service
Download NSSM from here, the latest stable release is a good idea – it includes 32-bit and 64-bit
Open the nssm.zip and go into either the Win32 (32-bit) or Win64 (64-bit) folder depending on your Windows version.
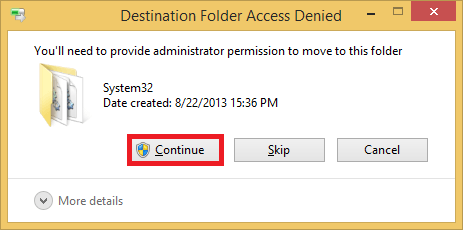
Copy the nssm.exe to your C:\Windows\System32 folder so it is part of your PATH which allows you to run commands from any directory in the command prompt without having to be in the executable's actual path. You will get a warning about needing permission, grant it.
Run a Windows command prompt as an Administrator
Create the NZBMegaSearch service with this command
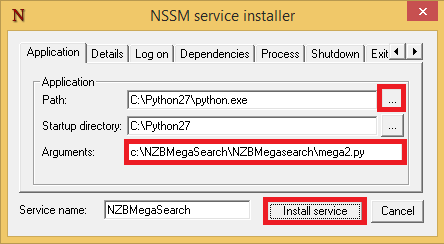
nssm install NZBMegaSearchYou will see the NSSM screen, click … to choose the Python.exe Path and browse to your python.exe located in c:\Python27
Add C:\NZBMegaSearch\NZBMegasearch\mega2.py to Arguments
NB If you use another path with spaces you will need to enclose the path in quotes like this “C:\Program Files (x86)\NZBMegaSearch\NZBMegaSearch\mega2.py”
Click Install service
You will see the success screen that the NZBMegaSearch Windows system service has been installed. Click OK.
Now you can configure NZBMegaSearch