![]() NTV becomes an excellent experience when you use it with Kodi XBMC, a free media center for all operating systems. Kodi, previously XBMC, has a plug in system which allows you to install virtually any add on for use with IPTV. The friendly developers at Xunity have created a Kodi plugin for use with the IPTV service NTV. I have shown screenshots of the plugin in my NTV Review and now I show you how to install it in under 5 minutes.
NTV becomes an excellent experience when you use it with Kodi XBMC, a free media center for all operating systems. Kodi, previously XBMC, has a plug in system which allows you to install virtually any add on for use with IPTV. The friendly developers at Xunity have created a Kodi plugin for use with the IPTV service NTV. I have shown screenshots of the plugin in my NTV Review and now I show you how to install it in under 5 minutes.
You can now use the Repository to support NTV plugin autoupdates with this guide.
Install NTV Kodi XBMC Plugin
Make sure you create a free NTV account before attempting this guide
Download the NTV plugin zip file (updated working July 2017) or use Krogsbell's if you want recording. Place the zip in a location you are able to find within Kodi XBMC. If you plan to integrate NTV with FTV or TV Guide you will need the NTV plugin and not the Krogsbell version. You can however run the NTV Plugin and Krogsbell's side by side.
Mac users should use Google Chrome to avoid Safari automatically unpacking the zip file.
Tip if you are on and Android box – use FTP with this guide.
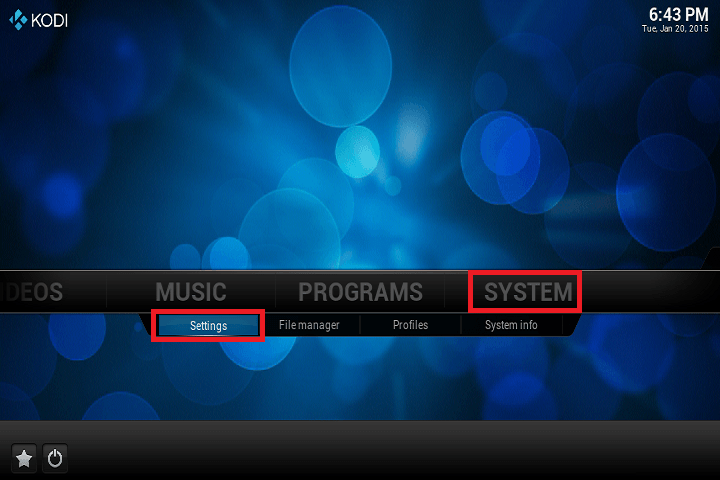
Load Kodi XBMC and go to System and choose Settings
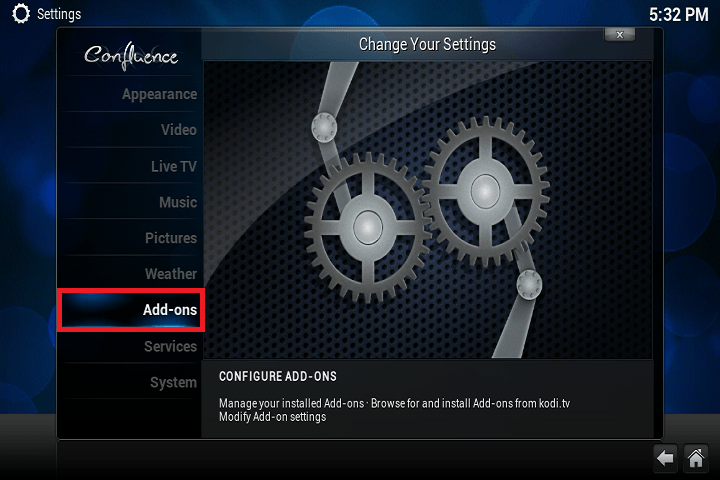
From here choose Add ons
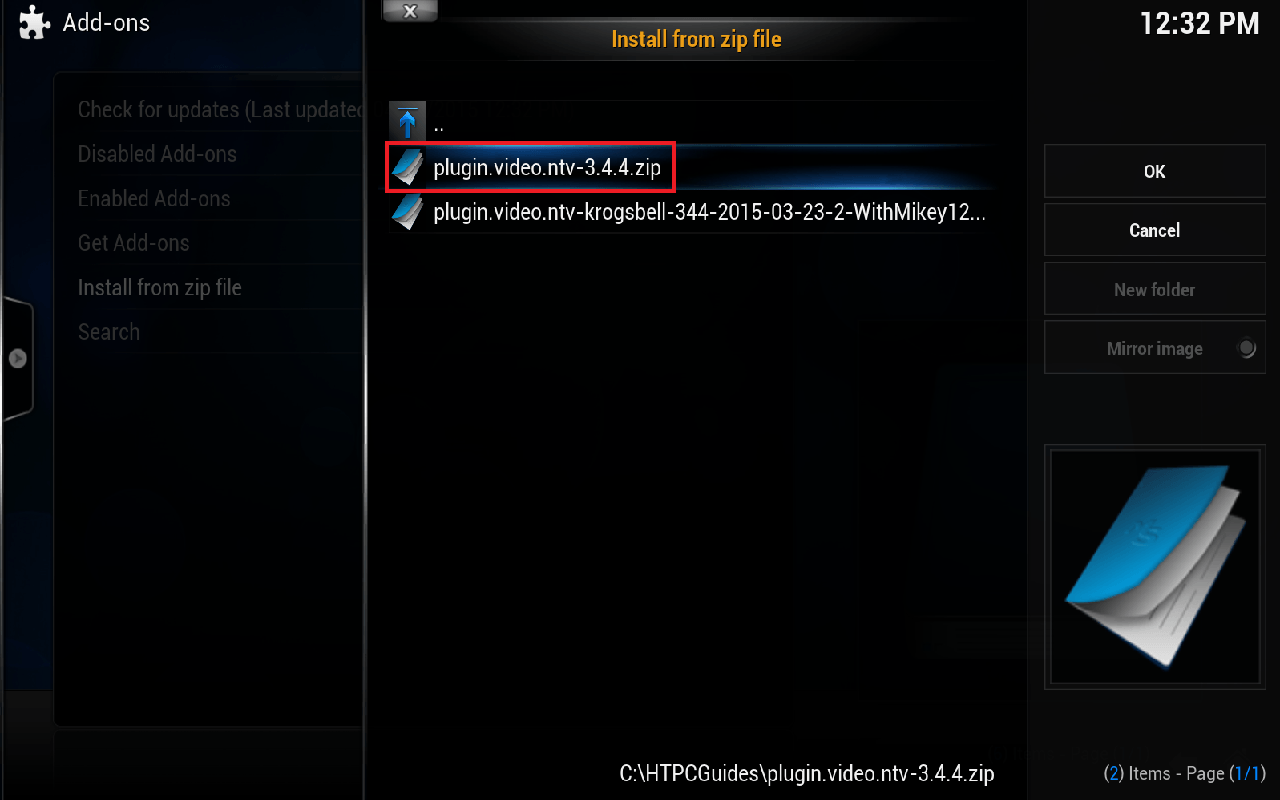
Choose Install from zip file
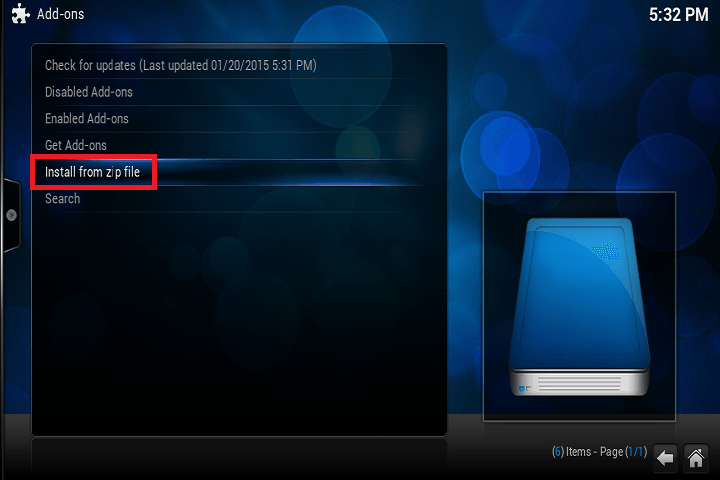
Now browse to the location and choose plugin.video.ntv-3.4.4.zip (or choose the krogsbell one for recording) and click or press Enter
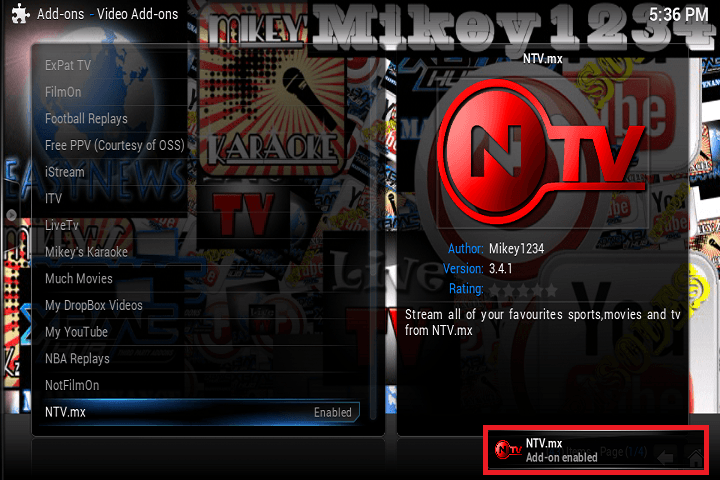
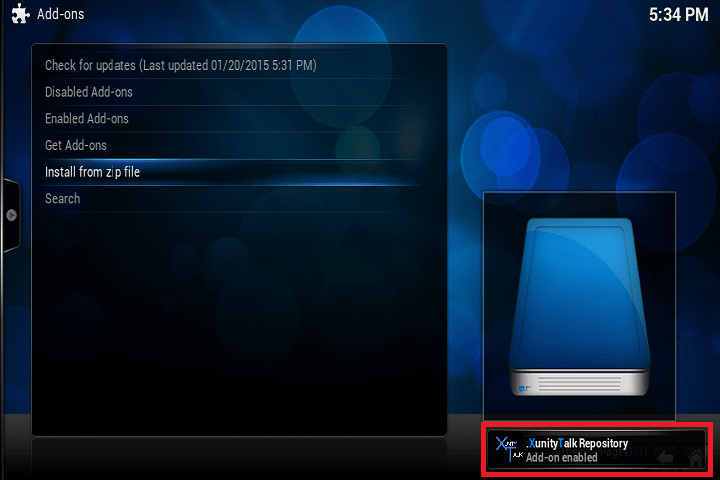
You will see a notification in the bottom right showing the Repository has been enabled
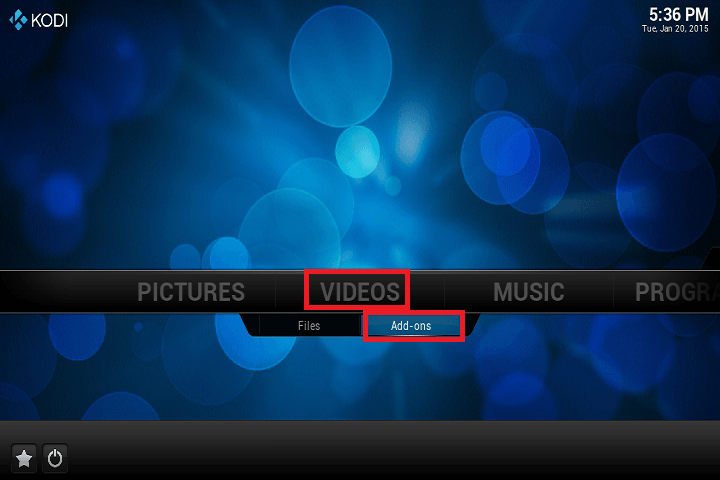
Now click the Home icon in the bottom right corner, then under Videos choose Add-ons
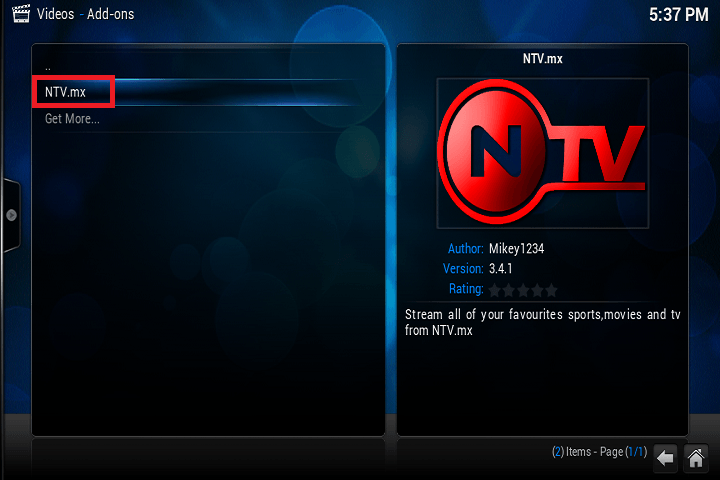
Choose NTV.mx to enter the plugin, you will be prompted for your username and password you created and you can start browsing the channels from your NTV subscription.
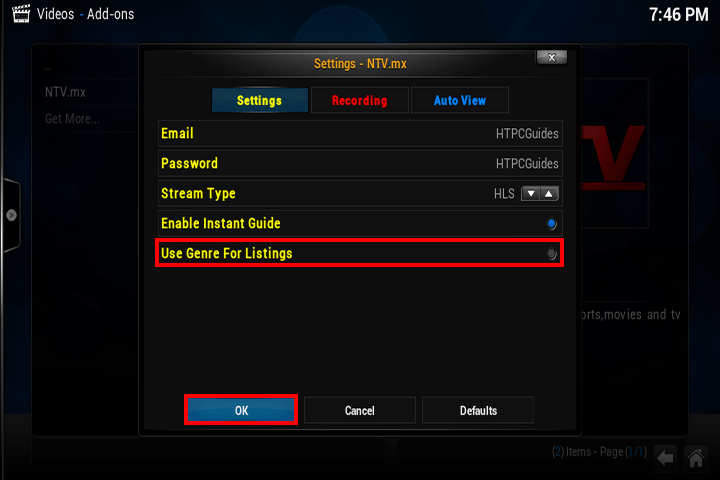
If you do not want the genres to display e.g. Entertainment, Lifestyle etc, right click on the NTV.mx add on and choose Add-on settings
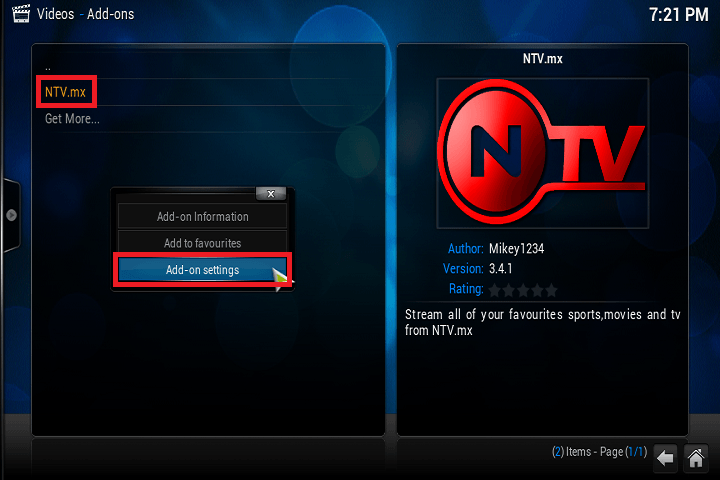
Unmark Use Genre for Listings and click OK
Enjoy the NTV plugin. You can integrate it with the FTV Guide plugin using this guide to get a better EPG visual overview. I will also be creating guides to make NTV integrate with the Scandinavian TV Guide plugin so stay updated by following or subscribing.
The rest of this guide is for the old repository that is currently down and are here for reference only if the repo comes back up.
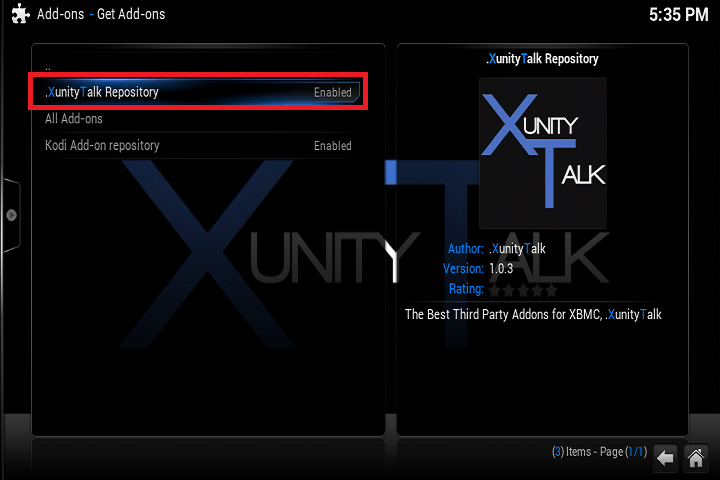
Go up to Get Add-ons

Choose the .XunityTalk Repository
Scroll down to Video Add-ons

Scroll down to NTV.mx
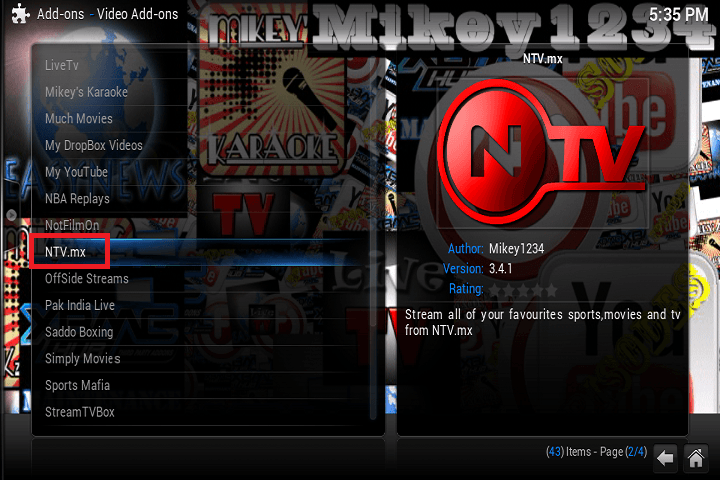
Choose Install
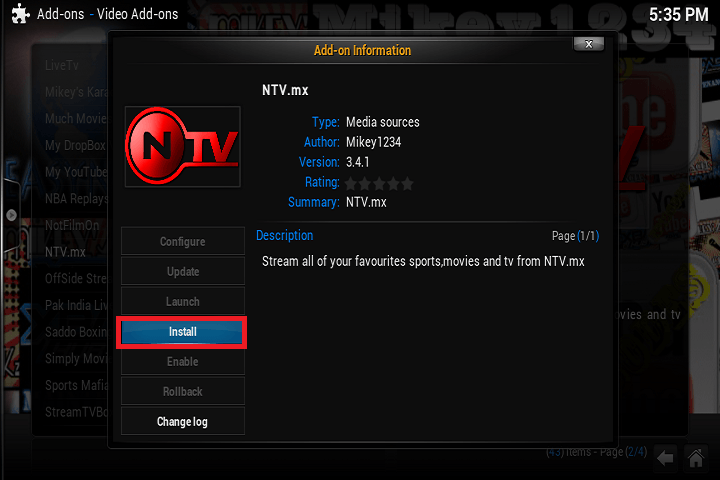
You will see a pop up saying NTV.mx has been enabled