 This guide will show you how to properly mount storage drives on Minibian, Raspbian and Raspbmc. Many guides use a simpler, less robust method that can cause issues if you use multiple USB storage devices. I will walk you through mounting USB sticks and USB hard drives on your Raspberry Pi running Raspbian. This will enable you to use your external USB storage for media, games or whatever your Pi's heart desires for Kodi (XBMC) or a home media server.
At A Glance: Our Top 5 Picks For PI Units
- Our Top Pick: Raspberry Pi 3
- Raspberry Pi 2
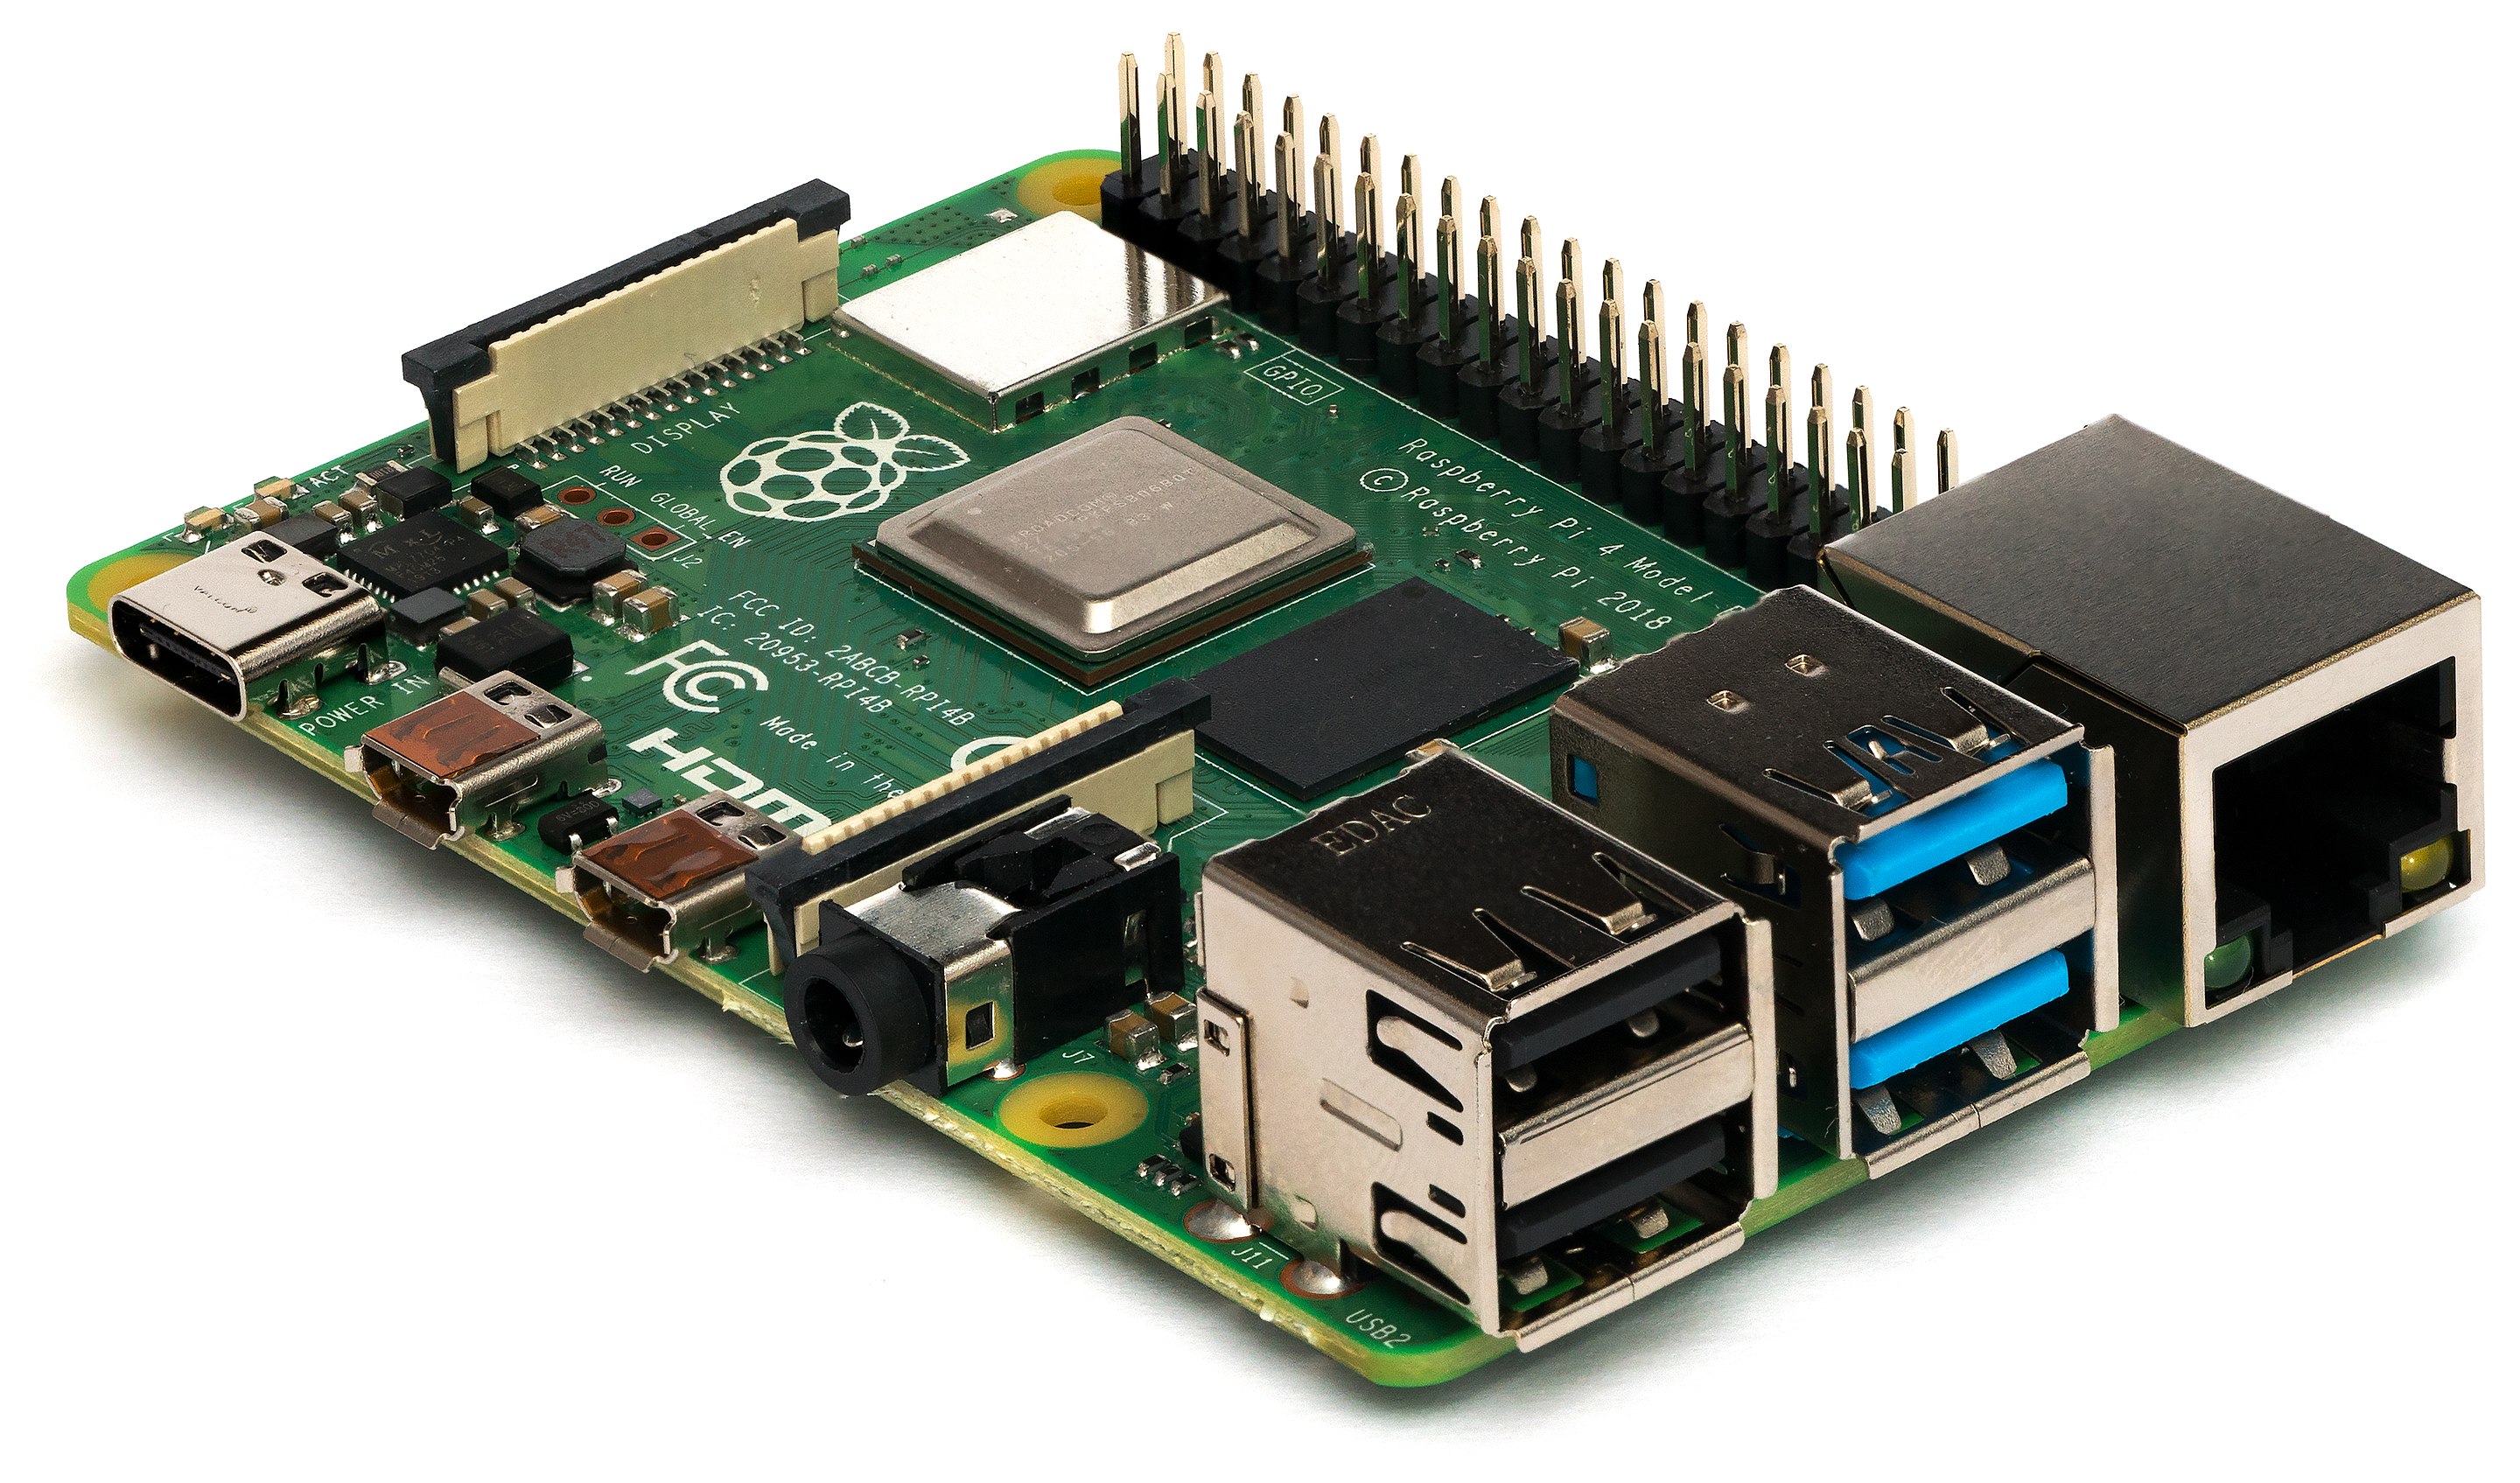
- Raspberry Pi
- Banana Pi
- Banana Pi Pro
I want to see the top picks for PI Units
Updated
for Raspbian Jessie with nofail to prevent system halts for systemd so your hard drive being absent will not stop the boot sequence on your Raspberry Pi.
Updated January 5th, 2016 to set future permissions (thanks manne!)
If you are trying to figure out which hardware would work best for you, consider reading the Pi benchmarks.
Our Top Pick
|
Raspberry Pi 3 |
|
VIEW LATEST PRICE → |

|
Raspberry Pi 2 |
|
VIEW LATEST PRICE → |
|
Raspberry Pi |
|
VIEW LATEST PRICE → |

|
Banana Pi |
|
VIEW LATEST PRICE → |

|
Banana Pi Pro |
|
VIEW LATEST PRICE → |
Mount External USB Hard Drive on Raspberry Pi
I am assuming you only have 1 external hard drive connected to the Pi. If so then it should be attached to /dev/sda1 – additional drives will use /dev/sdb1 and /dev/sdc1 etc. If you have multiple external hard drives you will need separate mount points for each drive (e.g. /mnt/usbstorage1 and /mnt/usbstorage2).
See hard drive deals on Amazon. Remember you can power a 2.5″ hard drive with a model B+ and Raspberry Pi 2.
Prepare the Mount Point
First make a directory in which to mount the USB drive
sudo mkdir /mnt/usbstorageMake pi the owner of the mounted drive and make its permissions read, write and execute for it
sudo chown -R pi:pi /mnt/usbstorage
sudo chmod -R 775 /mnt/usbstorage
Set all future permissions for the mount point to pi user and group (explanation can be found here)
sudo setfacl -Rdm g:pi:rwx /mnt/usbstorage
sudo setfacl -Rm g:pi:rwx /mnt/usbstorage
Determine the USB Hard Drive Format
You also need to know the file system the drive is formatted with
sudo blkidYou will see something like this. Again it is the sda1 line we are interested in. Note the TYPE="exfat" at the end, you will need this for the fstab file. It is easiest to copy it now and paste it after running nano in the next step.
/dev/mmcblk0p1: SEC_TYPE="msdos" LABEL="boot" UUID="787C-2FD4" TYPE="vfat"
/dev/mmcblk0p2: UUID="3d81d9e2-7d1b-4015-8c2c-29ec0875f762" TYPE="ext4"
/dev/sda1: LABEL="HTPCGuides" UUID="BA8F-FFE8" TYPE="exfat"
Update your repositories if your hard drive is anything but ext4 as the TYPE above
sudo apt-get updateNow mount the usb stick in there. If it is NTFS you will need to install some utilities first
sudo apt-get install ntfs-3g -yIf the drive is exfat install these utilities
sudo apt-get install exfat-utils -yFor all drive types mount the usb with this command, -o insures pi is the owner which should avoid permission issues
sudo mount -o uid=pi,gid=pi /dev/sda1 /mnt/usbstorageIf you get an error use this syntax
sudo mount -t uid=pi,gid=pi /dev/sda1 /mnt/usbstorageIf the mount -t command returns an error then use this syntax
sudo mount uid=pi,gid=pi /dev/sda1 /mnt/usbstorageIf you are getting this drive is already mounted errors then you are probably using a distro which automounts the drives which you can either continue using but then you should remove the /etc/fstab entries. You will have to uninstall the automounting software if you want to mount using the method in this guide.
Remove the automounting software with this command
sudo apt-get remove usbmount --purgeAutomount the USB Hard Drive on Boot
/mnt/usbstorage will be the folder in which you store your media. We want it to be automounted on boot The best way to do this is through the UUID. Get the UUID by using this commmand
sudo ls -l /dev/disk/by-uuid/You will see some output like this. The UUID you want is formatted like this XXXX-XXXX for the sda1 drive. If the drive is NTFS it can have a longer format like UUID="BABA3C2CBA3BE413". Note this UUID, for me it is BA8F-FFE8
total 0
lrwxrwxrwx 1 root root 15 Jan  1  1970 3d81d9e2-7d1b-4015-8c2c-29ec0875f762 -> ../../mmcblk0p2
lrwxrwxrwx 1 root root 15 Jan  1  1970 787C-2FD4 -> ../../mmcblk0p1
lrwxrwxrwx 1 root root 10 Oct 26 21:10 BA8F-FFE8 -> ../../sda1
Now we will edit fstab to mount the USB by UUID on boot
sudo nano /etc/fstabAdd the line in red to the bottom, replace XXXX-XXXX with your UUID and exfat with your type if it is different (e.g. ntfs, vfat, ext4). You may or may not need the quotation marks wrapped around the UID, you do not need quotation marks wrapped around the file system type (ext4, vfat, NTFS etc).
The umask 0002 sets 775 permissions so the pi user and group can read, write and execute files on the external USB drive. To completely eliminate permission issues you can set the umask to 0000 which equals 777 permissions so anybody can read, write and execute. Note that 777 permissions are considered a security risk.
If you have issues here then try replacing uid=pi,gid=pi with just the word defaults (typical for ext4). You can also try replacing the UUID with the /dev/sda1 line.
This is an example for exfat
/dev/mmcblk0p1 /boot vfat defaults 0 2
/dev/mmcblk0p2 / ext4 errors=remount-ro,noatime 0 1

UUID=XXXX-XXXX  /mnt/usbstorage exfat   nofail,uid=pi,gid=pi   0   0
for NTFS, note that it is ntfs and not ntfs-3g
/dev/mmcblk0p1 /boot vfat defaults 0 2
/dev/mmcblk0p2 / ext4 errors=remount-ro,noatime 0 1

UUID=XXXX-XXXX    /mnt/usbstorage    ntfs   nofail,uid=pi,gid=pi    0   0
for ext4 using uid and gid is not recommended so use at your own risk as it could cause issues (thanks mk2soldier).
/dev/mmcblk0p1 /boot vfat defaults 0 2
/dev/mmcblk0p2 / ext4 errors=remount-ro,noatime 0 1

UUID=XXXX-XXXX    /mnt/usbstorage    ext4   nofail,uid=pi,gid=pi    0   0
If you get any errors you can replace uid=pi,gid=pi with defaults or remove it entirely
/dev/mmcblk0p1 /boot vfat defaults 0 2
/dev/mmcblk0p2 / ext4 errors=remount-ro,noatime 0 1

UUID=XXXX-XXXX    /mnt/usbstorage    ext4   nofail,defaults    0   0
For using /dev/sda1 and defaults if you have troubles with UUID
/dev/mmcblk0p1 /boot vfat defaults 0 2
/dev/mmcblk0p2 / ext4 errors=remount-ro,noatime 0 1

/dev/sda1    /mnt/usbstorage    ext4   nofail    0   0
Now test the fstab file works
sudo mount -aIf you didn't get errors reboot, otherwise try the suggestions above to get it working then mount -a again until it succeeds
sudo rebootYou should be able to access the mounted USB drive and list its contents
cd /mnt/usbstorage
ls
Every time you reboot, the drives will be mounted as long as the UUID remains the same. If you delete the partitions or format the USB hard drive or stick the UUID changes so bear this in mind. You can always repeat the process for additional hard drives in the future.
Now you can manage the hard drive power using these guides since it will not spin down automatically on Linux
If you have multiple hard drives you will have to make separate mount points (e.g. /mnt/usbstorage2) for each drive's partition
Fix Raspberry Pi 2 Mounting Issues
Thanks to Jake for bringing this to my attention. Apparently there is a bug in the Pi 2 that messes up automounting. You can fix it by creating a delay.
Open up the /boot/cmdline.txt file
sudo nano /boot/cmdline.txtAdd this line to the bottom, you can increase this delay if necessary
rootdelay=5Hit Ctrl+X, Y and Enter to save and exit, then reboot to see if it automounts now.
If the Raspberry Pi hard drive still does not automount we can use rc.local (thanks Julian)
sudo nano /etc/rc.localAdd this lines before the exit line
sleep 30
sudo mount -a
exit
Ctrl+X, Y and Enter to save
Reboot again to test
sudo reboot| USB Hard Drive Model | |||
|---|---|---|---|
| Western Digital My Passport Ultra Portable Hard Drive | |||
| Western Digital My Passport Ultra Portable Hard Drive |
If you want to now remotely access your Raspberry Pi USB hard drive over a network then use Samba or NFS shares