 NZBGet is able to detect fake movie releases that it is downloading from usenet. This can save you a lot of bandwidth and frustration. In order to use this awesome script to avoid fake usenet files, you need NZBGet 14.0 -r1094 or later.
This will not work with the old stable version 13.0. Install NZBGet 14.0 first before attempting to use this guide or you will just get frustrated that it's not working. This guide will show you how to install the FakeDetector script and configure it for NZBGet on Windows, Mac OSX and Linux systems. One of the advantages of using NZBGet's fake detection system over Sabnzbds is that NZBGet will still allow you to download applications without triggering a false positive fake release. This is because NZBGet looks for both a video file and an executable file to conclude the release is a fake.
| Usenet Provider | |||||||
|---|---|---|---|---|---|---|---|
| UsenetServer | |||||||
| Newshosting | |||||||
| Frugal | |||||||
| Usenetlink |
You must know where your NZBGet installation is located
Note: Sourceforge is quirky, if you are not getting a FakeDetector.zip file, use this URL on Windows and Mac OSX which should lead you to a folder where you can download the zip directly.
http://sourceforge.net/projects/nzbget/files/ppscripts/fakedetector/
Avoid Fake Usenet Files with NZBGet 14 and Later
Windows
If you followed my Install NZBGet Windows guide then your installation directory is c:\Program Files (x86)\NZBGet-14.0
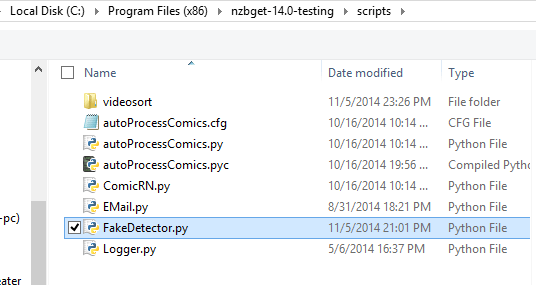
Open the scripts folder inside the NZBGet-14.0 folder.
Grab the script https://github.com/nzbget/FakeDetector/releases
Open the zip file and copy the FakeDetector.py file to your clipboard and browse to your NZBGet install folder and paste it
FakeDetector.py should now be present in the NZBGet-14.0 folder
Install Python 2.7.x
You need Python installed for the FakeDetector script to run. If you don't you will get these errors
Could not found associated program for .py. Trying to execute FakeDetector.py directly
Count not start queue-script FakeDetector.py error 193
Download Python 2.7 which will work on 64 or 32 bit systems
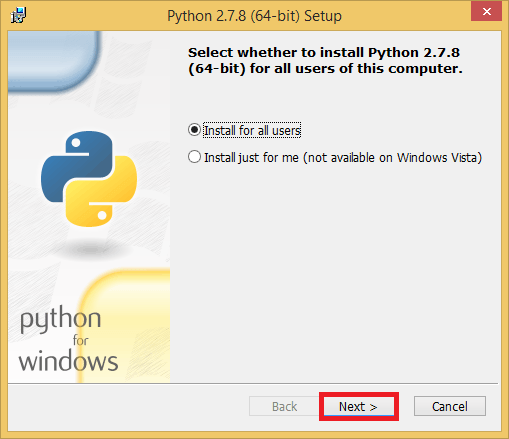
Run the installer, for the most part you just click Next through the Wizard
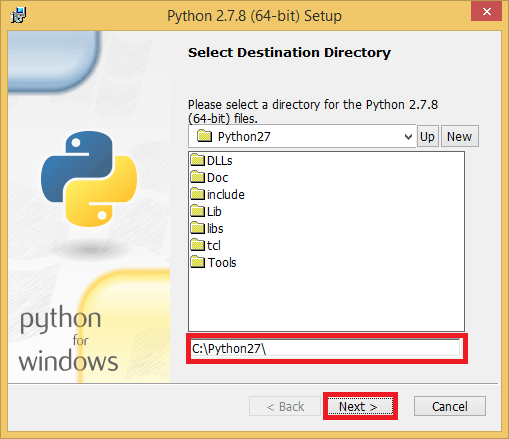
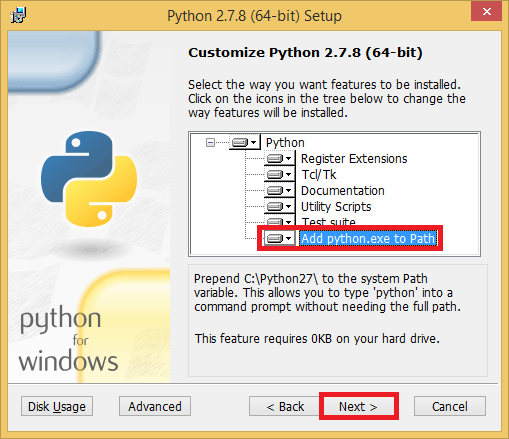
The guide will assume you are installing to C:\Python27
In the Customize Python 2.7.x enable Add python.exe to Path.
This allows you to run python from the command prompt in Windows.
Click Next
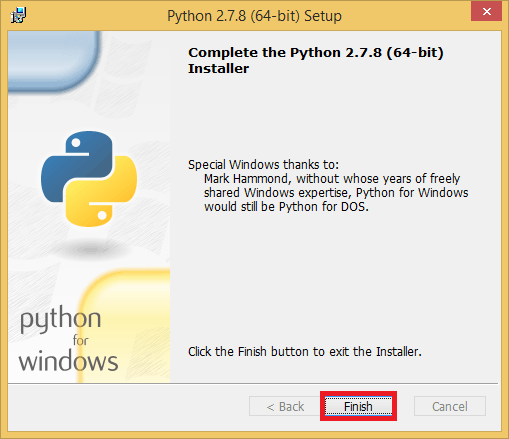
Click Finish to exit
Linux Systems
If on a linux based system like Ubuntu, Debian, even the Raspberry Pi with RaspBian or Raspbmc, then just SSH into the box with Putty or another SSH Client.
Enter your NZBGet scripts directory. It could be ~/nzbget-svn/scripts or ~/nzbget-14.0 or /opt/nzbget/scripts and can be confirmed in the PATHS section of the NZBGet Web UI
Enter the NZBGet scripts directory with this command
cd /opt/nzbget/scriptsNow grab FakeDetector 1.5 from the NZBGet Sourceforge
wget http://sourceforge.net/projects/nzbget/files/ppscripts/fakedetector/fakedetector-ppscript-1.5.zipInstall unzip
sudo apt-get install unzip -yUnzip the FakeDetector
unzip fakedetector-ppscript-1.5.zipYou may need to reload NZBGet for the scripts to show up.
Mac OSX
Open Safari and browse to http://sourceforge.net/projects/nzbget/files/ppscripts/fakedetector/fakedetector-ppscript-1.5.zip
We need to place this FakeDetector.py in the NZBGet scripts folder
You need to set your NZBGet options to allow showing the scripts folder in Finder
First make sure NZBGet 14.0 is running
Click the Arrow pointing down in the top right, choose Show in Finder and then Scripts
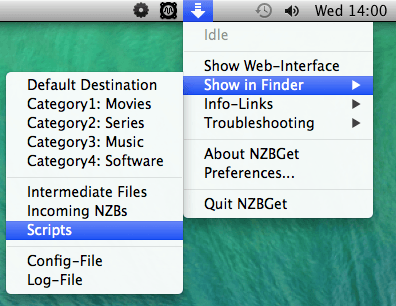
The scripts folder will pop up, enter it
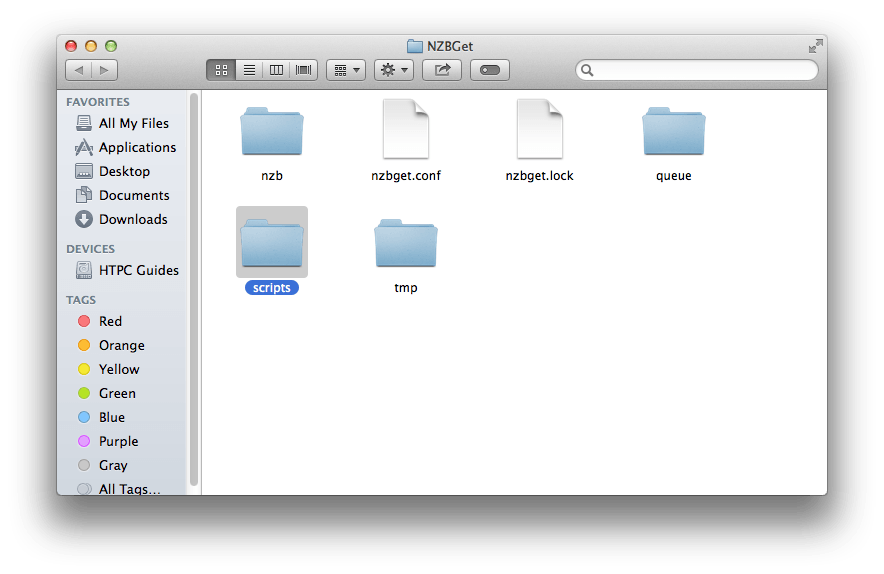
Copy the FakeDetector.py script you downloaded into the scripts folder

Reload NZBGet or the scripts will not be viewable in the web interface
Configure NZBGet FakeDetector to Avoid Fake Usenet Files
Open up the NZBGet interface, the default is http://ip.address:6789
Click Settings and then Extension Scripts
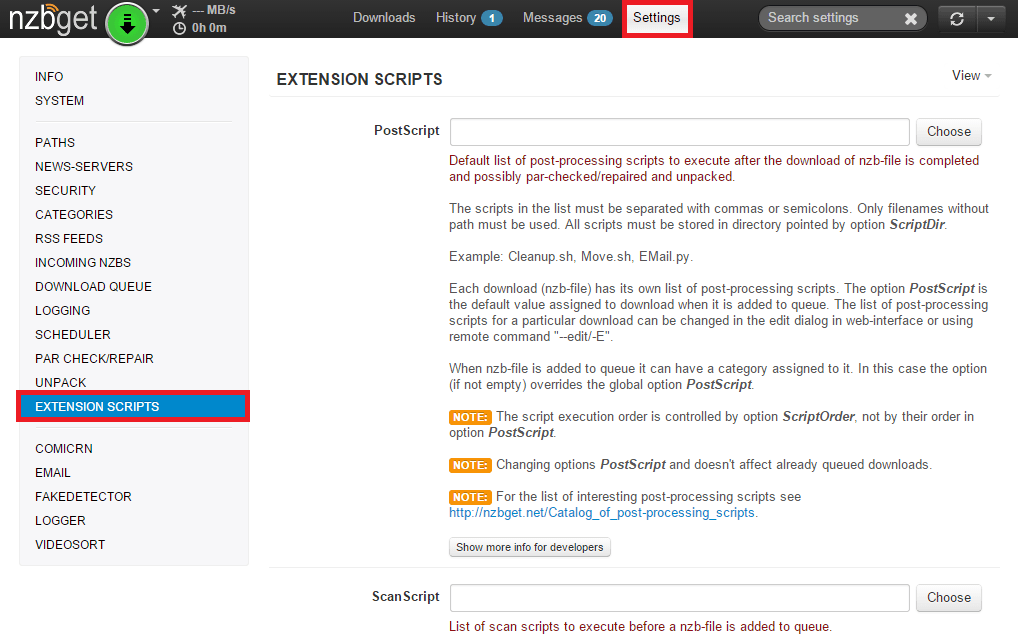
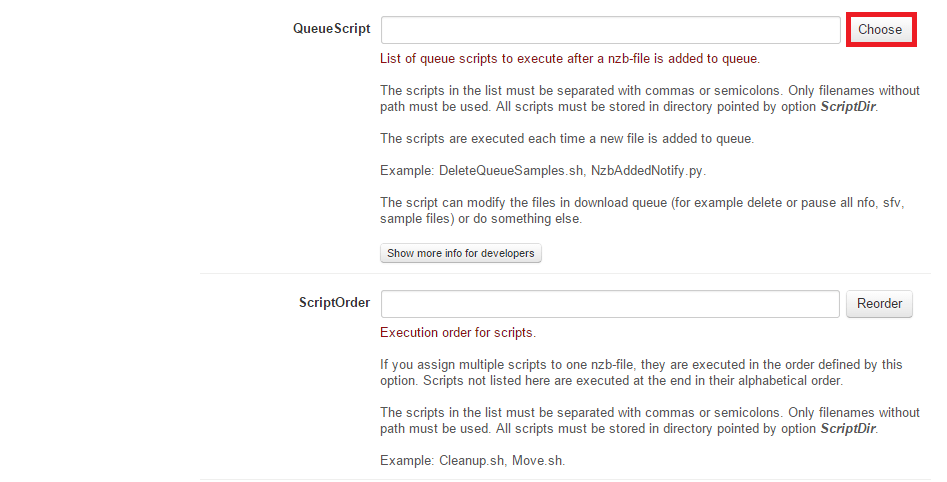
Scroll down to QueueScript click Choose
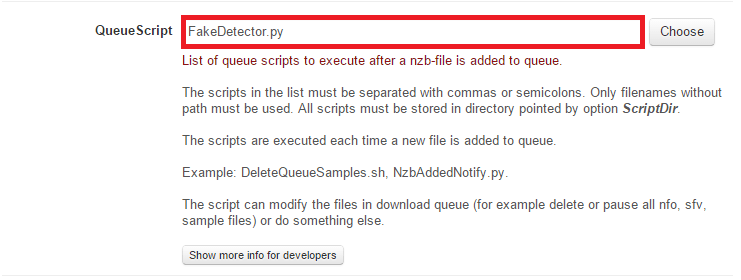
Select FakeDetector and click Apply

You should now see the script added in the QueueScript field
If you are running multiple scripts you need to reorder the scripts
Scroll down until you see ScriptOrder and click Reorder
Move your mouse over the arrow pointing to the top with a bar on top for FakeDetector
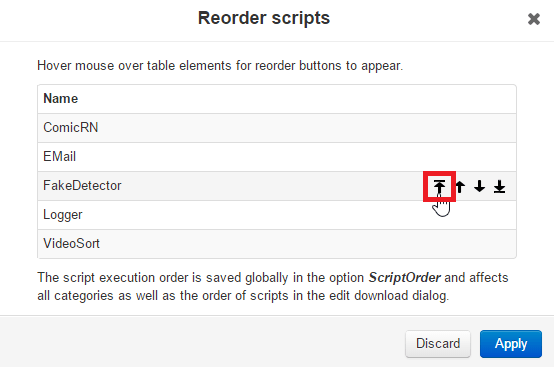
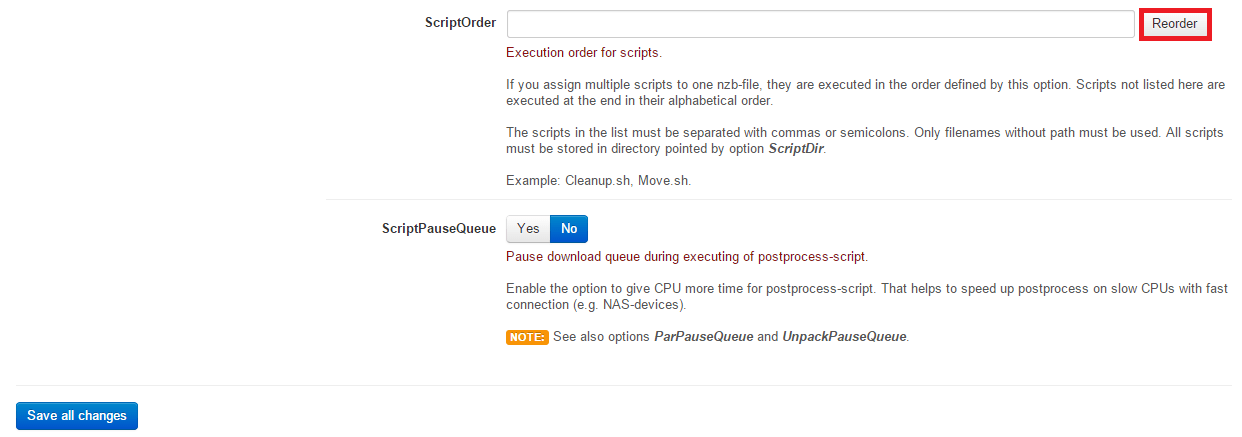
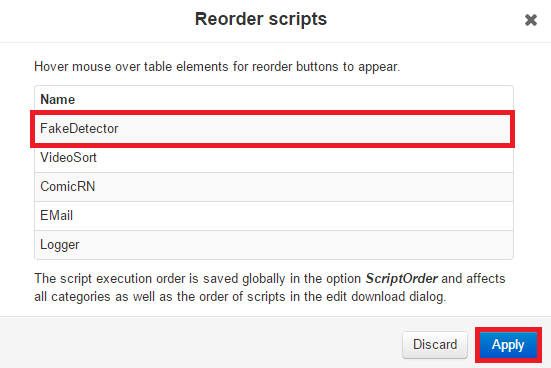
Now you will see FakeDetector at the top, click Apply
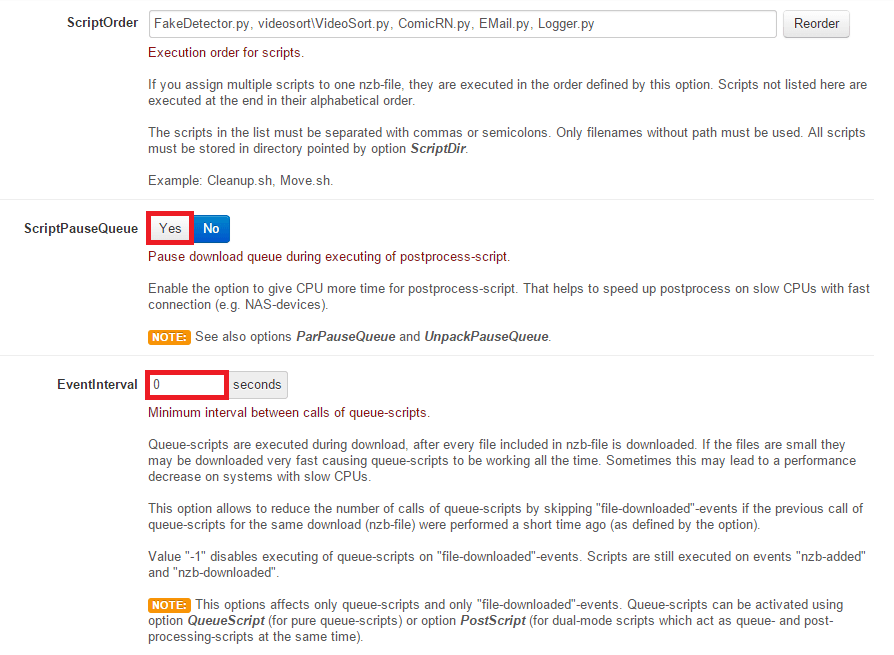
Now you should see the script order, if you are on a slow system and have other post processing scripts set ScriptPauseQueue to yes. You can also adjust the EventInterval for low end systems. The reason EventInterval is useful is if you have a fast connection but a slow processor (NAS, Raspberry Pi) then NZBGet will be scanning ever downloaded file which can eat up the CPU. If you notice any issues you can start increasing the EventInterval and re-testing to see how it works. EventInterval is measured in seconds.
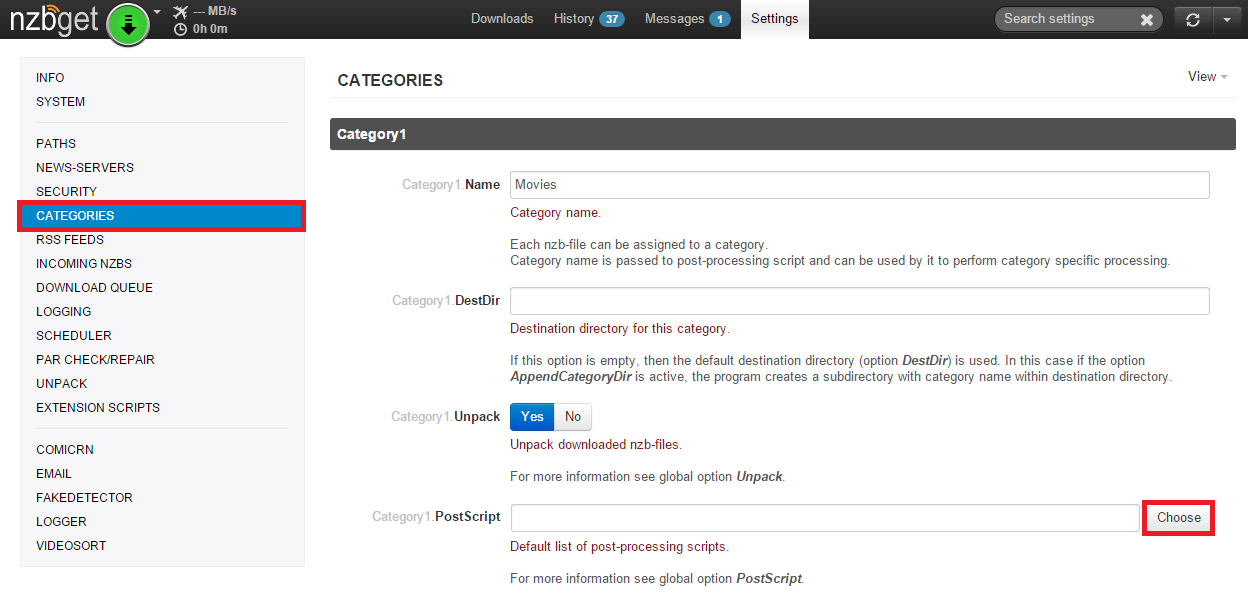
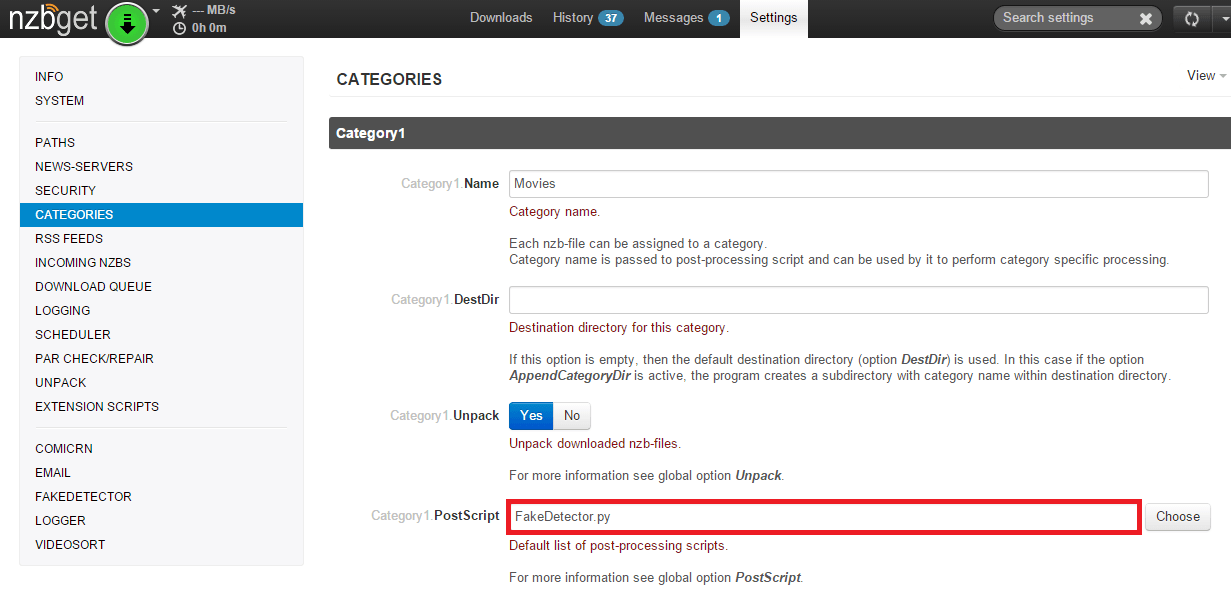
Now apply the post script to the Movies category, you can use this same method for the Series (TV shows) category although the majority of fake releases do tend to be movies.
Click Categories in the left pane and click Choose under PostScript for the Movies Category
Check off FakeDetector and click Apply
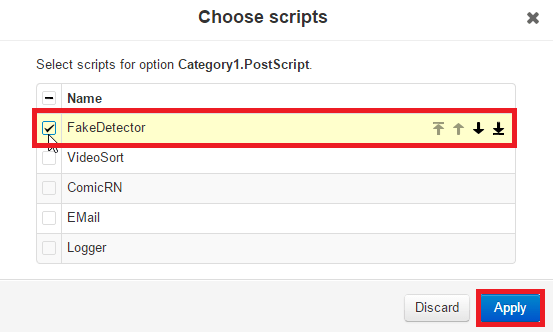
You should now see it in the PostScript field
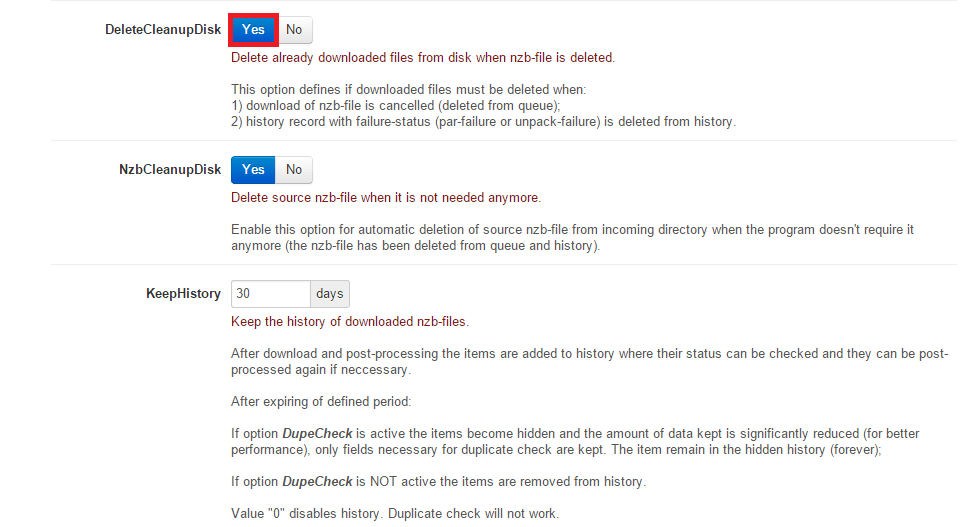
To make sure NZBGet deletes the garbage release do the following, these options are enabled by default so it shouldn't be necessary but it is worth checking anyway.
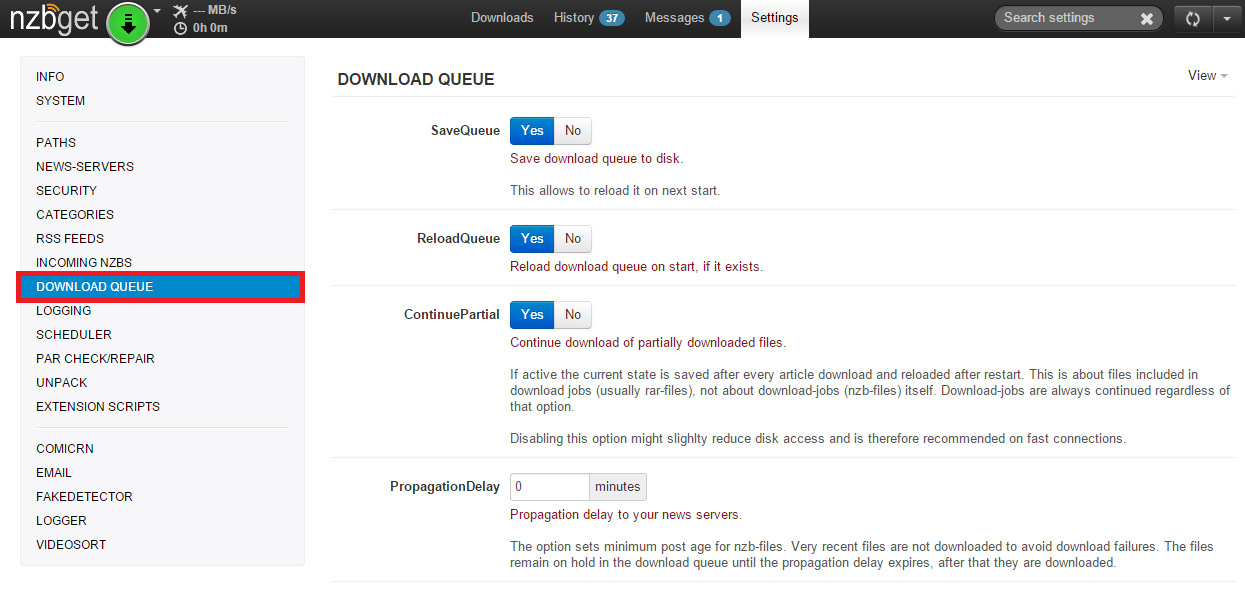
Click Download Queue in the left pane
Scroll down and make sure DeleteCleanupDisk is enabled
Scroll back up and click Incoming NZBs in the left pane
Make sure DupeCheck is enabled
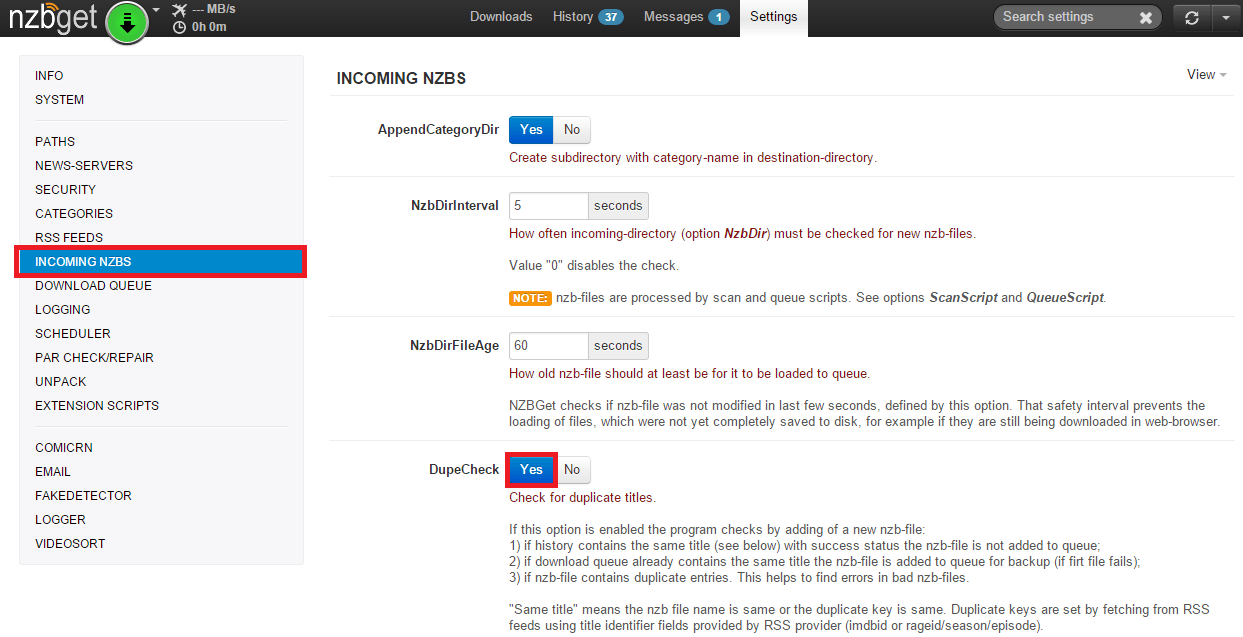
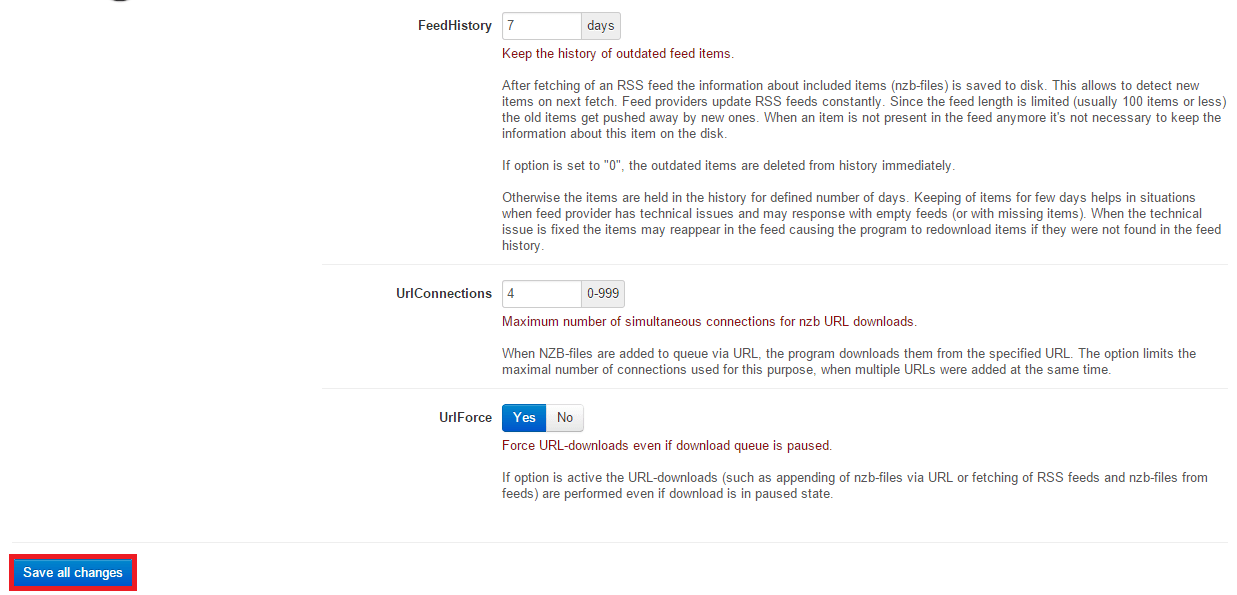
Scroll down and click Save All Changes
Click Reload

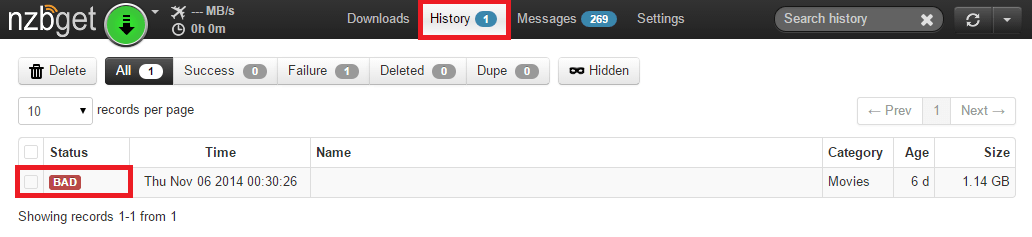
Test a known shitty garbage spam release and you will see it gets marked as BAD in History
Now NZBGet will discard these spammy releases. My hope is that eventually these people will disappear the more people use these techniques to avoid these fake usenet releases.