![]() Mylar is the automatic comic book downloader. It uses Sabnzbd or NZBGet to download comics from usenet. Mylar can also send comic torrent files to your torrent downloader's watch directory (blackhole method). The easiest way to install Mylar on Mac OSX is to use the Terminal. Do not be afraid, all you have to do is copy and paste some commands. You should be done in less than 5 minutes.
Mylar is the automatic comic book downloader. It uses Sabnzbd or NZBGet to download comics from usenet. Mylar can also send comic torrent files to your torrent downloader's watch directory (blackhole method). The easiest way to install Mylar on Mac OSX is to use the Terminal. Do not be afraid, all you have to do is copy and paste some commands. You should be done in less than 5 minutes.![]()
| Usenet Provider | |||||||
|---|---|---|---|---|---|---|---|
| UsenetServer | |||||||
| Newshosting | |||||||
| Frugal | |||||||
| Usenetlink |
Install Mylar Mac OSX
Install Dependencies
Run the Terminal, found in Finder -> Utilities -> Terminal
You can find it in Applications -> Utilities

Now Scroll down to Terminal and open it
This is the white Mac Terminal.

You will now copy and paste some commands and press Enter
Install command line tools
xcode-select --install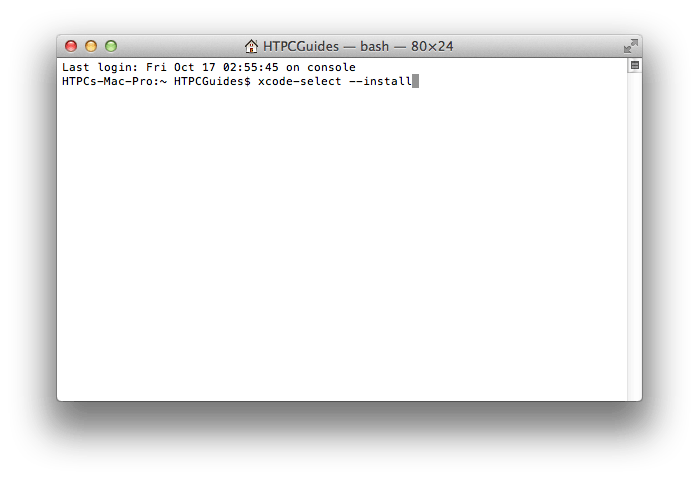
You will get a pop up asking to install command line tools. Click Install.
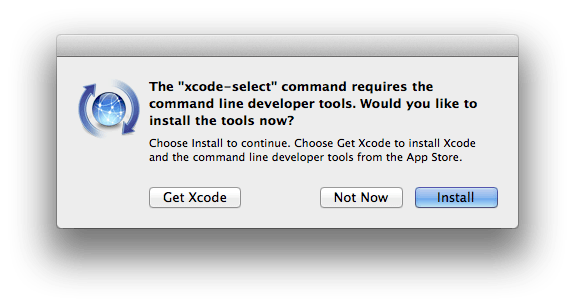
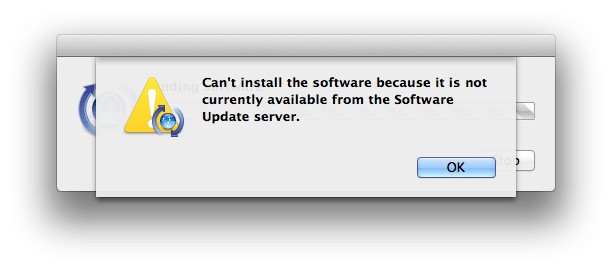
If it says it couldn't be found then you already have command line tools installed
Install CherryPy
Mylar requires the python library CherryPy to work
sudo easy_install CherryPyNow use git to clone the latest Mylar version
git clone https://github.com/evilhero/mylar.git -b development /Applications/MylarSee if it runs by using this command
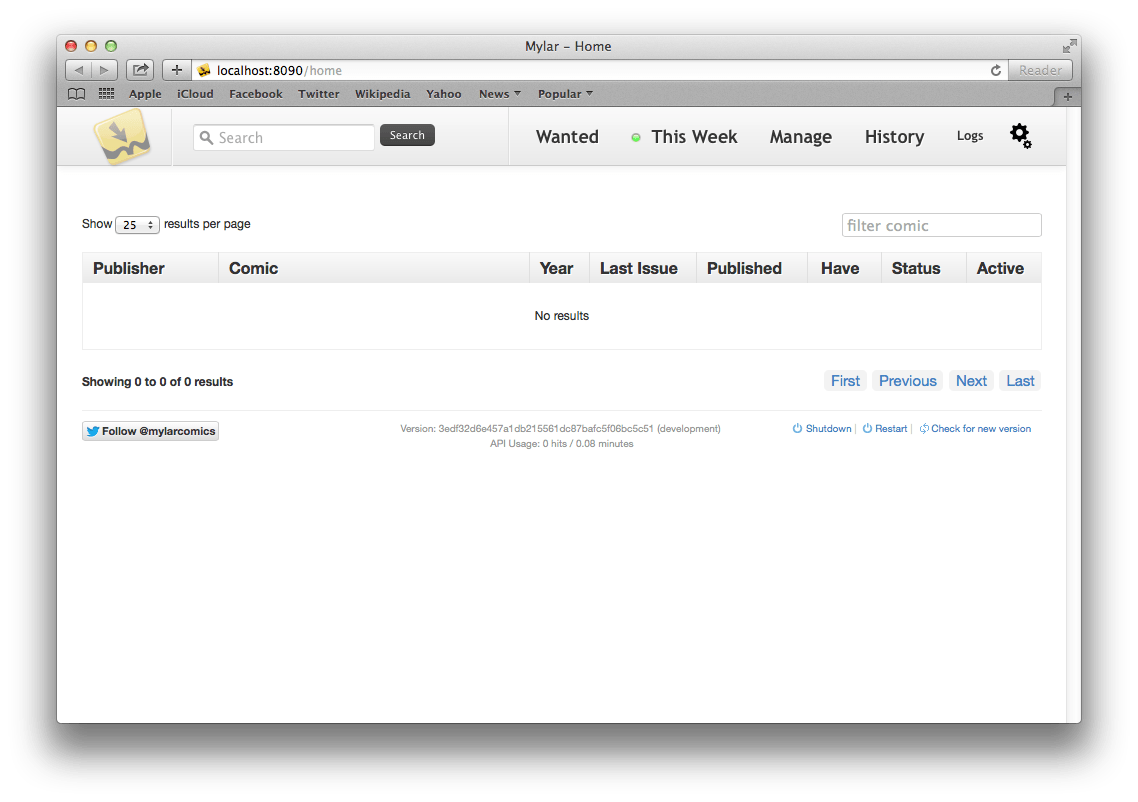
python /Applications/Mylar/Mylar.pyYou should see the Mylar interface pop up in Safari
Create the startup script file
The plist method is recommended, create the Mylar plist file with this command
sudo nano /Library/LaunchDaemons/mylar.plistPaste this code into the file
<plist version='1.0'>
<dict>
 <key>Label</key>
 <string>Mylar</string>
 <key>ProgramArguments</key>
 <array>
 <string>/usr/bin/python2.7</string>
 <string>/Applications/Mylar/Mylar.py</string>
 </array>
 <key>KeepAlive</key>
 <true/>
</dict>
</plist>
Press Control+X, then Y and Enter
Reboot to test if it works, if it doesn't you can try the Automator method.
Note: You should only use the plist or the Automator, not both!
If you would rather use an Automator script to startup Mylar at boot
In Finder, open Automator

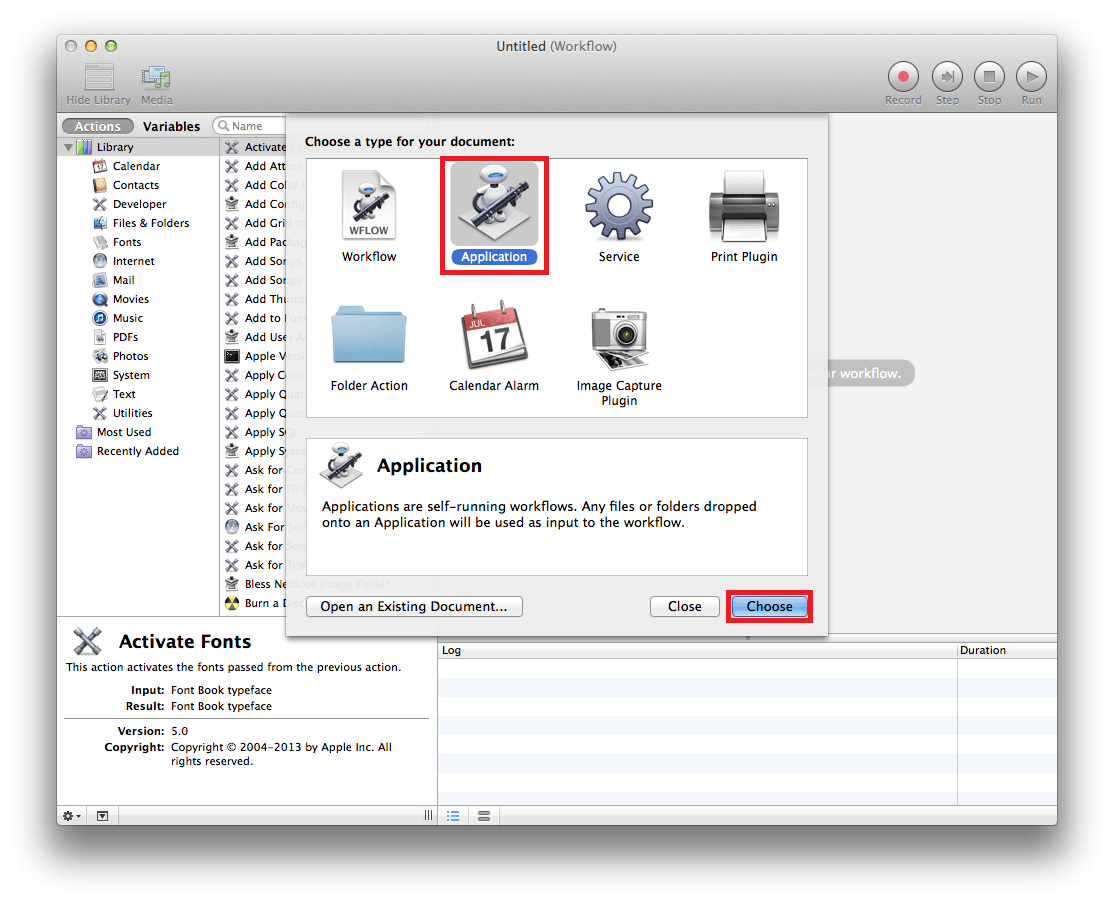
In Automator, choose application
Make sure the library is shown. The top left corner should show Hide Library.
Click Utilities on the left pane then double click Run Shell Script and it will load an empty script in the Workflow pane on the right
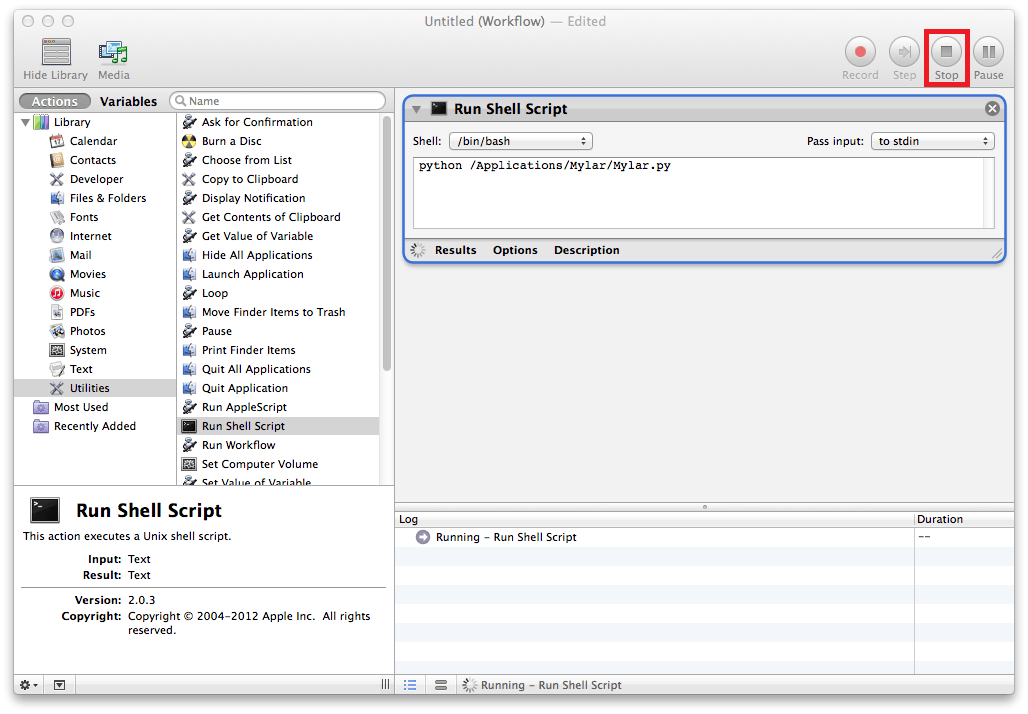
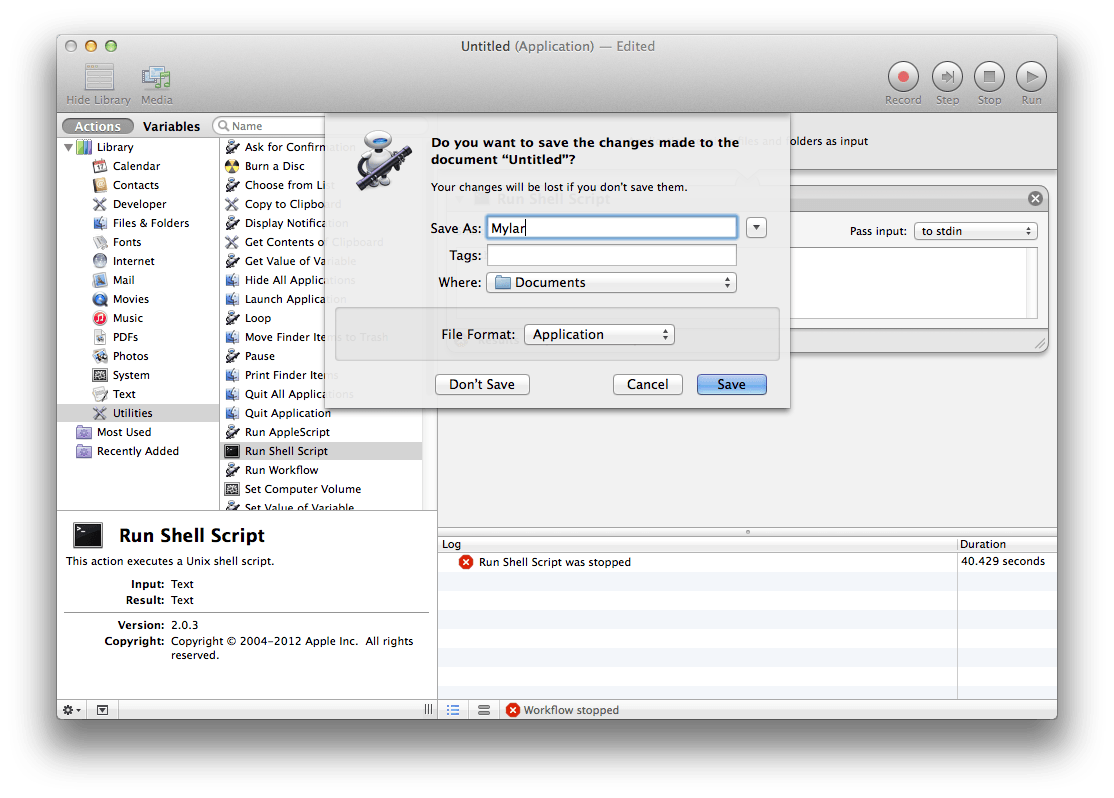
Paste this script and click Run in the top right.
python /Applications/Mylar/Mylar.py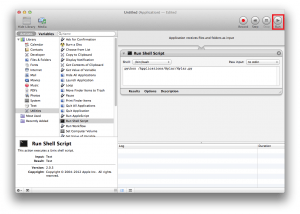
Mylar should pop up in Safari, back in Automator click Stop and then close.
Save it as Mylar, make sure Where and File Format are both set to Application
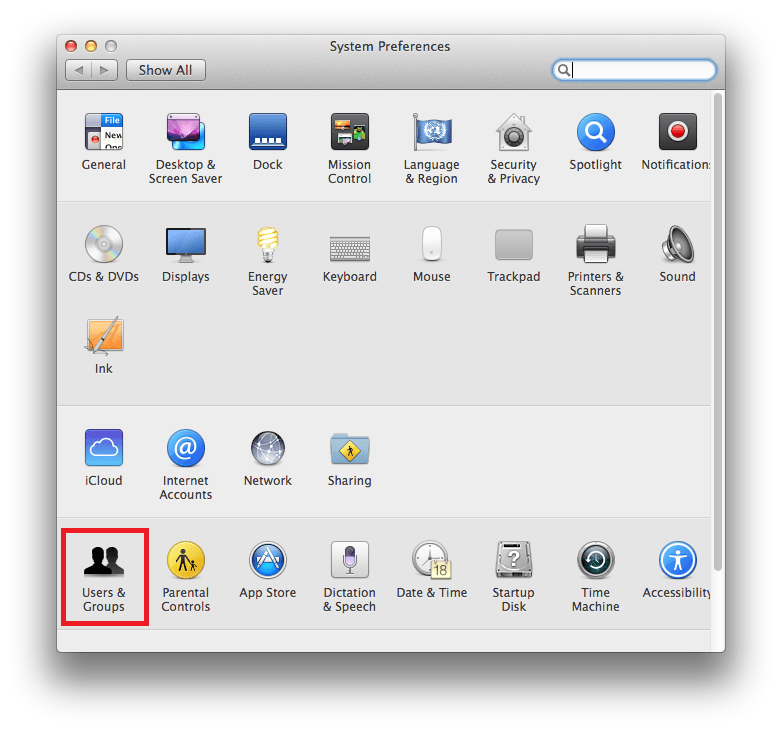
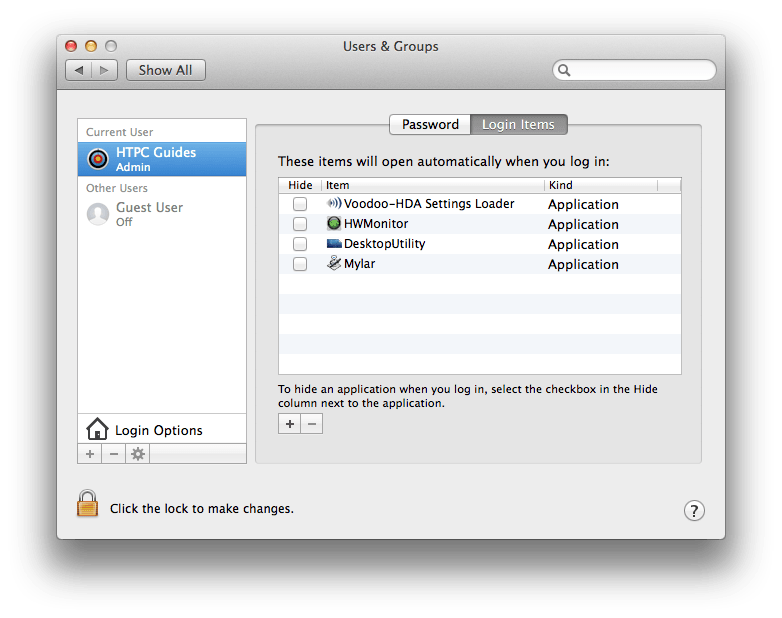
Go to the Apple menu, choose System Preferences and then Users and Groups
Scroll down to Users and Groups
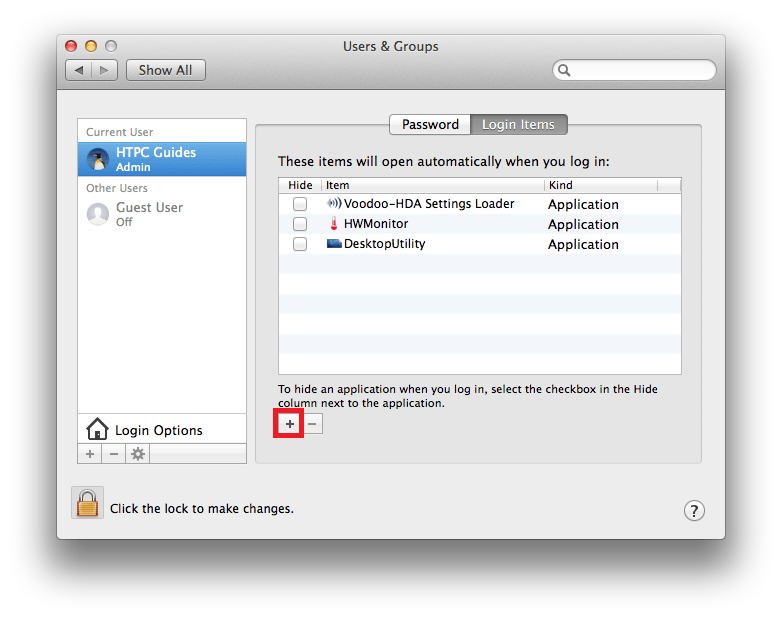
Click the plus sign
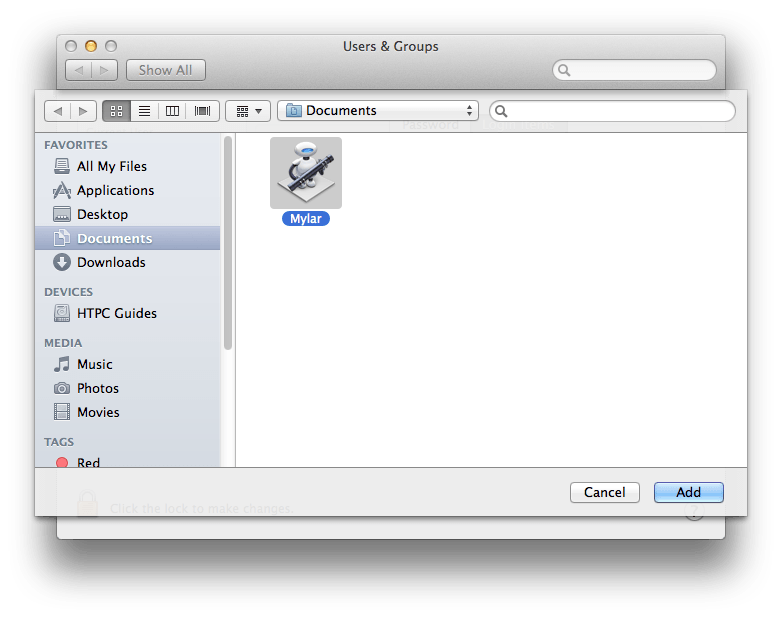
Find the Mylar Application and click Add
Now the login item is added
Reboot to see if it works.
Note: You should only use the plist or the Automator, not both!
Now you can Configure Mylar