Nzbdrone is growing in popularity due to fantastic development. The devs are creating new features and fixing bugs all the time, it's the epitome of active development and community projects should be run. It was time to make a guide for installing Nzbdrone on OSX so Mac users can enjoy the benefits of this awesome program in conjunction with Sabnzbd and their fully automated Usenet system. It is a good idea to have a UsenetServer account for downloading new content. If you already have one, let's get started.
| Usenet Provider | |||||||
|---|---|---|---|---|---|---|---|
| UsenetServer | |||||||
| Newshosting | |||||||
| Frugal | |||||||
| Usenetlink |
Install Sonarr (NzbDrone OSX)
Note that Sonarr has since come out with an .app which makes it easier to install, you do still need mono and an autoboot method, however which this guide has.
Install Mono
Download the Mono OSX (MRE) package from mono-project
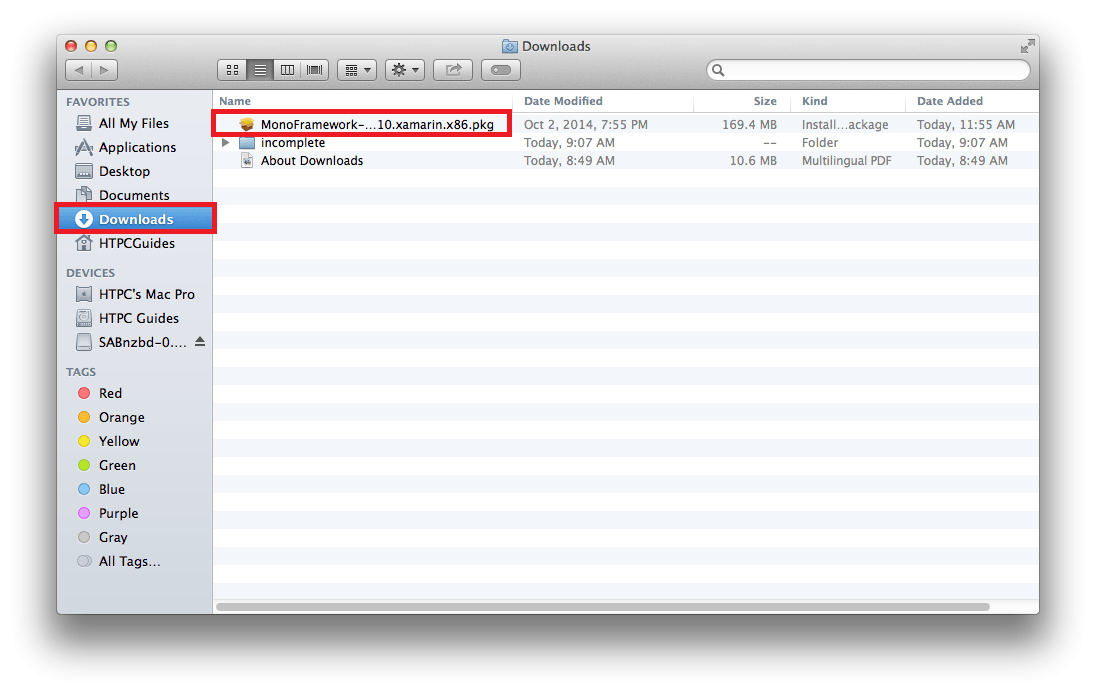
In Finder, navigate to your Downloads and open the mono package
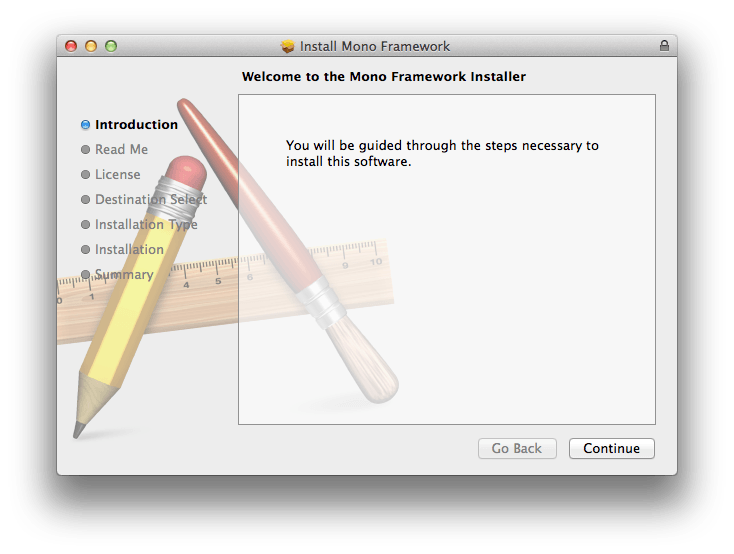
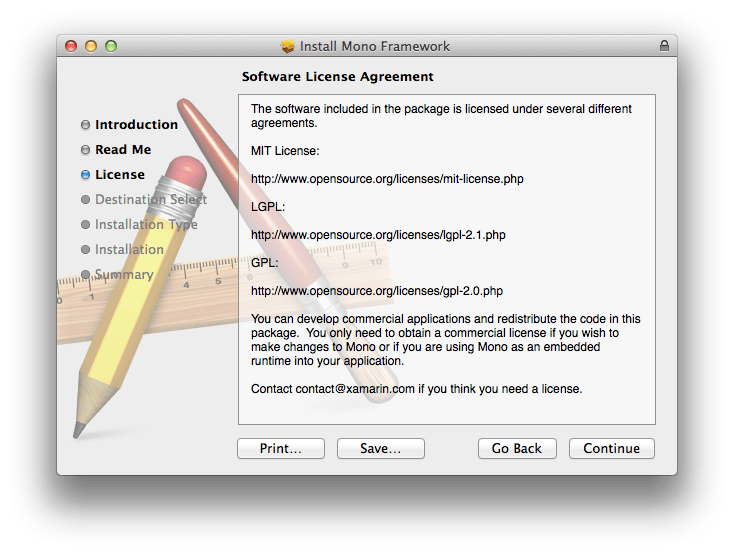
That will begin this very fun wizard. Click Continue
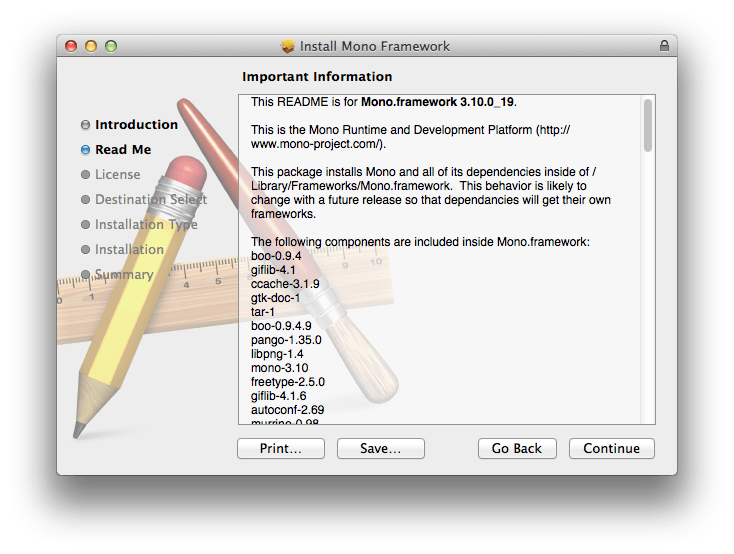
You better read this or you'll go to jail. Click Continue
Read this too or the feds will come after you. Click Continue
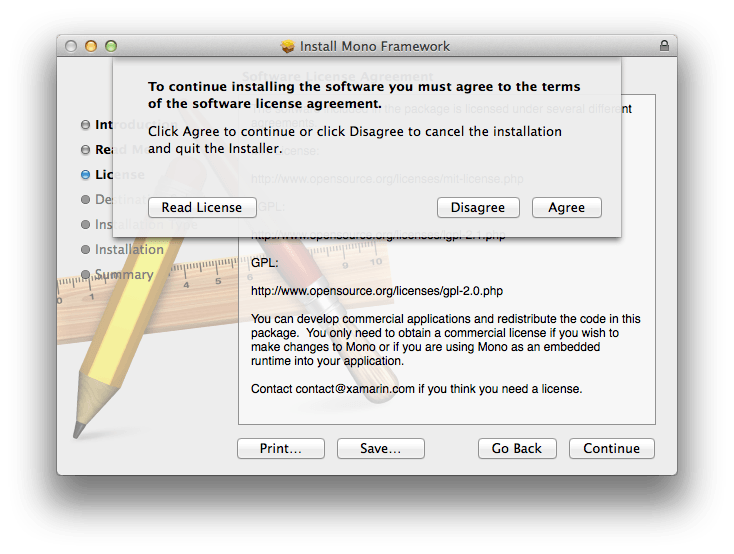
You'll get this pop up, click Agree or read the whole license
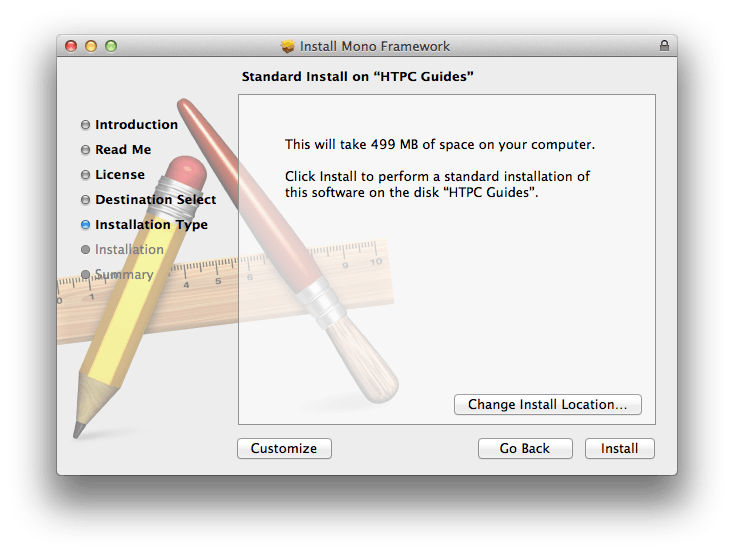
Finally click Install
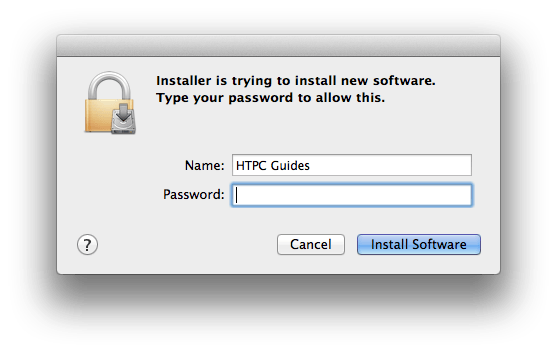
It will ask permission so enter your password and click Install Software
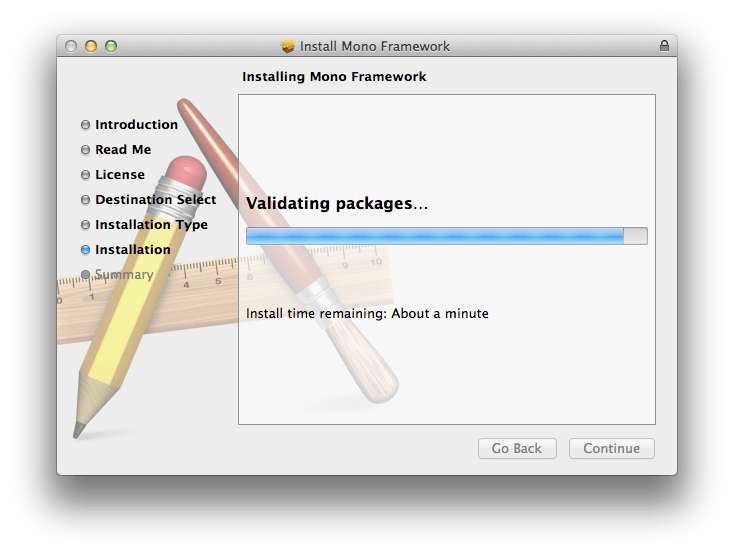
It will do its magic, should not take long
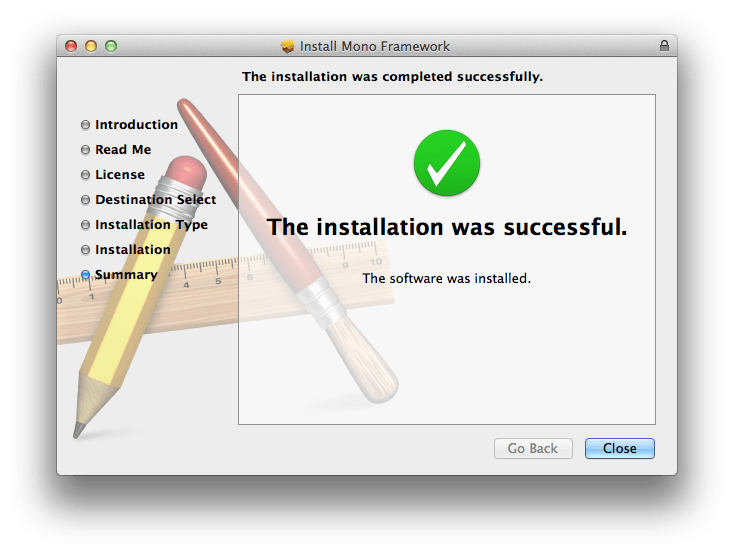
All done. Mono is installed
Install Nzbdrone OSX
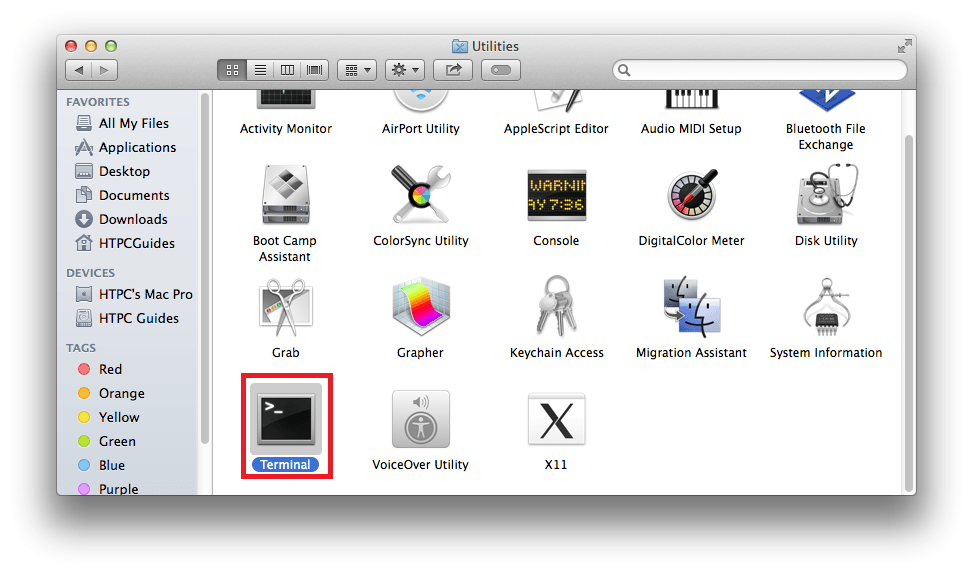
Run Terminal.
You can find it in Applications -> Utilities

Now Scroll down to Terminal and open it
The Terminal is very white.
You are going to copy and paste the following commands. You paste by right clicking in terminal. Press enter after pasting each one
cd /ApplicationsNow grab the latest Nzbdrone
curl -O https://download.sonarr.tv/v2/master/osx/NzbDrone.master.osx.tar.gzUnpack the Nzbdrone package
tar xvfz NzbDrone.master*.tar.gzDelete the archive
rm NzbDrone.master.osx.tar.gzGo into the newly created nzbdrone folder
cd nzbdroneThe path of Nzbdrone should now be /Applications/Nzbdrone/Nzbdrone.exe
We will now make it start on boot.
You have 2 options, the plist method or the Automator method. The plist method doesn't always work for everyone but here is one I got working.
Type this command in Terminal to create the plist file
sudo nano /Library/LaunchDaemons/nzbdrone.plistPaste this code for the NzbDrone plist
<?xml version="1.0" encoding="UTF-8"?>
<!DOCTYPE plist PUBLIC "-//Apple//DTD PLIST 1.0//EN" "http://www.apple.com/DTDs/PropertyList-1.0.dtd">
<plist version="1.0">
 <dict>
 <key>KeepAlive</key>
 <dict>
 <key>SuccessfulExit</key>
 <false />
 </dict>
 <key>Label</key>
 <string>nzbdrone.job</string>
 <key>ProgramArguments</key>
 <array>
 <string>mono</string>
 <string>--debug</string>
 <string>/Applications/Sonarr.app/Contents/MacOS/NzbDrone.exe</string>
 </array>
 <key>RunAtLoad</key>
 <true />
 <key>AbandonProcessGroup</key>
 <true />
 </dict>
</plist>
Now reboot and do not create the Automator script.
Here is the Automator method to create a startup script. Only use this if the plist method did not work for you.
Automator is located in Finder -> Applications
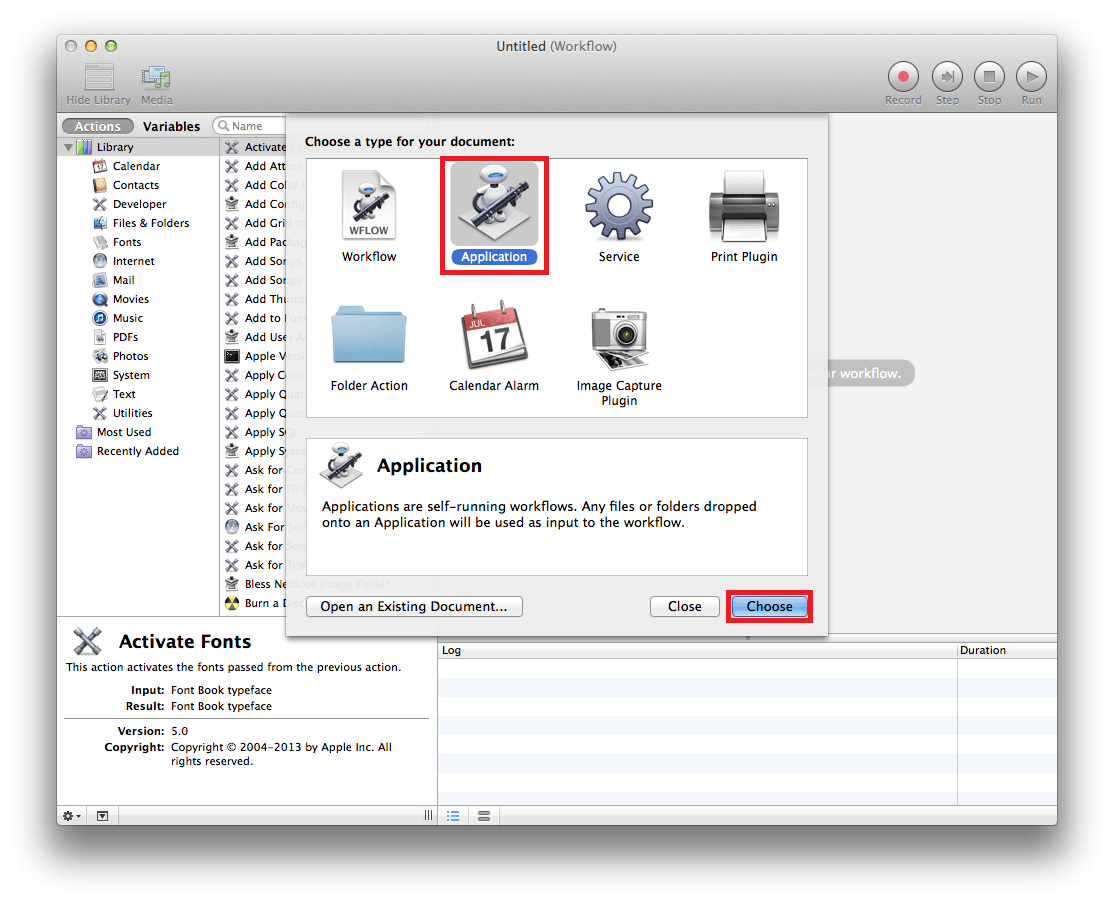
In Automator, choose application
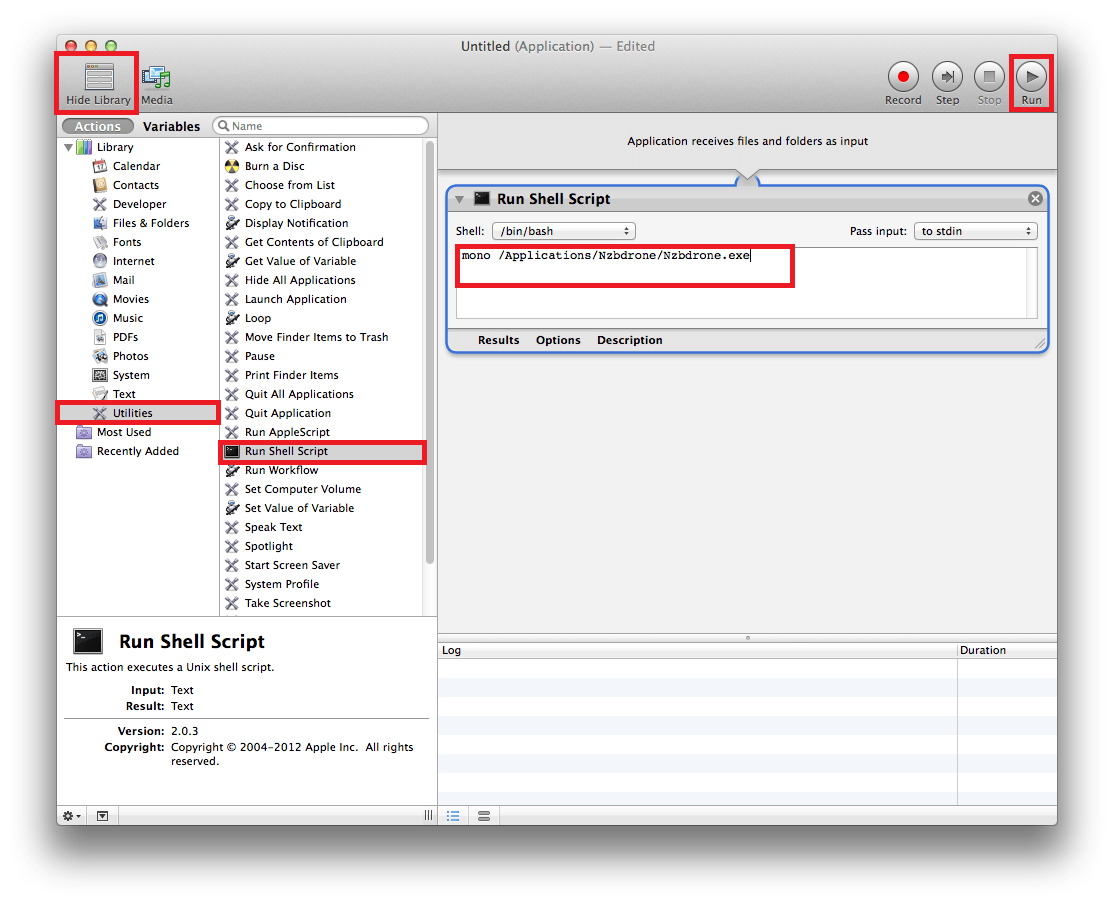
Make sure the library is shown. The top left corner should show Hide Library.
Click Utilites in the left pane and then double click Run shell script in the middle pane.
A Run Shell Script will pop up in the right pane.
Copy and paste this text into the script area
mono /Applications/Nzbdrone/Nzbdrone.exeThen click Run
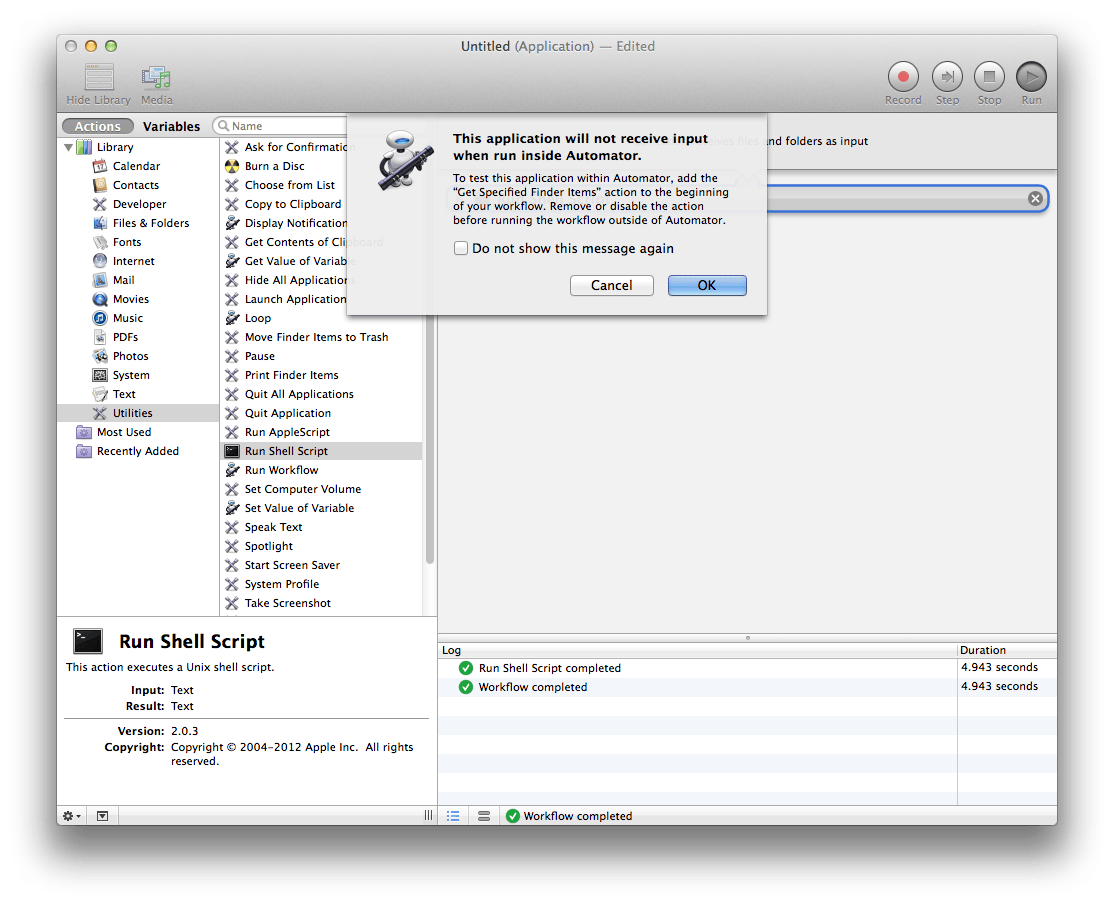
You will see this popup. click OK
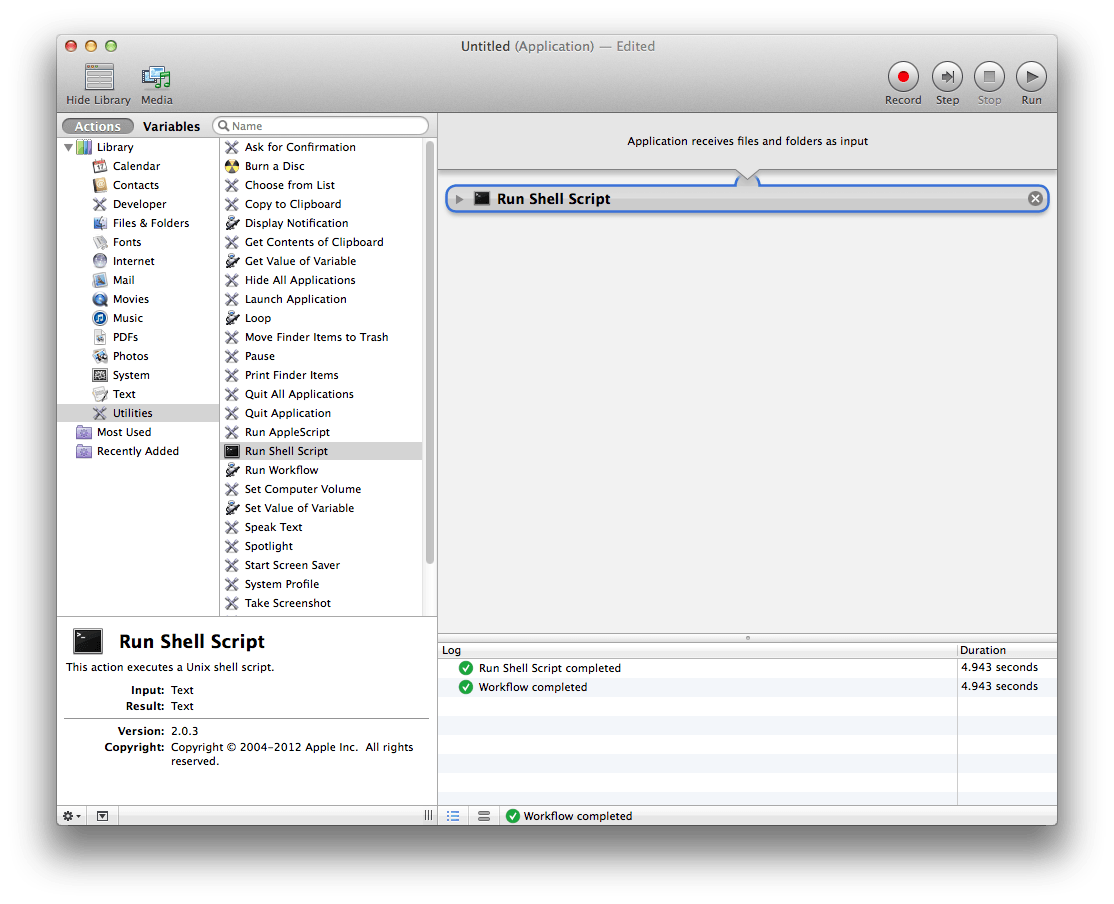
You will see a message at the bottom that says Script Success. Click Close in the top left.
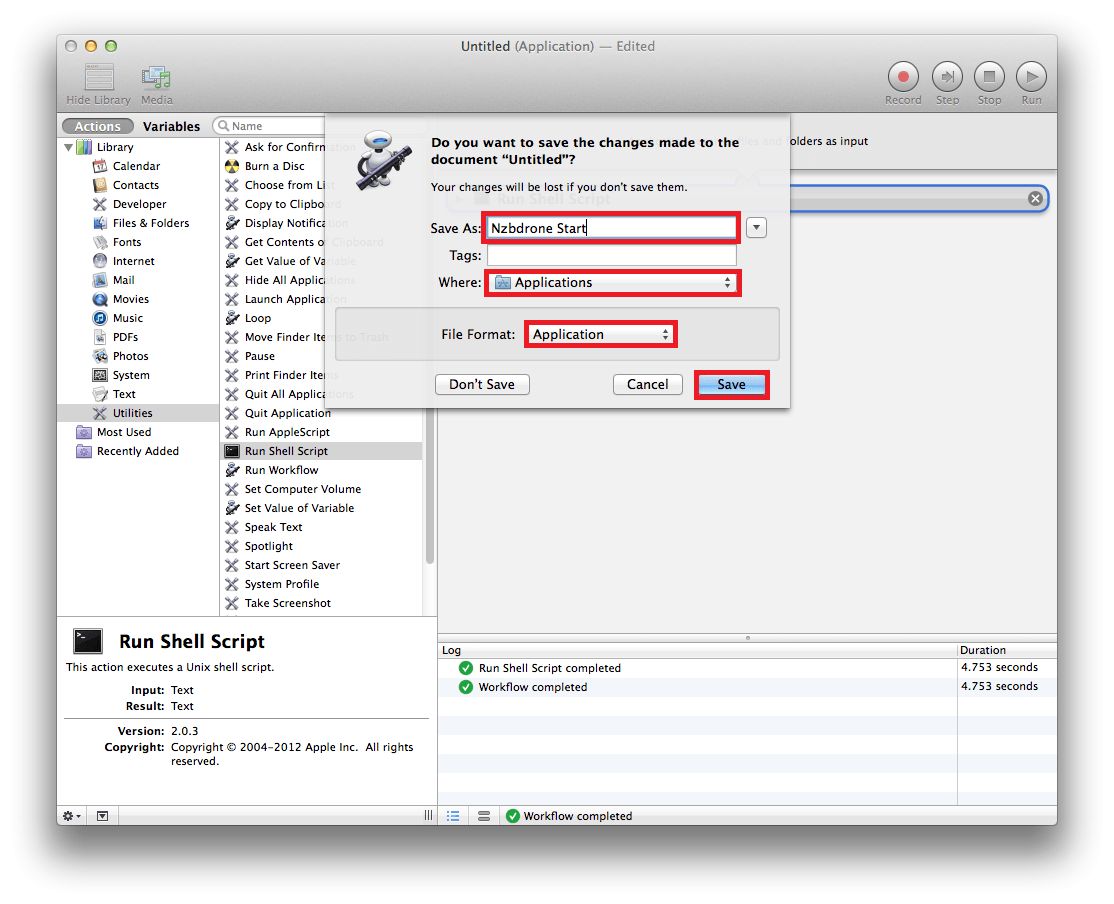
Now it will ask you to give a name to this script. Choose something like Nzbdrone Start
Make sure Where is set to Applications and file format is set to Application.
Click Save
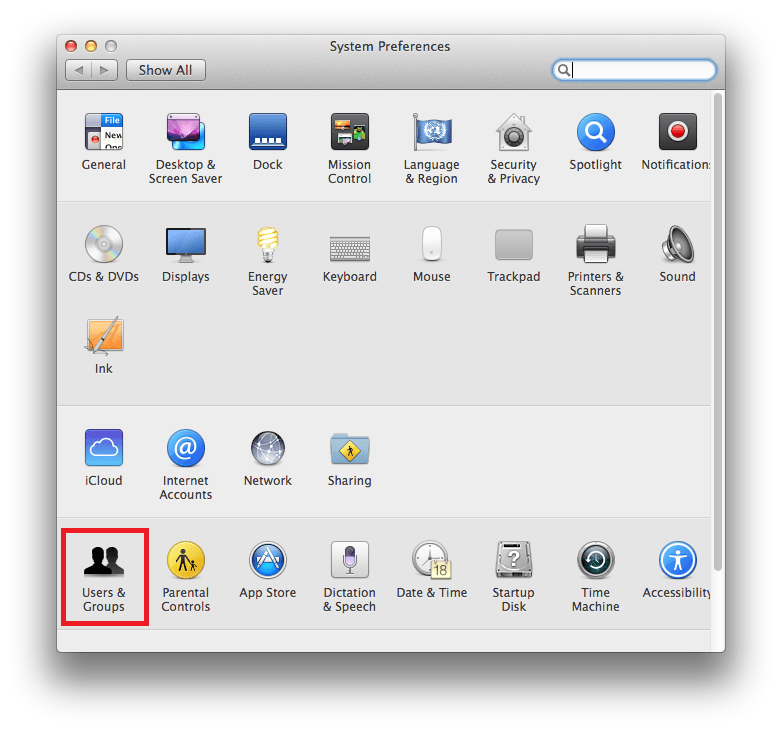
Now go to Users and Groups in System Preferences
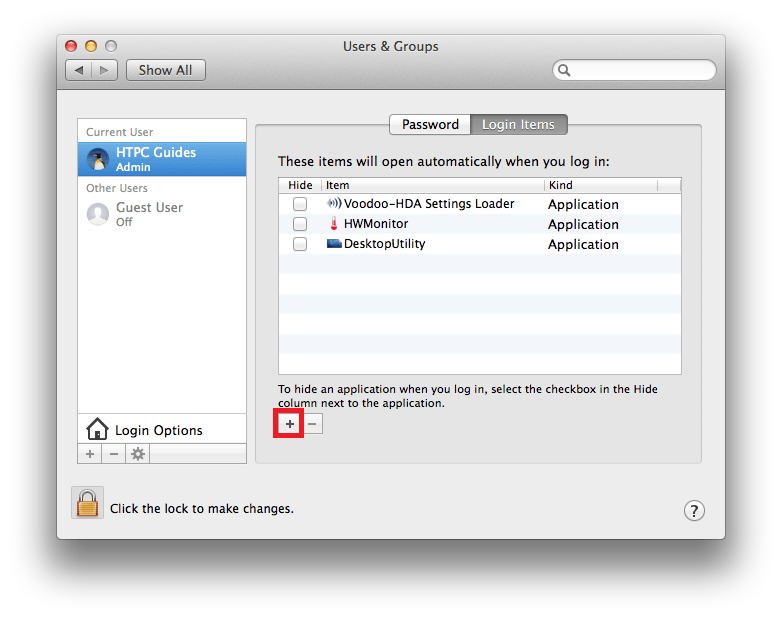
Click the + plus sign
Now browse to and select Nzbdrone Start and click Add
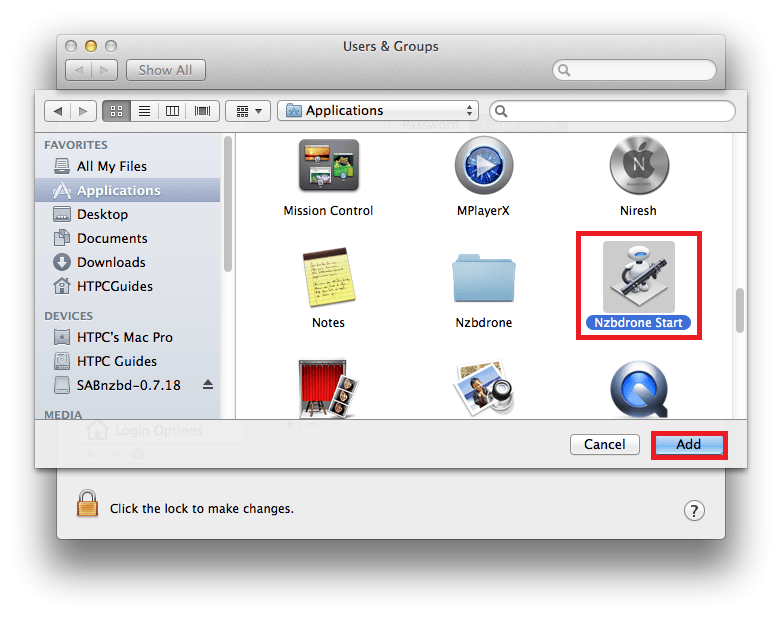
You will see the Nzbdrone start script saved and displaying
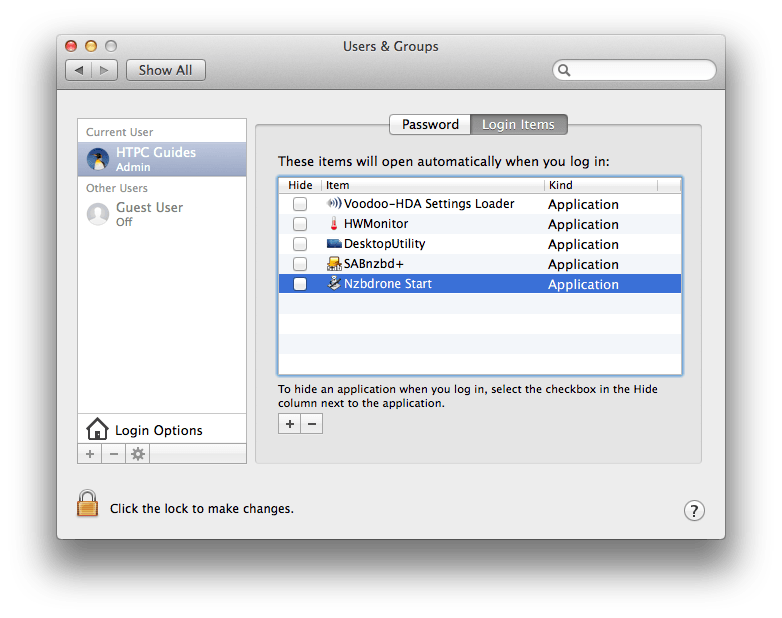
Now when you reboot it will automatically start.
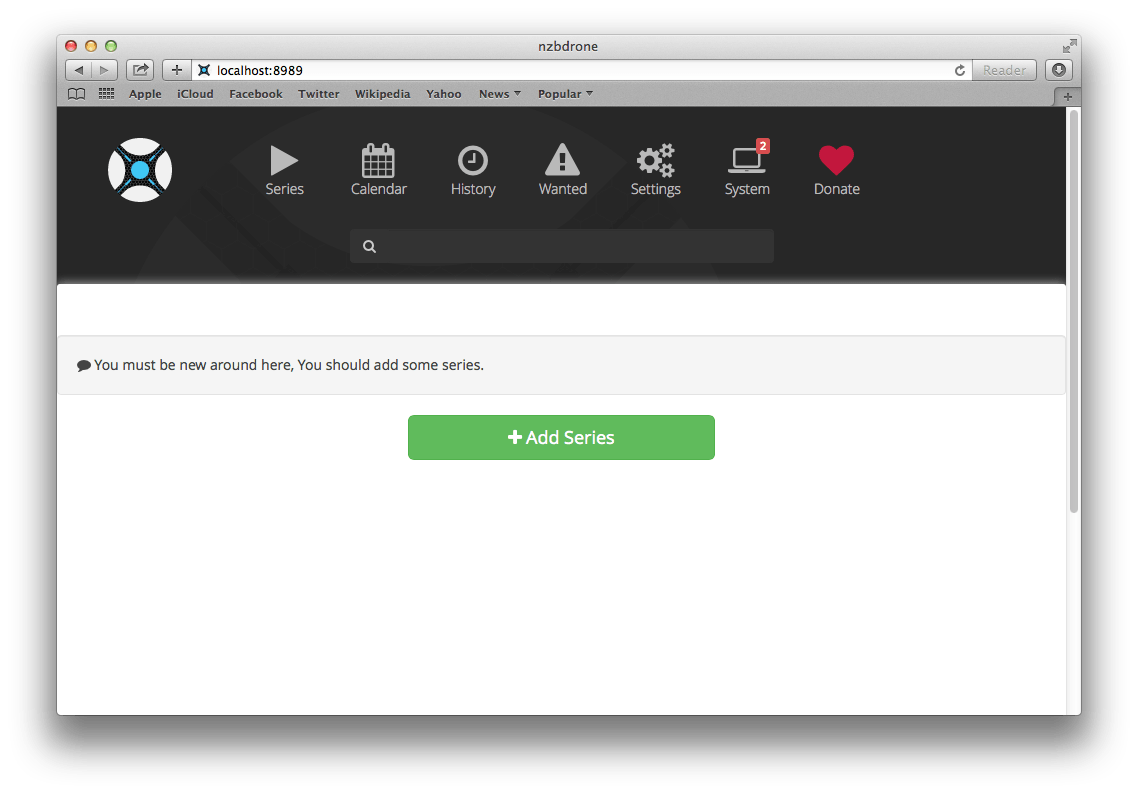
Nzbdrone is accessible at http://ip.address:8989 and looks like the screenshot below.
If you are installing NzbDrone on the same machine you are trying to access it from use http://localhost:8989
You will now want to configure Nzbdrone.