 Minibian is an awesome lightweight Raspberry Pi distro based on Raspbian. It uses all the same repos so you should not notice any differences. It uses only 16MB of RAM on boot and takes up about 300MB on the SD card – so you only need a 1 GB SD card for a functioning lightweight Raspbian distro. The minor downside is you need to do a bit of initial setup which I will walk you through here.
I cover adding the pi user and giving it sudo privileges, expanding the file system and installing wireless firmware for your wifi dongle to work on Minibian. Note that there is no GUI installed for Minibian as it is mainly used for headless Raspberry Pi servers but I cover installing lxde for GUI lovers. When you are done Minibian will function just like Raspbian but without the unnecessary bloat which will make your Raspberry Pi server faster! Minibian has the 16 MB RAM tweak enabled by default. It only supports Raspberry Pi Model B and B+, sorry Model A users. For the Model B you may need the older image from November 2014.
| Pi Unit | ||||||||
|---|---|---|---|---|---|---|---|---|
| Raspberry Pi 3 | Quad Core |
|||||||
| Raspberry Pi 2 | Quad Core |
|||||||
| Raspberry Pi | Single Core |
|||||||
| Banana Pi | Dual Core |
|||||||
| Banana Pi Pro | Dual Core |
If you have downloaded any of the images from this site you do not need to follow this guide unless you want a desktop environment.
Updated April 2015 with new image and more wireless support, there is also an image with my HTPC Guides Media Server Installer
Updated August 2015 with Jessie image at the bottom
Lightweight Raspbian Distro Minibian Initial Setup
This post shows you how to make Minibian function like Raspbian for any kind of server – media, web, NAS despite there being more powerful options out there that you may or may not need (See: Raspberry vs Banana Pi Benchmarks – Do SATA and Gigabit Matter?). I have prepared a ready made image with these fixes (no wifi drivers or desktop though) with an updated Minibian fixed and prepped link at the bottom of this post.
Minibian Jessie (Beta) with Kernel 4.1.0 is available below
WiFi users: You should have a ethernet available if you want to enable wifi as you will need to download the linux-firmware packages.
Download and Install Minibian
Download Minibian from Sourceforge, if you have a Pi 2 use the February 2015 release, you should need the older November 2014 release for the B+ and earlier. You may need 7zip to unpack the image. Flash Minibian as you would Raspbian by using Win23 Disk Imager or your operating system's equivalent.
To get the IP of your headless server, log in to your router and check the DHCP table and look for the Raspberry Pi entry.
Log in through SSH using PuTTY for Windows or Spackle on Mac, the default login and password for Minibian are
username: root
password: raspberry
If you downloaded one of the Minibian images form this site the SSH credentials are
username:root or pi
password: htpcguides
Change your root password from the default for security reasons
passwdInstall some basics which Minibian is missing, nano is for editing files, raspi-config gives you the easy file expansion and rpi-update gives you the latest firmware. You will use these after expanding the file system
apt-get update
apt-get install nano sudo rpi-update raspi-config usbutils dosfstools -y
apt-get remove initramfs-tools -y
Expand SD Filesystem and Overclock
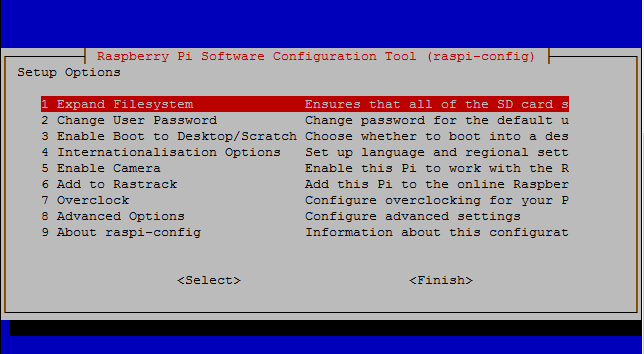
Use raspi-config to expand your SD card file system so it uses the full capacity. I also recommend overclocking to 800 MHz.
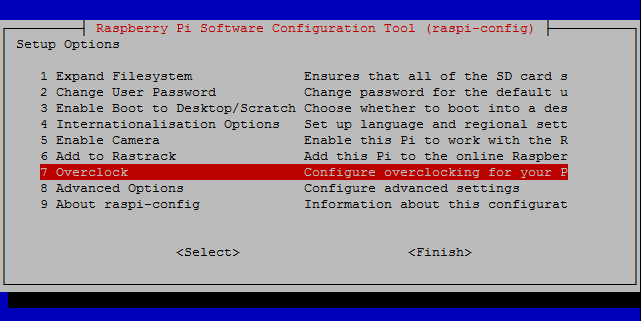
raspi-configIf on the Pi B+ or earlier, choose option 7 Overclock
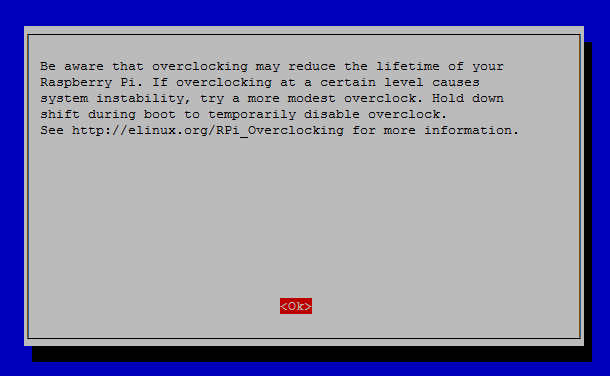
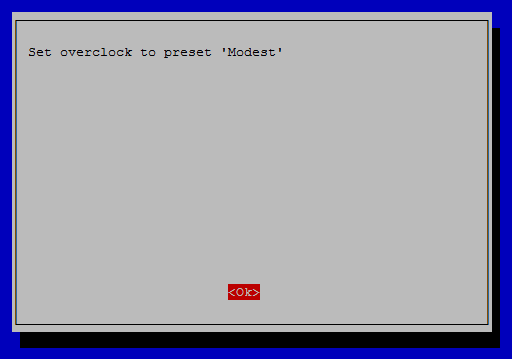
You will see this warning, just press Enter
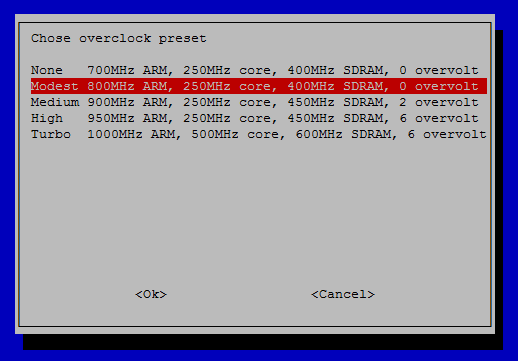
Choose Moderate 800 MHz for the Pi B+ and earlier
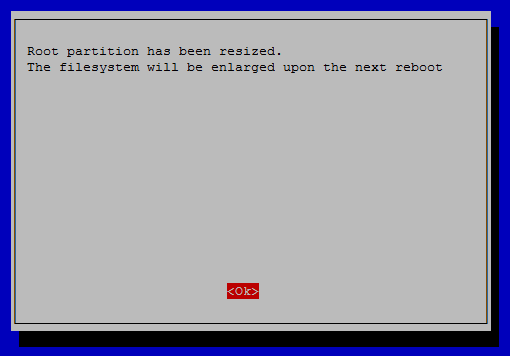
You will see that is has been successful
Go up to 1 Expand Filesystem
You will get a message that it completed but have to reboot for the changes to take effect
Now you can exit raspi-config, press Tab to get to the Finish button
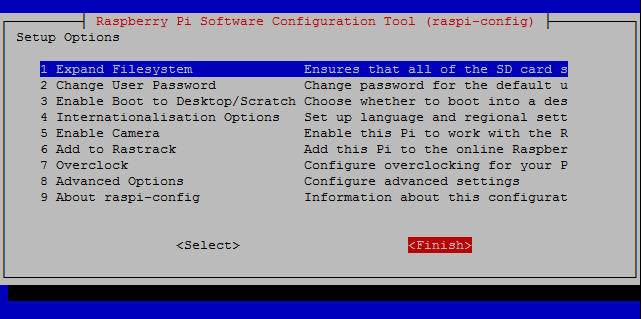
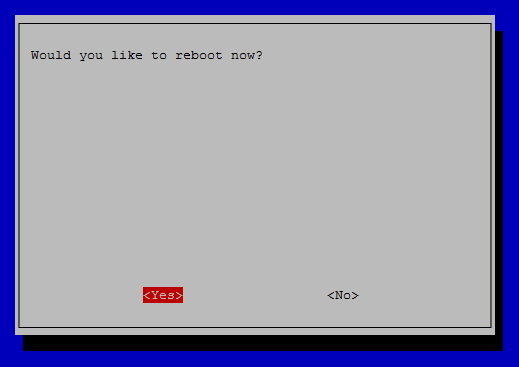
It will prompt you to reboot, choose Yes
Update Raspberry Pi Firmware
Run rpi-update to get the latest firmware.
rpi-updateReboot
rebootAfter the Minibian Raspberry Pi has rebooted, upgrade your packages and your distro
apt-get upgrade -y
apt-get dist-upgrade -y
Install Wireless Firmware
If you need wireless firmware, you can install them from the non-free source you added to your repository list and install all firmwares.
apt-get install firmware-linux-nonfree wireless-tools wpasupplicant -yCreate the Pi User
Create the pi user, set the password, for the full name, address and phone number you can leave blank and just press Enter a few times
adduser piMake the pi user a sudo user by adding pi to the sudo group
usermod -a -G sudo piYou do not need to reboot but to start using the pi user you will have to create a new SSH session using PuTTY or another SSH client.
Install a GUI on Minibian
I run all of my servers headless, however, in case you do want a Raspbian GUI, then you can install lxde which is nice and light. It takes about 10 minutes.
sudo apt-get install lxde -yNow if you want you can enable the Raspberry Pi to boot to the lxde Desktop
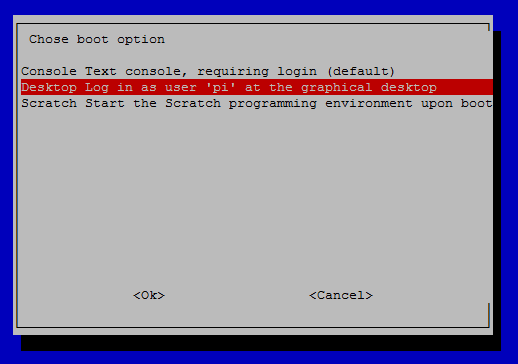
sudo raspi-configChoose 3 Enable Boot to Desktop/Scratch

Select Desktop Log in as user ‘pi'
Go to Finish using Tab and the Raspberry Pi will prompt you to reboot, Choose Yes and Minibian will boot into the lxde desktop environment.
Last step is to clean packages
sudo apt-get cleanYou now have a lightweight Raspbian distro that takes up 338 MB and boots in 28 seconds. Even with the lxde GUI enabled only 1.4 GB was used on the SD card :). I recommend taking a clone image using Win32 Disk Imager – use the Read button – so you always have a backup that is already prepared.
Note that Minibian will automount your external storage in /media but you can still choose your own mount paths by mounting drives properly
That completes the initial Minibian setup, you now have a lightweight Raspbian distro that gives you the maximum available free RAM to play with. You can install torrent and usenet software now, set up samba shares, ftp and miniDLNA for your Raspberry Pi Media Server.
The Jessie image with Kernel 4.1.0 can be downloaded from mega here
Here is the prepared image (Google Drive Mirror), consider sharing this post if you download it. SSH login for root and pi have password htpcguides.