![]() Usenet is packed full of content including illustrated stories. Thanks to developer evilhero you can now automate comic book downloading. You can create a wishlist of all the comic books you want and mylar will search your usenet indexers for the comic books and send them to your usenet downloader. It will also search some private torrent sites and send the .torrent files to your downloader's watch directory. There are post processing scripts for both Sabnzbd and NZBGet so your comics will be nicely organized and named appropriately.
Usenet is packed full of content including illustrated stories. Thanks to developer evilhero you can now automate comic book downloading. You can create a wishlist of all the comic books you want and mylar will search your usenet indexers for the comic books and send them to your usenet downloader. It will also search some private torrent sites and send the .torrent files to your downloader's watch directory. There are post processing scripts for both Sabnzbd and NZBGet so your comics will be nicely organized and named appropriately.![]()
| Usenet Provider | |||||||
|---|---|---|---|---|---|---|---|
| UsenetServer | |||||||
| Newshosting | |||||||
| Frugal | |||||||
| Usenetlink |
Install Mylar Windows
We need to install Python 2.7.x and CherryPy for Mylar to work. Installing git makes the whole process more convenient so you will get to practice playing in the command prompt.
Install Python 2.7.x
Download Python 2.7 32-bit or 64-bit.
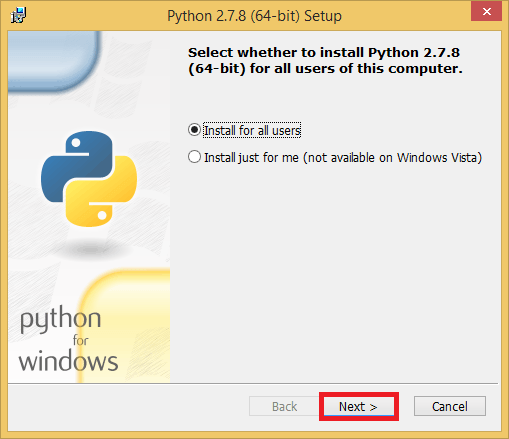
For the most part you just click Next through the Wizard
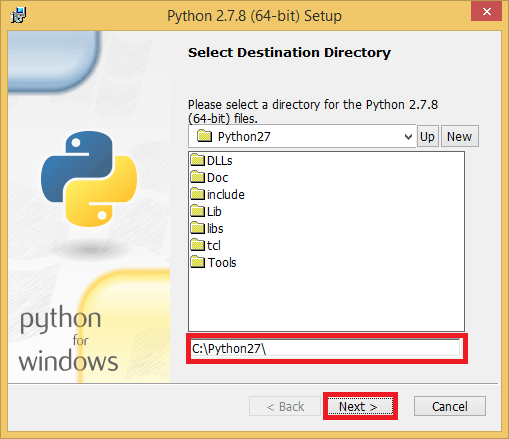
The guide will assume you are installing to C:\Python27
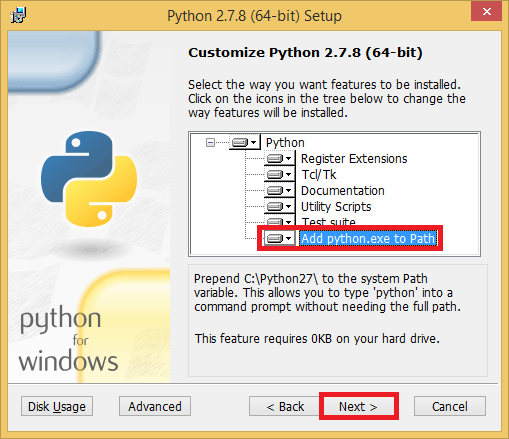
In the Customize Python 2.7.x enable Add python.exe to Path.
This allows you to run python from the command prompt in windows.
Click Next
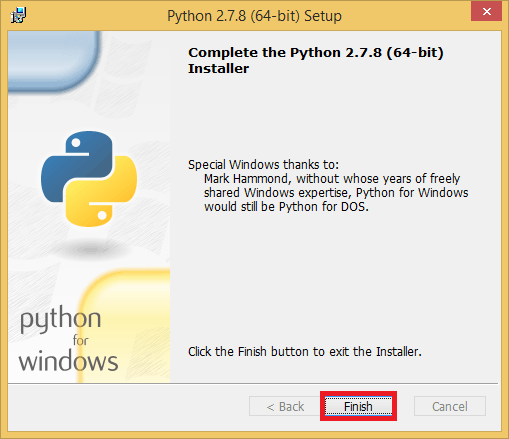
Click Finish to exit
Install CherryPy
Download and install CherryPy
You will see another wizard. Click Next.
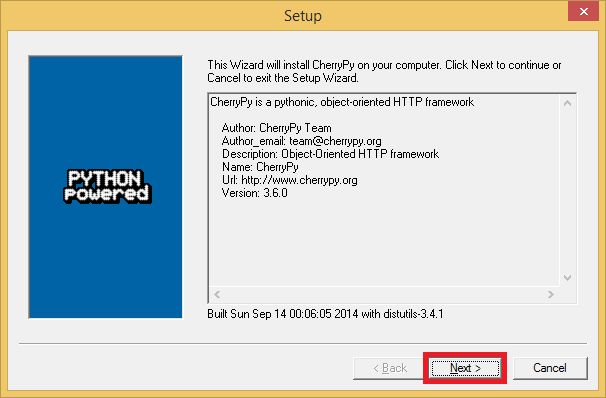
If you installed the correct Python (32 or 64 bit version) then CherryPy will detect it in the registry. This was all automatically selected so just click Next.

And click Finish
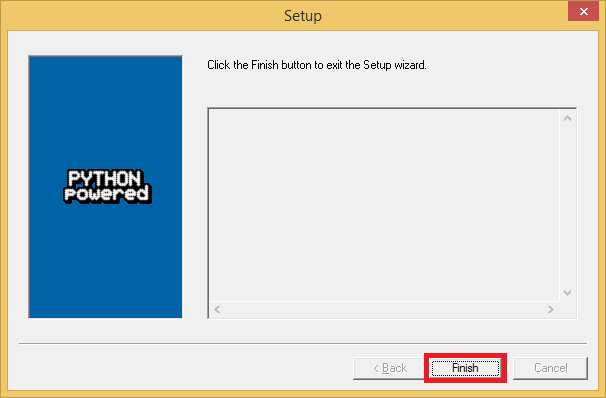
CherrPy is now installed.
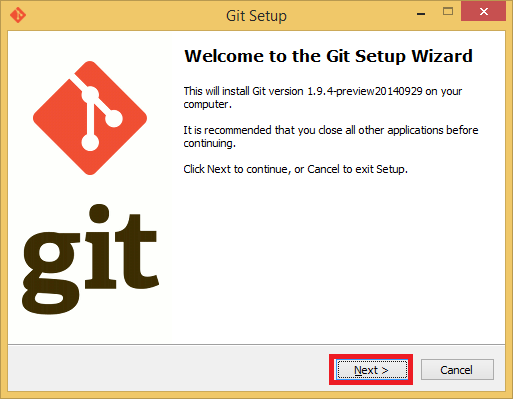
Install Git Windows
Download gitshell and run it. You will see this wizard.
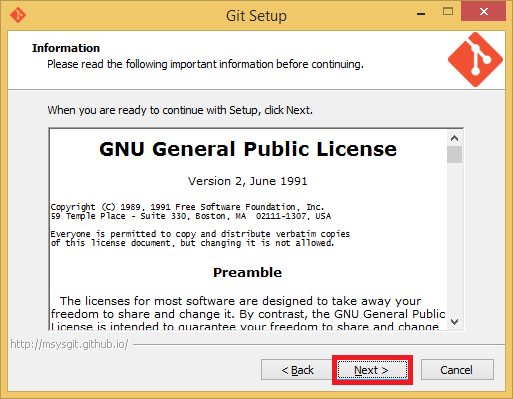
Accept the license
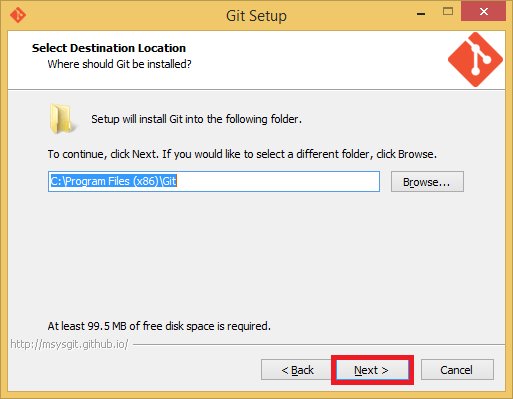
Choose the install location
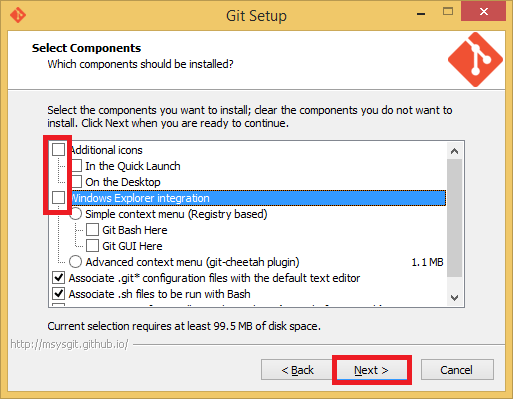
Uncheck these options Additional icons and Windows Explorer integration. You won't need them.
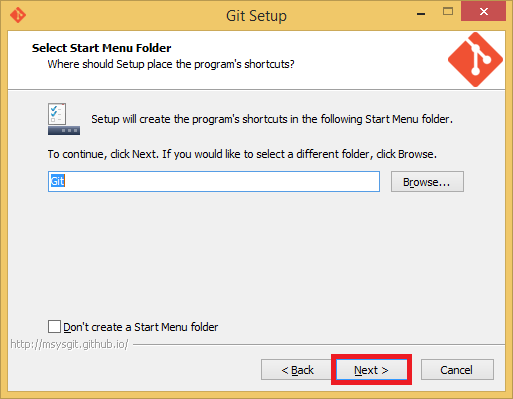
Leave the start menu folder as is
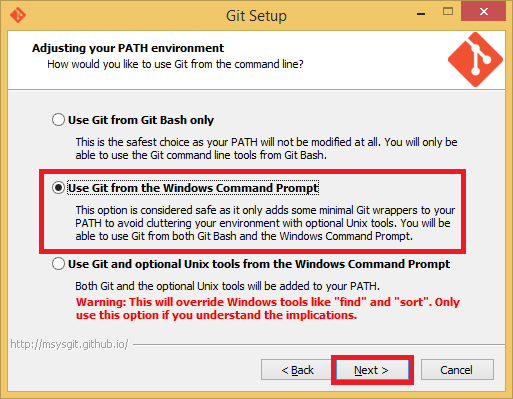
This is important, choose Use Git from the Windows Command Prompt
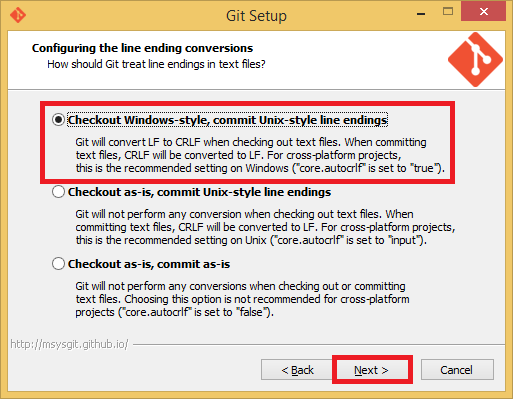
This is less important but I chose the top option Checkout Windows-style
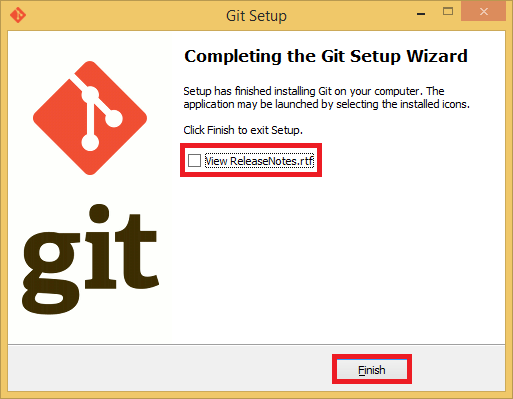
Unless you want to see the Release Notes uncheck it and click Finish
Install Mylar Windows
In the command prompt paste the following commands. Copy and paste by right clicking in the commmand prompt and press Enter.
git clone https://github.com/evilhero/mylar -b development c:\Mylar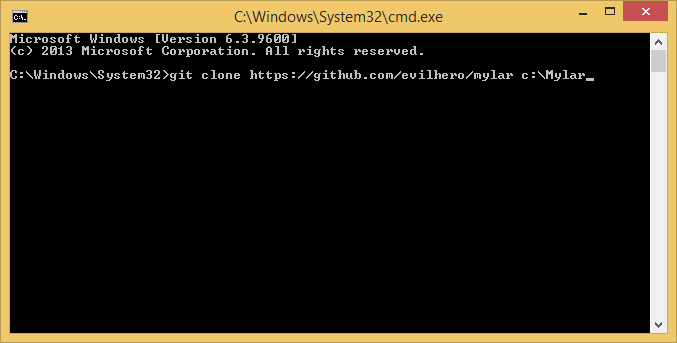
The command prompt will show Mylar git cloned successfully
Make sure Mylar runs, paste this command and press Enter
python c:\Mylar\Mylar.py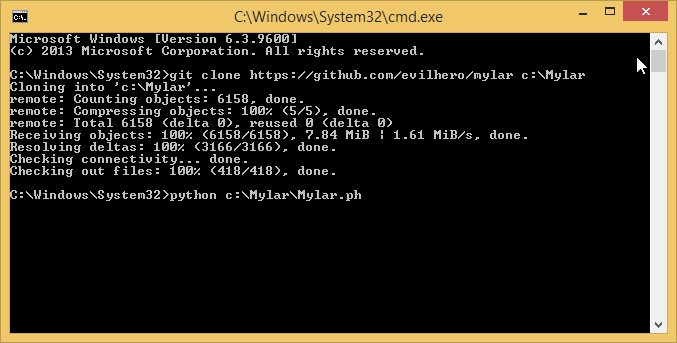
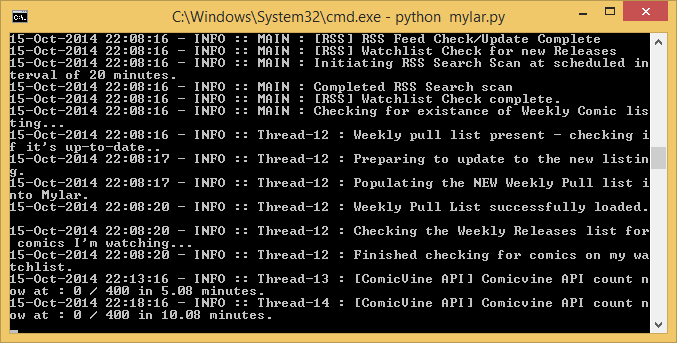
The command prompt should look something like this
Now we will make Mylar run on startup so it runs in the background on boot.
Autostart Mylar on Windows
The Windows system service is the preferred startup method. If you have trouble with it you can try the old VBS method.
Mylar Windows System Service
Install the latest nssm and find nssm.exe in the win32 (32-bit) or win64 (64-bit) folder of the nssm.zip file and copy it to c:\Windows\System32
Run a command prompt as an Administrator
Install the Mylar system service
nssm install Mylar "c:\Python27\python.exe" "c:\Mylar\Mylar.py"You will see this output indicating it installed correctly
Service "Mylar" installed successfully!Set the home directory for the Mylar folder to the installation directory
nssm set Mylar AppDirectory "C:\Mylar"You should see that it was set successfully
Set parameter "AppDirectory" for service "Mylar".Now set the Mylar Windows system service to autostart on boot
nssm set Mylar Start SERVICE_AUTO_STARTAnd that's it, Mylar will autostart on Windows now
Set parameter "Start" for service "Mylar".You can start the Mylar system service with this command if you don't want to reboot.
nssm start MylarIf you got this message then Mylar should be running and can be accessed on its default port 8090
Mylar: START: The operation completed successfully.Now you can reboot your machine and Mylar will autostart on boot
Configure Mylar and enjoy creating your watchlist for grabbing comics from usenet or torrents.
You may be interested in ComicStreamer for viewing comics in a browser.
Old VBS Startup Method
This old VBS method is no longer necessary since nssm provides a better solution. If you were having trouble with nssm you can use this method. You won't have a command prompt open all the time, it will be hidden.
Create the file Mylar.vbs in Notepad
Paste this code
Set WshShell = CreateObject("WScript.Shell")
WshShell.Run chr(34) & "C:\Mylar\Mylar.py" & Chr(34), 0
Set WshShell = Nothing
File Save as and save it as “Mylar.vbs” in C:\Mylar so the file ends up as C:\Mylar\Mylar.vbs
Now copy a shortcut of Mylar.vbs to your Startup folder
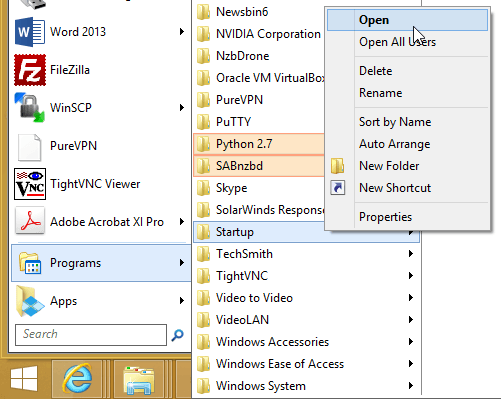
Open up you Startup Menu. Right click and choose Open.
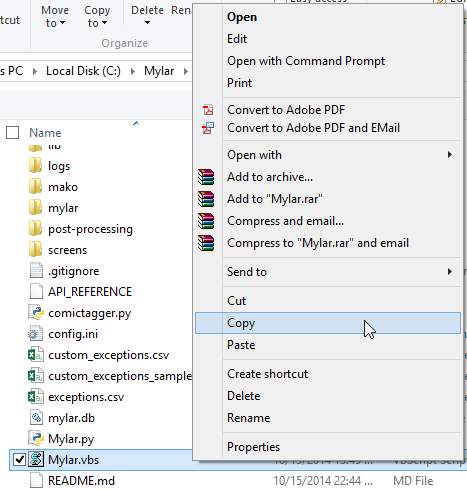
In Windows explorer, go into C:\Mylar and copy Mylar.vbs
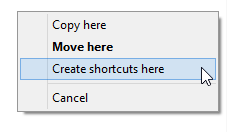
Now paste it as a shortcut in the Startup menu by right-clicking and choosing Create Shortcuts here.
Now you can access Mylar at http://ip.address:8090.
Update Mylar
To update Mylar open a command prompt and enter the Mylar folder
cd c:\MylarUse git to pull the latest update
git pull