 Many usenet and torrent programs startup using the Windows startup folder. While this generally works it is not ideal for processes that can freeze or hang – you want to be able to restart your program's service without having to reboot the whole machine or use Ctrl+Alt+Delete to terminate the process.
I made a previous post about creating a Windows system service for SickRage using SrvAny. I later learned from a helpful reddit user that SrvAny is deprecated and there was a much easier custom Windows service manager available called NSSM – Non-Sucking Service Manager. NSSM is much easier to use than SrvAny and was updated in the last couple of months. So in about 2 minutes you will have installed a Windows system service for SickRage using NSSM. This guide has been tested on Windows Server 2012 and Windows 10. If you already are using the SrvAny method consider this a reference for the future if you upgrade to a newer Windows version.
Create SickRage System Service on Windows
To complete this guide you must already have a working SickRage installation.
Download NSSM from here, the latest stable release is a good idea – it includes 32-bit and 64-bit
Open the nssm.zip and go into either the Win32 (32-bit) or Win64 (64-bit) folder depending on your Windows version.
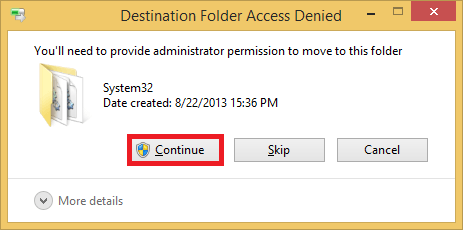
Copy the nssm.exe to your C:\Windows\System32 folder so it is part of your PATH which allows you to run commands from any directory in the command prompt without having to be in the executable's actual path. You will get a warning about needing permission, grant it.
Run a Windows command prompt as an Administrator
Create the SickRage service with this command
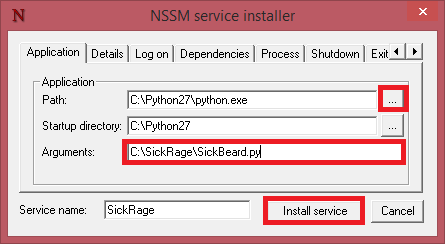
nssm install SickRageYou will see the NSSM screen, click … to choose the Python.exe Path and browse to your python.exe located in c:\Python27
Add C:\SickRage\SickBeard.py to Arguments
NB If you use another path with spaces you will need to enclose the path in quotes like this “C:\Program Files (x86)\SickRage\SickBeard.py”
Click Install service
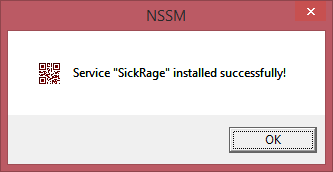
You will see the success screen that the SickRage Windows system service has been installed. Click OK.
When you reboot SickRage will automatically start.
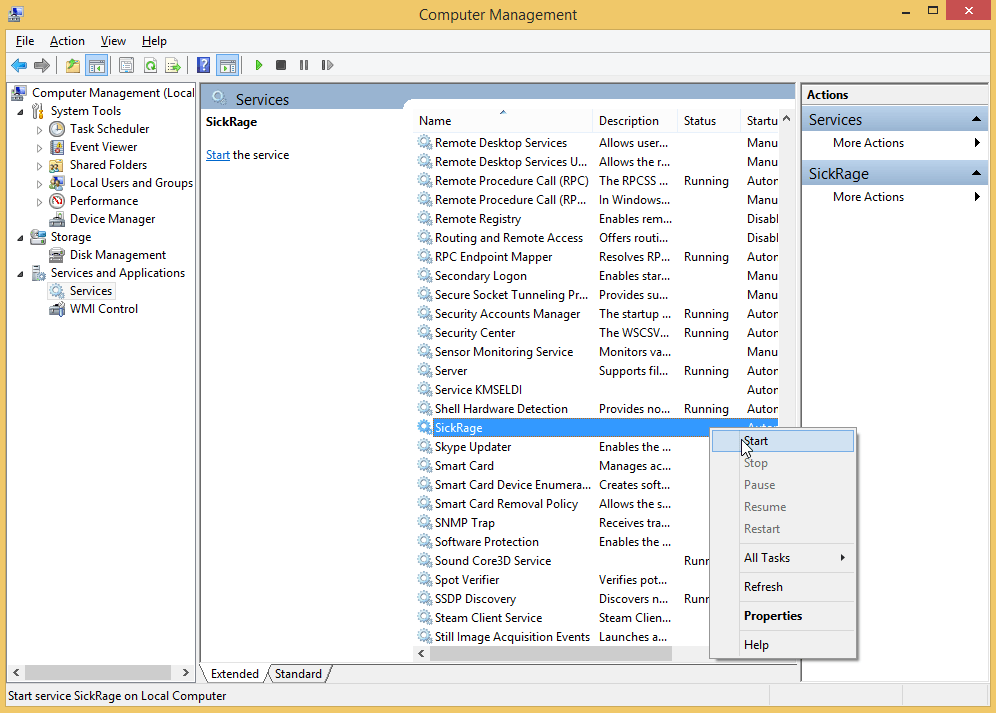
If you want to start SickRage now, Right click This PC or My Computer and choose Manage
Click Services in the left pane, scroll down in the right pane until you see SickRage.
Right click on SickRage and choose Start
Now you have a SickRage Windows system service, you can use this same technique for other Python programs for which you would like a shiny new Windows system service.
You can restart the SickRage service in a command prompt running as an Administrator with this command as well.
net stop SickRage
net start SickRage
If for some reason you want to delete your SickRage Windows system service, go back in the command prompt as an Administrator and use this command
nssm remove SickRageYou will get a warning about killing your poor defenseless SickRage service, say yes and it will be gone.
It is time to configure SickRage with usenet and torrents.