 CherryMusic is a browser-based music streaming solution to create your own personal Spotify-like server for your local music collection. You store all of your music on your Raspberry Pi or mount your other NAS music folder on the Pi and then you can play all of your music through your web browser on any machine that has a local network connection or internet connection. To make accessing your music collection even more convenient you can combine it with free Dynamic DNS so you can access your music collection at a custom address like htpcguides.crabdance.com. CherryMusic also supports reverse proxies meaning you can access its interface at e.g. htpcguides.crabdance.com/cherrymusic when you are away from home. This guide was tested on a Raspberry Pi B+ and Pi 2 but should work on any debian based distro for ARMv7 devices like the Banana Pi, Beaglebone, ODROID and 32-bit or 64-bit systems running Ubuntu.
Protip: make sure you mount your external hard drive properly to prevent permission issues.
If you are trying to figure out which hardware would work best for you, consider reading the Pi benchmarks.
| Pi Unit | ||||||||
|---|---|---|---|---|---|---|---|---|
| Raspberry Pi 3 | Quad Core |
|||||||
| Raspberry Pi 2 | Quad Core |
|||||||
| Raspberry Pi | Single Core |
|||||||
| Banana Pi | Dual Core |
|||||||
| Banana Pi Pro | Dual Core |
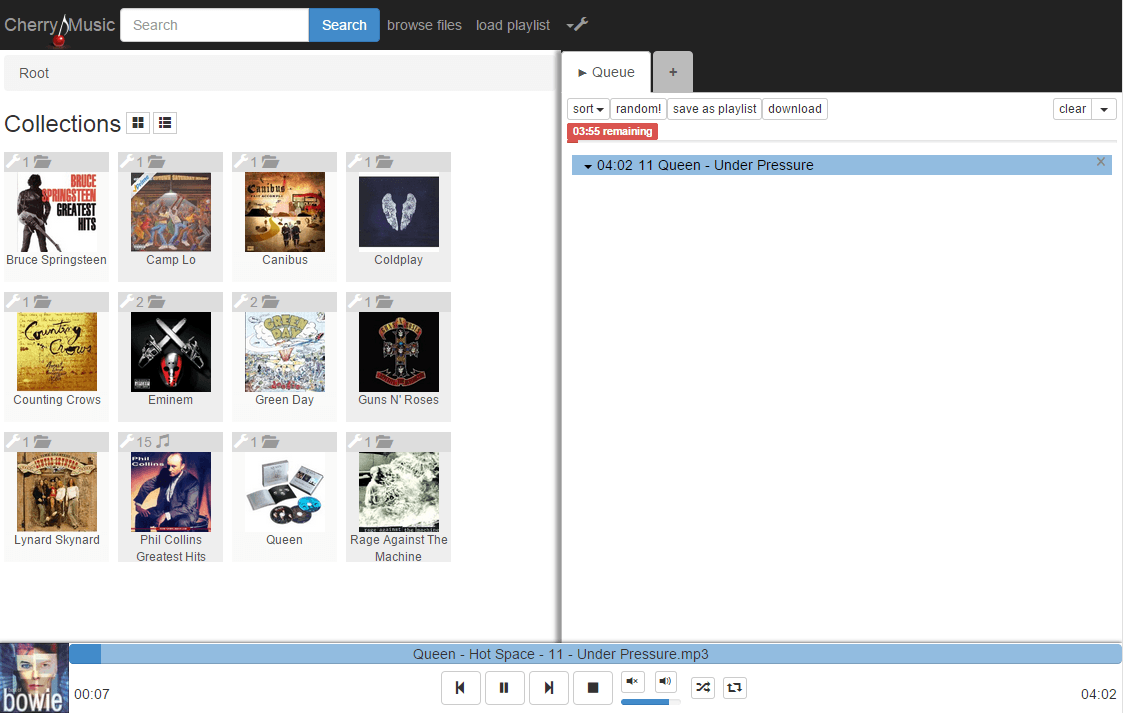
CherryMusic essentially turns your Raspberry Pi into your personal Spotify for your music collection making it a cloud music server
Install CherryMusic on Raspberry Pi
Update your repos and upgrade your packages
sudo apt-get update && sudo apt-get upgrade -yInstall CherryMusic dependencies
sudo apt-get install python python-pip git python-unidecode sqlite -yInstall CherryPy 3.6.0
sudo pip install CherryPy==3.6Install imagemagick for displaying album thumbnails, lame mp3 encoder, flac encoder and vorbis tools (for ogg music). If you do not have any flac or ogg files you can remove the vorbis-tools and flac.
sudo apt-get install imagemagick lame vorbis-tools flac -yPull the latest CherryMusic and put it in the installation folder
sudo git clone --branch devel https://github.com/devsnd/cherrymusic.git /opt/cherrymusicChange ownership of the CherryMusic folder to the pi user or whichever your main user on your system is to avoid permission issues
sudo chown -R pi:pi /opt/cherrymusicRun CherryMusic, adjust the port you want to use.
You can browse to the web interface with the Raspberry Pi's IP address at http://ip.address:7600 on any machine in your home network
python /opt/cherrymusic/cherrymusic --setup --port 7600Make sure CherryMusic loaded and perform the initial setup by choosing the path to your music downloads and click Save and start CherryMusic
Create the admin user. When you're done, hit Ctrl+C or Ctrl+Z back in your SSH session to stop the process and complete the rest of this guide
Options can be adjusted in here if you want to change the music path or port.
nano ~/.config/cherrymusic/cherrymusic.confWhen you're done making changes hit Ctrl+X, Y and Enter to save
CherryMusic init.d Script
This will autostart CherryMusic on boot for your Raspberry Pi.
Create the CherryMusic init.d script
sudo nano /etc/init.d/cherrymusicPaste this hopefully working CherryMusic init.d script
#!/bin/sh
### BEGIN INIT INFO
# Provides:          Cherrymusic
# Required-Start:    $local_fs $remote_fs $network
# Required-Stop:     $local_fs $remote_fs $network
# Default-Start:     2 3 4 5
# Default-Stop:      0 1 6
# Short-Description: Cherrymusic
# Description:       Cherrymusic for music streaming
### END INIT INFO


# Documentation available at
# http://refspecs.linuxfoundation.org/LSB_3.1.0/LSB-Core-generic/LSB-Core-generic/iniscrptfunc.html
# Debian provides some extra functions though
. /lib/lsb/init-functions


DAEMON_NAME="cherrymusic"
DAEMON_USER=root
DAEMON_PATH="/usr/bin/python"
DAEMON_OPTS="/opt/cherrymusic/cherrymusic"
DAEMON_PWD="${PWD}"
DAEMON_DESC=$(get_lsb_header_val $0 "Short-Description")
DAEMON_PID="/var/run/${DAEMON_NAME}.pid"
DAEMON_NICE=0
DAEMON_LOG='/var/log/cherrymusic'

[ -r "/etc/default/${DAEMON_NAME}" ] && . "/etc/default/${DAEMON_NAME}"

do_start() {
  local result

	pidofproc -p "${DAEMON_PID}" "${DAEMON_PATH}" > /dev/null
	if [ $? -eq 0 ]; then
		log_warning_msg "${DAEMON_NAME} is already started"
		result=0
	else
		log_daemon_msg "Starting ${DAEMON_DESC}" "${DAEMON_NAME}"
		touch "${DAEMON_LOG}"
		chown $DAEMON_USER "${DAEMON_LOG}"
		chmod u+rw "${DAEMON_LOG}"
		if [ -z "${DAEMON_USER}" ]; then
			start-stop-daemon --start --quiet --oknodo --background \
				--nicelevel $DAEMON_NICE \
				--chdir "${DAEMON_PWD}" \
				--pidfile "${DAEMON_PID}" --make-pidfile \
				--exec "${DAEMON_PATH}" -- $DAEMON_OPTS
			result=$?
		else
			start-stop-daemon --start --quiet --oknodo --background \
				--nicelevel $DAEMON_NICE \
				--chdir "${DAEMON_PWD}" \
				--pidfile "${DAEMON_PID}" --make-pidfile \
				--chuid "${DAEMON_USER}" \
				--exec "${DAEMON_PATH}" -- $DAEMON_OPTS
			result=$?
		fi
		log_end_msg $result
	fi
	return $result
}

do_stop() {
	local result

	pidofproc -p "${DAEMON_PID}" "${DAEMON_PATH}" > /dev/null
	if [ $? -ne 0 ]; then
		log_warning_msg "${DAEMON_NAME} is not started"
		result=0
	else
		log_daemon_msg "Stopping ${DAEMON_DESC}" "${DAEMON_NAME}"
		killproc -p "${DAEMON_PID}" "${DAEMON_PATH}"
		result=$?
		log_end_msg $result
		rm "${DAEMON_PID}"
	fi
	return $result
}

do_restart() {
	local result
	do_stop
	result=$?
	if [ $result = 0 ]; then
		do_start
		result=$?
	fi
	return $result
}

do_status() {
	local result
	status_of_proc -p "${DAEMON_PID}" "${DAEMON_PATH}" "${DAEMON_NAME}"
	result=$?
	return $result
}

do_usage() {
	echo $"Usage: $0 {start | stop | restart | status}"
	exit 1
}

case "$1" in
start)   do_start;   exit $? ;;
stop)    do_stop;    exit $? ;;
restart) do_restart; exit $? ;;
status)  do_status;  exit $? ;;
*)       do_usage;   exit  1 ;;
esac
Make the CherryMusic init.d script executable
sudo chmod +x /etc/init.d/cherrymusicTell the system to use CherryMusic
sudo update-rc.d cherrymusic defaultsIf the CherryMusic init.d script fails you can use a cronjob.
Add a cronjob to make CherryMusic automatically start on boot, the init.d script I found wasn't working
crontab -l | { cat; echo "@reboot cd /opt/cherrymusic ; /usr/bin/python cherrymusic"; } | crontab -Reboot to make sure CherryMusic is starting on boot
sudo rebootIf it fails you can always start CherryMusic manually
python /opt/cherrymusic/cherrymusicYou can now finishing setting up CherryMusic by going to the web interface after it reboots. It is fairly self-explanatory and easy to set up.
Using this guide, access the web interface again after the Raspberry Pi reboots at http://ip.address:7600
If you want to be able to access CherryMusic outside your home network with a free Dynamic DNS address follow this guide and then port forward 7600 on your router or which ever custom port you set.