 OpenMediaVault is an excellent NAS software solution. It sports a beautiful web interface to manage all of your services, hard drives, users and more. There is a great plugin system which allows you to install software for usenet, torrent and media management. For the Raspberry Pi 2 there is even a Plex Media Server plugin and OwnCloud. There is both a step by step install guide and a prepared image for the Raspberry Pi 2 at the bottom for those who want to give it a go, I request you share the post if you use the image link to help spread the word of this great software. I have used Minibian as a base and recommend only installing OpenMediaVault on a fresh, unaltered image. This guide will not always work on the Raspberry Pi B+ or earlier devices (because of php issues – see the comments). The image does not work on the B+ but is reported to work with Raspberry Pi Model A.
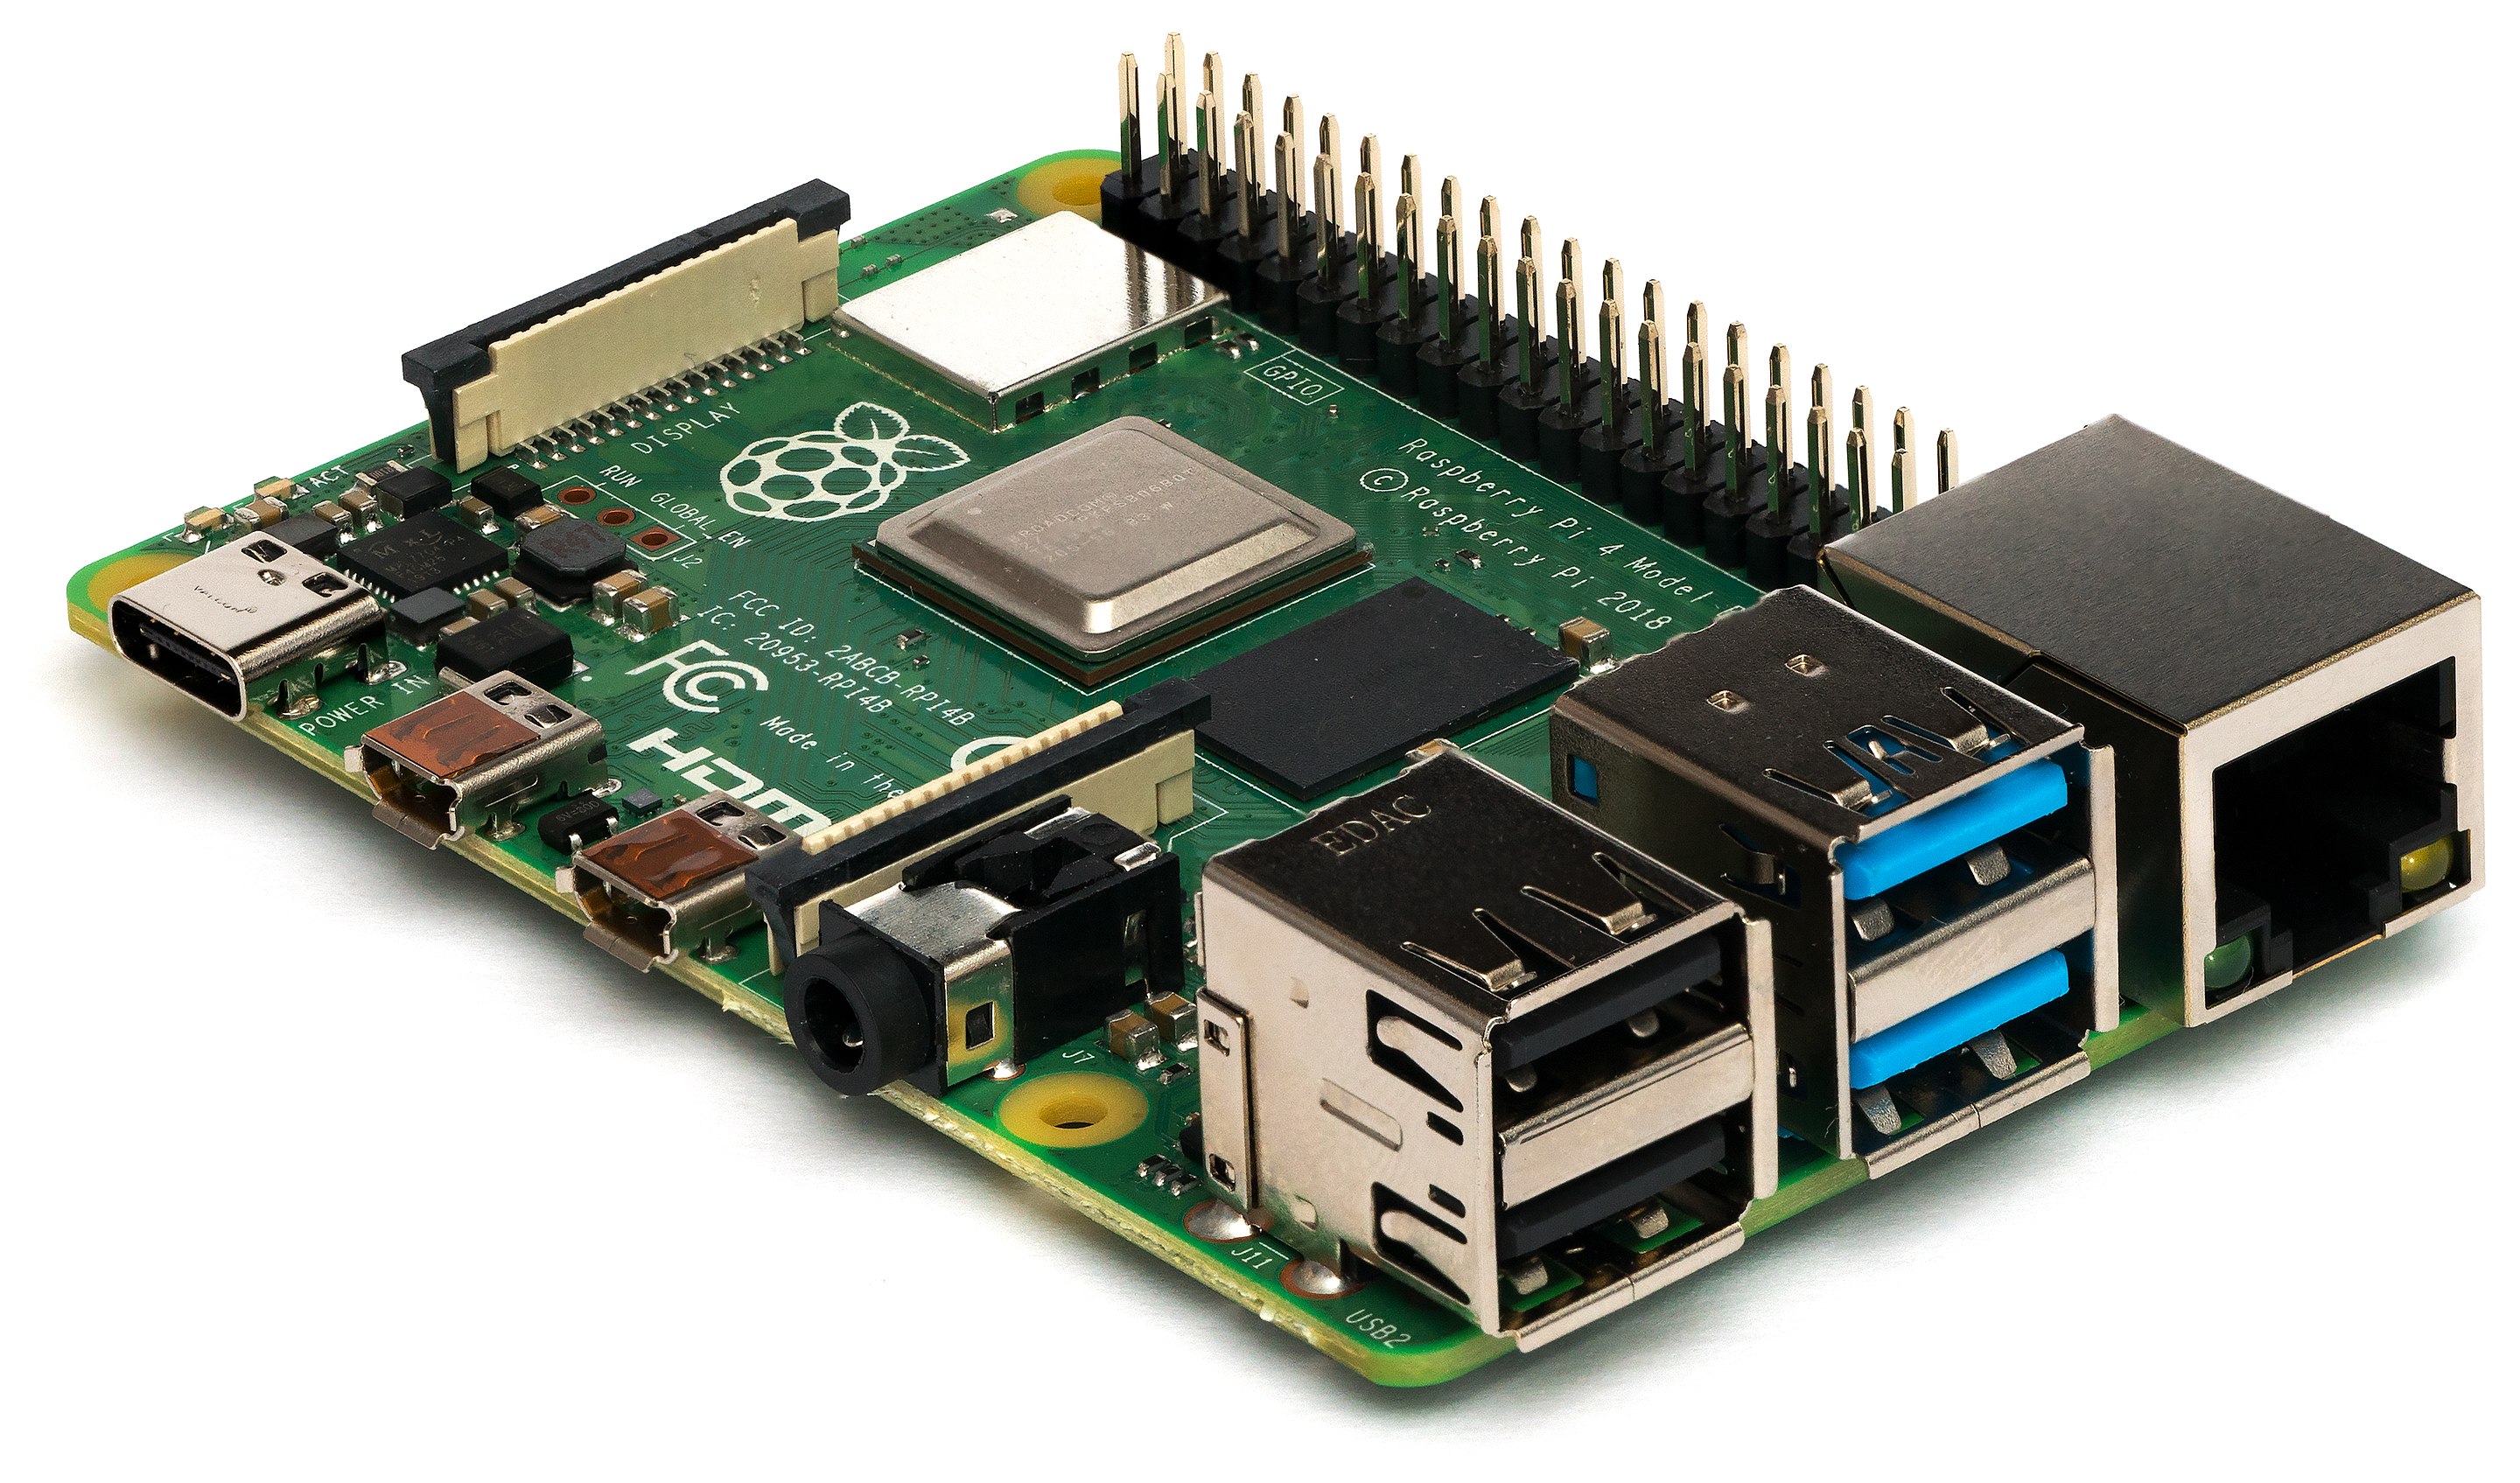
If you are trying to figure out which hardware would work best for you, consider reading the Pi benchmarks.
At A Glance: Our Top 5 Picks For PI Units
- Our Top Pick: Raspberry Pi 3
- Raspberry Pi 2
- Raspberry Pi
- Banana Pi
- Banana Pi Pro
Updated
for Erasmus version of OpenMediaVault
Quick Summary: Our Top Picks for PI Units
Our Top Pick | Raspberry Pi 3 |
| VIEW LATEST PRICE → |
 | Raspberry Pi 2 |
| VIEW LATEST PRICE → |
 | Raspberry Pi |
| VIEW LATEST PRICE → |
 | Banana Pi |
| VIEW LATEST PRICE → |
 | Banana Pi Pro |
| VIEW LATEST PRICE → |
I want to see the top picks for PI Units
Install OpenMediaVault Raspberry Pi
Add the OpenMediaVault repository and grab the gpg key
echo "deb http://packages.openmediavault.org/public erasmus main" | sudo tee -a /etc/apt/sources.list.d/openmediavault.list
wget -O - http://packages.openmediavault.org/public/archive.key | sudo apt-key add -
Update and install OpenMediaVault including a keyring fix
sudo apt-get update
sudo apt-get install openmediavault-keyring postfix -y --force-yes
sudo apt-get install php-apc openmediavault -y --force-yes
General mail configuration I chose no configuration, MD arrays I chose all, run proftpd from inetd
Install OpenMediaVault Extras Plugins
The OpenMediaVault Extras plugins has all of the goodies like CouchPotato, SickRage, SickBeard, NZBGet, Sabnzbd, Plex Media Server and Sonarr (should be added soon) so you will likely want this awesome repository.
echo "deb http://packages.omv-extras.org/debian/ erasmus main" | sudo tee -a /etc/apt/sources.list.d/omv-extras-org-kralizec.list
sudo apt-get update
sudo apt-get install openmediavault-omvextrasorg -y --force-yes
Stop the apache2 service and disable it
sudo service apache2 stop
sudo update-rc.d apache2 disable
sudo update-rc.d apache2 remove
Start nginx service
sudo service nginx startTry to access OpenMediaVault at http://ip.address, the default login is admin with password openmediavault
Initialize the OpenMediaVault system, this disables SSH but you can enable it again from the Web interface
sudo omv-initsystemEnable SSH again by granting the pi user SSH access to OpenMediaVault. Go to the OpenMediaVault web interface by opening a web browser and entering the IP address of the Raspberry Pi. The default user is admin and the password is openmediavault.
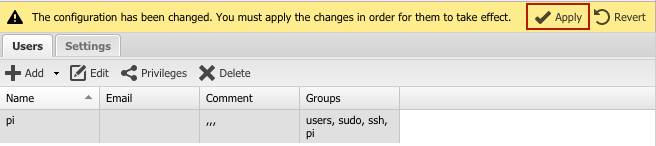
Once logged into the web interface go to Access Rights Management > Users > Choose the user pi and click on the Edit button
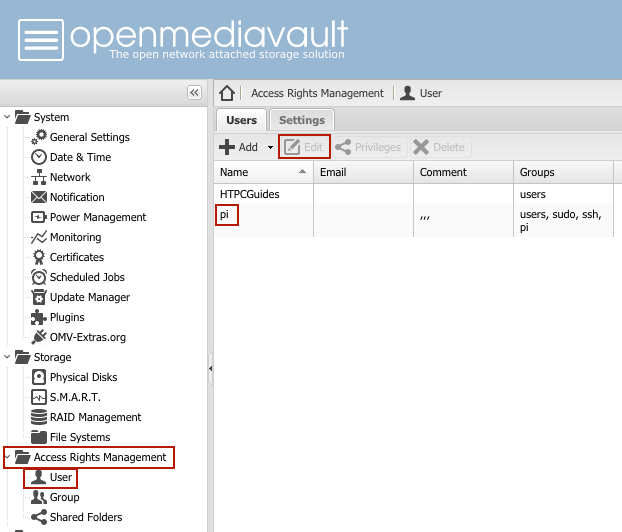
Go to the Groups tab and check the button next to SSH, click Save.
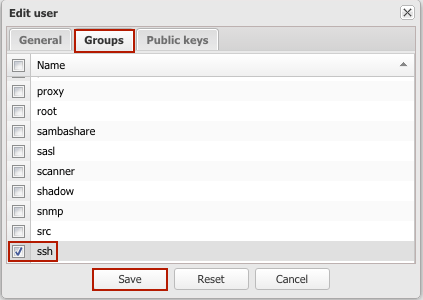
You will be asked if you would like to apply the changes, click Apply.
Hard drive and storage tweaks
SSH to the Pi. Turn off swap to save excessive SD card writes
sudo swapoff -aDisable caching processes to save the SD card's life (not necessary according to an OMV developer if you use the flashmemory plugin)
sudo update-rc.d rrdcached disable
sudo update-rc.d collectd disable
sudo monit stop rrdcached
sudo monit stop collectd
Setup security patch upgrades to install automatically with a cronjob that will run every night
sudo apt-get install unattended-upgrades -y
crontab -l | { cat; echo "@daily apt-get update && unattended-upgrade"; } | crontab -
Install the openmediavault-flashmemory plugin in the web interface which will also extend the life of your sd card.
OpenMediaVault at http://ip.address, the default login is admin with password openmediavault.
You should add DNS servers (8.8.8.8 is a good choice) under System -> Network -> DNS Servers in the OpenMediaVault gui.
If you use the prepared Pi 2 image below, the SSH login is root and password is htpcguides. The login for the web interface is admin with password openmediavault, use raspi-config to expand the file system after flashing the img. It has been reported to work on the Raspberry Model A and should work on Model B and B+ as well but it may mess with your ethernet changing eth0 to eth1.
If it doesn't work you can grab the official images from the OpenMediaVault site which require a 4 GB SD card.
If you use the image you may have to remove persistent rules with a keyboard, use this command when logged in as root
sudo rm /etc/udev/rules.d/70-Update OpenMediaVault on the Raspberry Pi in SSH
omv-update
omv-upgrade