 Ever wanted to turn your own personal music collection into your own private Spotify-like service? You can do that with CherryMusic, a program written in python which runs a server that provides an HTML5 interface for playing back your music from anywhere. If you set up free Dynamic DNS, you can literally listen to your music library from any computer or device with a web browser and internet connection. This will not work with DRM protected material so only personally ripped mp3s, oggs and flac files will work. This guide was tested on Windows 8.1 64-bit but should work on Windows 7, 8, 10 and Server editions including 32 bit flavors of Microsoft's operating systems.
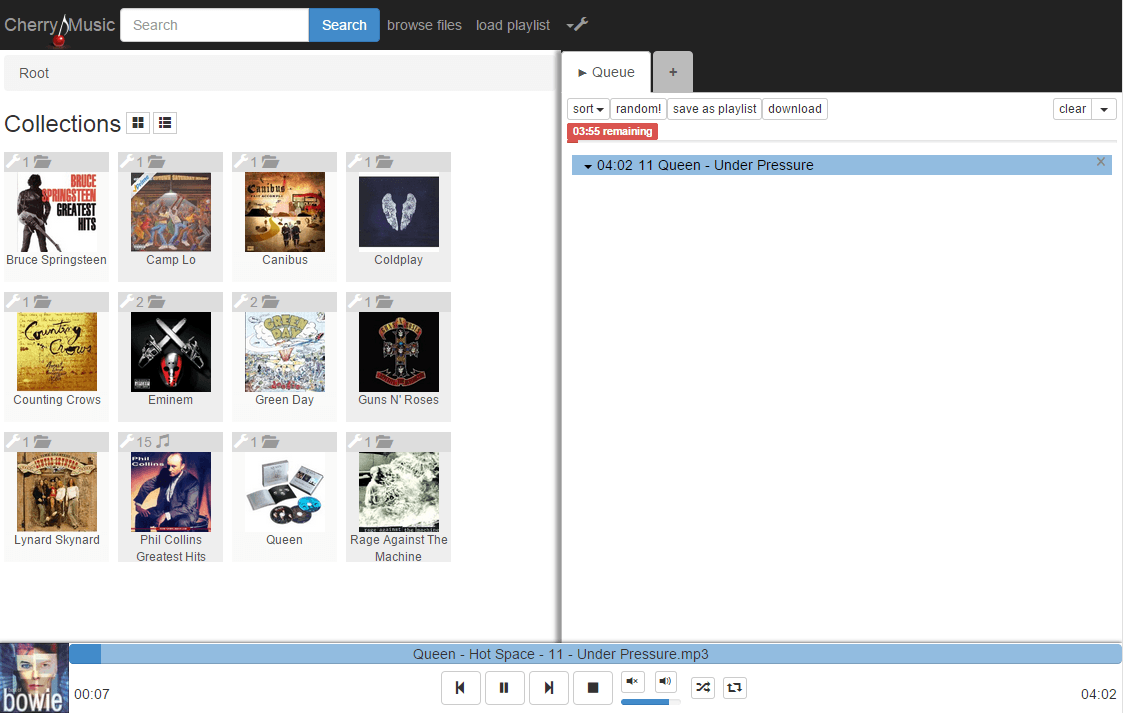
Here is a screenshot of what the CherryMusic interface will look like on your computer when you access your music collection. You can even create additional users and grant them access to your audio files as well.
Install CherryMusic on Windows for Personal Spotify Server
Install Git
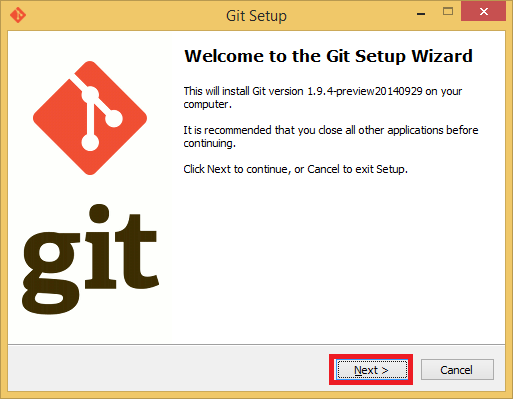
Download gitshell and run it. You will see this wizard.
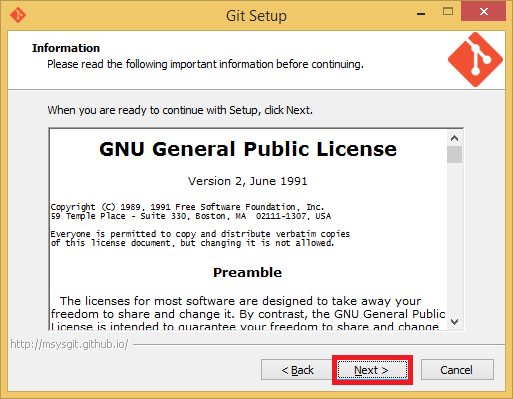
Accept the license
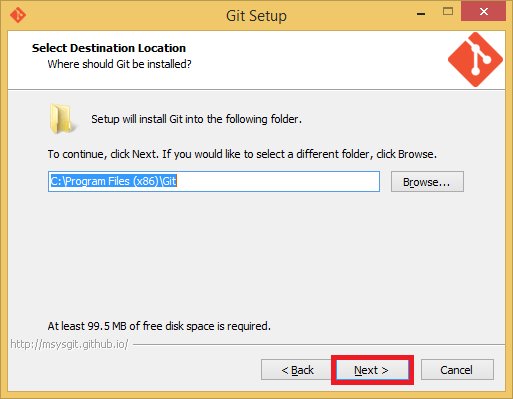
Choose the install location
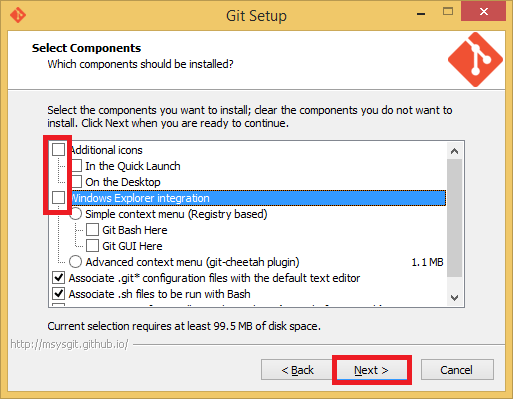
Uncheck these options Additional icons and Windows Explorer integration. You won't need them. You can uncheck the bottom ones as well.
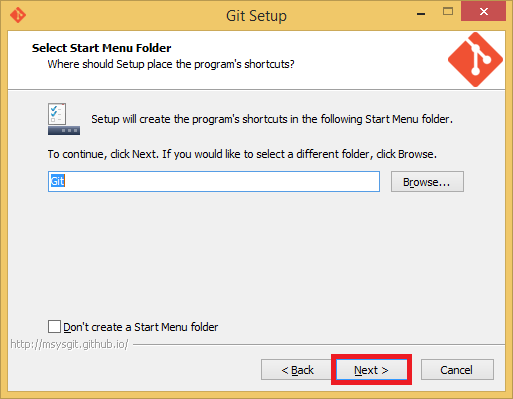
Leave the start menu folder as is or change it to your liking
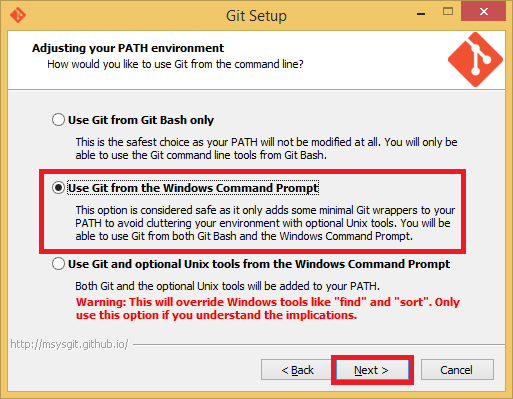
This is important, for Adjusting your PATH environment, choose Use Git from the Windows Command Prompt
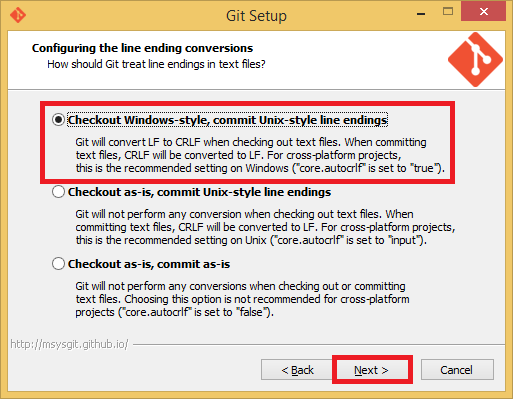
This is less important but I chose the top option Checkout Windows-style. It only matters if you are using git to create programs.
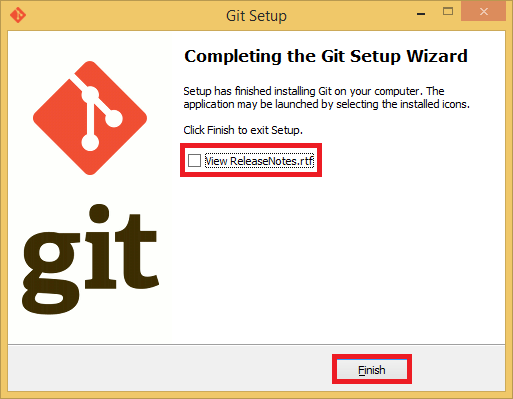
Unless you want to see the Release Notes uncheck it and click Finish
Run Command Prompt as Administrator and git clone the latest CherryMusic to c:\CherryMusic or another path you choose
git clone https://github.com/devsnd/cherrymusic.git c:\CherryMusicInstall Python 2.7.x
Download Python 2.7 32-bit or 64-bit which will work on 64 or 32 bit systems
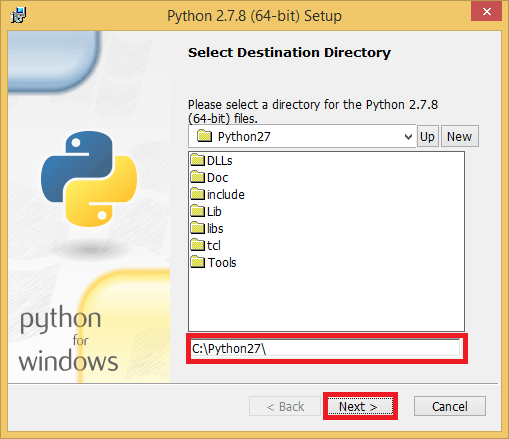
Run the installer, for the most part you just click Next through the Wizard
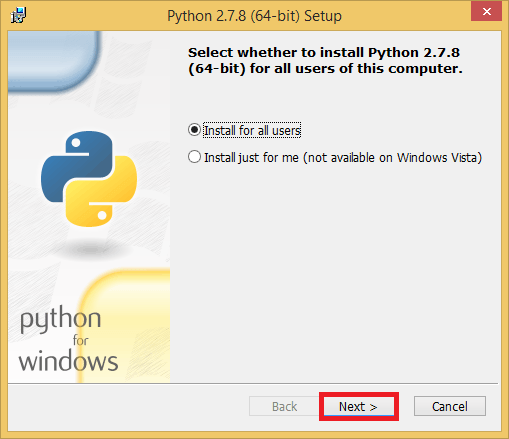
The guide will assume you are installing to C:\Python27
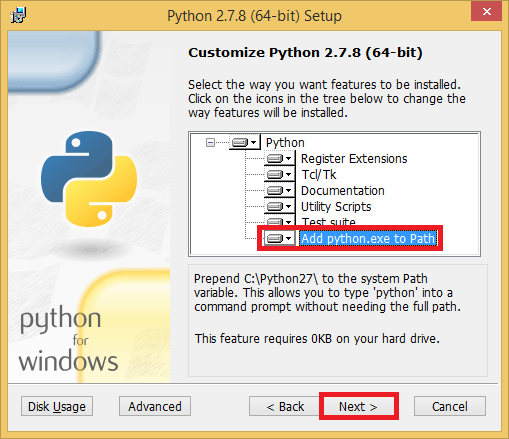
In the Customize Python 2.7.x enable Add python.exe to Path.
This allows you to run python from the command prompt in Windows.
Click Next
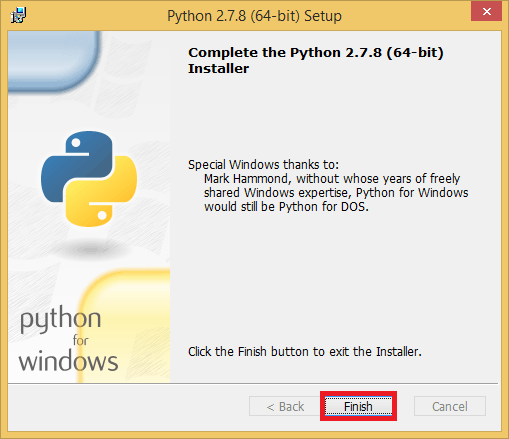
Click Finish to exit
Install ImageMagick
ImageMagick processes images, for CherryMusic it resizes album and musician cover art.
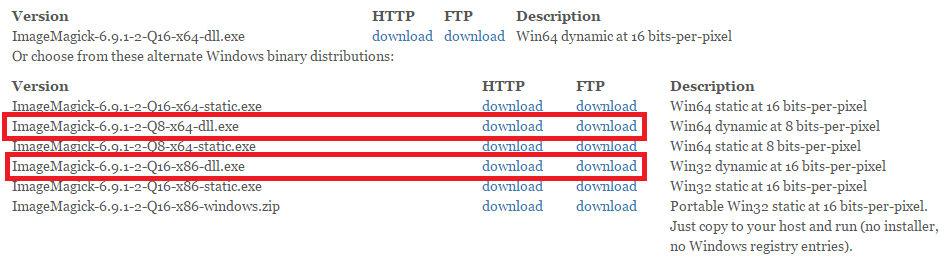
The current version of ImageMagick is 6.9.1.2 available here. For 64-bit the filename was ImageMagick-6.9.1-2-Q16-x64-dll.exe
For 32-bit systems the filename is ImageMagick-6.9.1-2-Q16-x86-dll.exe for 64-bit though any version should work.
You can download from HTTP or FTP.
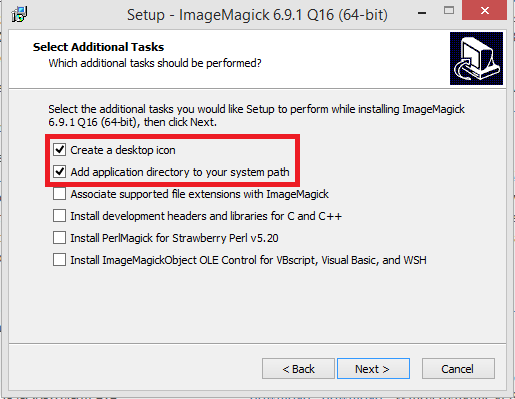
Make sure Add application directory to your system path
You do not need a desktop icon so you can uncheck that as well.
Install Python Libraries
Installing python libraries is very simple to do with Python 2.7.9 using pip.
Open a Command Prompt running as Administrator
Install CherryPy like this
pip install CherryPyInstall ImageMagick library for Python
pip install WandInstall Codecs
Install lamemp3
Grab Lame_v3.99.3_for_Windows.exe from here
Install to c:\CherryMusic\codecs or wherever you want, if you use a folder different from this you will need to adjust for the other codec steps
We need to add a path variable for the codecs folder so that CherryMusic can call the encoders without knowing the absolute path to the installations. When you have set a path variable, any executable files can be run from the command line no matter which folder you are currently in.
To add the path variable for the CherryMusic codecs enter this command in the command prompt, alternatively hit Windows Key+R or Start -> Run and enter
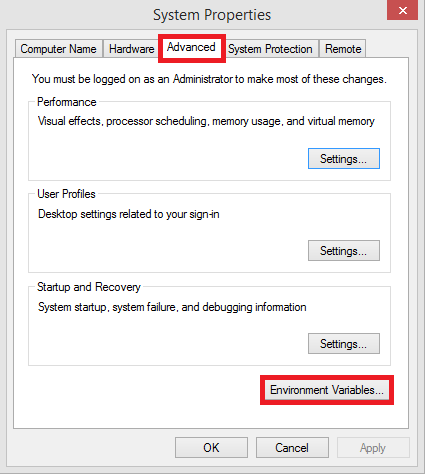
sysdm.cplClick Advanced and then under Startup and Recovery click Environment Variables
Under System Variables, scroll down to Path and click Edit
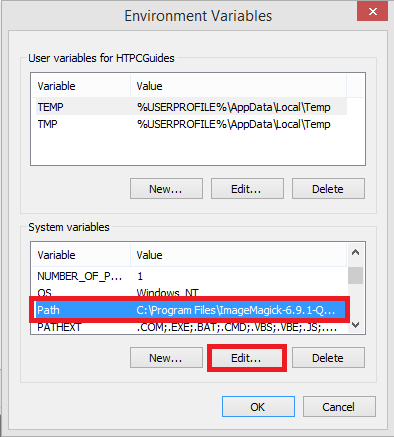
Under Variable value scroll all the way to the right and, without adding a space after the existing last character, add ;c:\CherryMusic\codecs and click OK.
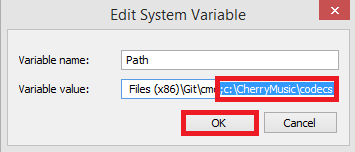
Click OK and OK again to get out of System Properties
Install OGG
If you have OGG audio files you need these packages
I used Oggenc2.87 using libVorbis v1.3.5 – the generic should work for both 32 and 64-bit versions from here
Unzip contents so the path of oggenc2.exe is C:\CherryMusic\codecs or wherever you choose and rename oggenc2.exe to oggenc.exe
Grab the oggdec file from here and unzip the contents to C:\CherryMusic\codecs
Install FLAC codecs
If you have Flac encoded media, you need to get codecs from here
Open the zip and go into the flac 1.3.1-win folder, then into the Win32 or Win64 subfolder depending on which Windows version you use. Unzip the flac.exe file to C:\CherryMusic\codecs
Set up CherryMusic
Back in Command Prompt, close it and open a new command prompt session as an Administrator to refresh the Path variable we set
Try and run the CherryMusic initial setup
python C:\CherryMusic\cherrymusic --setup --port 7600Browse to the IP address of your CherryMusic server at http://ip.address:7600
Create a username and password for the admin account and choose your music library
Use Ctrl+C or Ctrl+Z in the Command prompt to stop the CherryMusic process
Then run it again and try to access it using the IP and port again, kill the process in the command prompt after you verify it loads with Ctrl+C
python C:\CherryMusic\cherrymusicInstall CherryMusic System Service
Create a system service for CherryMusic so it runs on boot, will work on Windows 7, 8, 8.1 and Server editions. I expect it to work on Windows 10 as well.
N.B. In order for this to work you must have a password set on your account, do this now and reboot your machine before proceeding if you are currently passwordless.
Download NSSM and open the zip file in WinRAR or some other packaging program.
In the zip file there are two folders, go into Win32 if you are on 32-bit or Win64 if on 64-bit.
Find and place the nssm.exe from either the Win32 or Win64 folder in c:\Windows\system32
In the Command Prompt running as Administrator, enter this command to create the CherryMusic service using nssm.
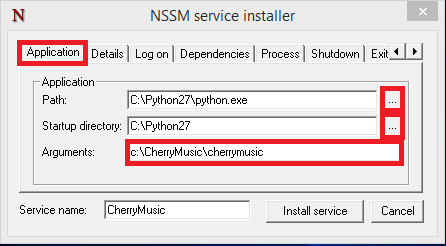
nssm install CherryMusicYou will see this window, under Application for Path browse to C:\Python27\python.exe
For Arguments type c:\CherryMusic\cherrymusic
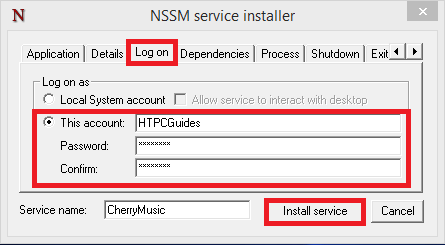
Click the Log on tab and click This account, enter your current User account and password.
Click Install service
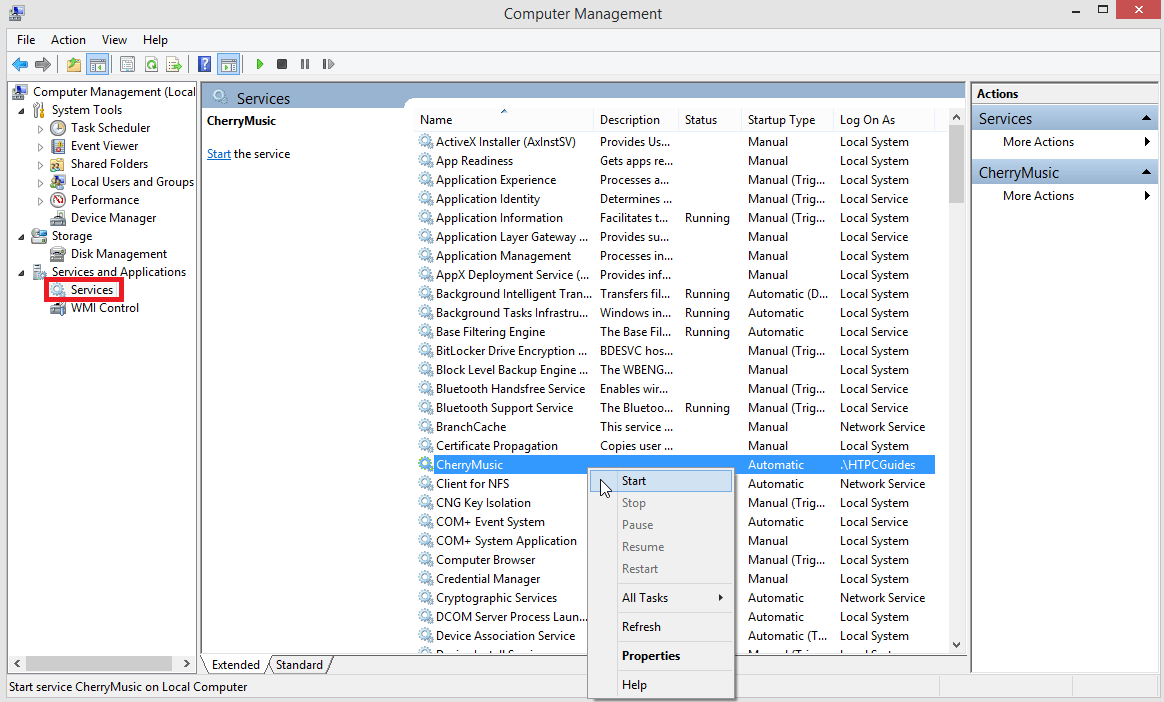
You will now need to go start the service. Right click on My Computer or This PC and Choose Manage
Under Services and Applications choose Services
Scroll down until you find CherryMusic, right click and choose Start
Reboot your machine and CherryMusic will autostart.
Troubleshooting CherryMusic on Windows
If you ever see this error
Traceback (most recent call last):
  File "cherrymusic", line 223, in
    cherrymusicserver.start_server(ConfigOptions.configdict)
  File "c:\CherryMusic\cherrymusicserver\__init__.py", line 259, in start_server
    CherryMusic(cfg_override)
  File "c:\CherryMusic\cherrymusicserver\__init__.py", line 309, in __init__
    CherryMusic.create_pid_file()
  File "c:\CherryMusic\cherrymusicserver\__init__.py", line 334, in create_pid_file
    os.getpgid(int(pidfile.read()))
AttributeError: 'module' object has no attribute 'getpgid'
Make sure Hidden items are visible (in Windows 8 under view check hidden items) Go to c:\Users\HTPCGuides\AppData\Roaming and delete the cherrymusic folder
Rerun the setup
python C:\CherryMusic\cherrymusic --setup --port 7600