 How many times have you tinkered with your Raspberry Pi only to find you broke something? Some of you may be familiar with the concept of a development test environment and a production environment, so you understand that you just don't mess with your production device unless you have a proper full backup.
One option for a test environment with a Raspberry Pi is having a second SD card which is a clone of your working production environment SD card, you use the second SD card for tinkering and trying new stuff. However, if you only have one Pi device that means you will have to turn and your SBC no longer work. Backups are important. We are going to use Ubuntu, if you don't have Ubuntu, you can run it in a virtual machine with free software like VMPlayer. I cover how to connect your USB or SD card reader to VM Player. This will work for practically any SD card image for the Raspberry Pi, Banana Pi, Orange Pi, Cubieboard, ODROID and other Single board Computers (SBCs).
If you are trying to figure out which hardware would work best for you, consider reading the Pi benchmarks.
| Pi Unit | ||||||||
|---|---|---|---|---|---|---|---|---|
| Raspberry Pi 3 | Quad Core | |||||||
| Raspberry Pi 2 | Quad Core | |||||||
| Raspberry Pi | Single Core | |||||||
| Banana Pi | Dual Core | |||||||
| Banana Pi Pro | Dual Core |
Resize and Back up Raspberry Pi SD Card with Ubuntu
Getting Started
Here are some existing tutorials to help you get an Ubuntu virtual machine up and running.
- Installing a Ubuntu virtual machine on your Windows machine
- Installing VMware tools to enable drag and dropping of files between your host and virtual machine
- Enable SD Card Slot Reader in VMPlayer – using a USB SD card reader is covered in this guide.
Prepare Your Raspberry Pi Image for Distribution
If you are planning on using the Pi image on other devices, you will notice the network adapter eth0 becomes eth1 when using your image on a different Pi. This is because of some udev rules and the MAC address of the original Pi. This error can easily be fixed.
Just remove these udev rule files to solve the eth1 becoming eth1 problem.
Remember to take a full backup first though!
sudo rm /lib/udev/rules.d/75-persistent-net-generator.rules
sudo rm /etc/udev/rules.d/70-persistent-net.rules
Make a Full SD Card Backup
First you should make a full backup of the SD card with Win32DiskImager, Apple Pi Baker or dd in Ubuntu, Debian or other Linux distros (Ubuntu guide in the virtual machine follows shortly). This is just in case the resize process goes wrong, you will get the hang of it after a few trials.
Full SD card backups are much larger include the entire partition and disk space that is unused, they also take longer to write back to the SD card because of their size. Resizing the partition to only the used disk space will make the image take up less space and take less time to restore to the SD card.
You will learn how to back up the entire SD card on Ubuntu in your virtual machine after I explain how to enable the SD card reader in the virtual machine, this way you can use the Ubuntu virtual machine to make the full backup.
Everything else in this tutorial assumes you are on Ubuntu virtually or physically, nothing happens on the Raspberry Pi itself.
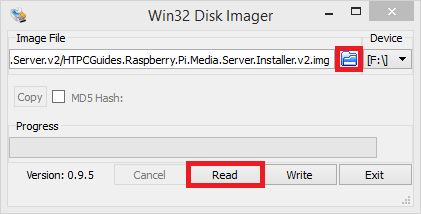
Win32DiskImager Backup
Load Win32DiskImager and click the Folder icon and browse to where you want to save your SD card image backup
Then simply click Read and it will dump the whole SD card
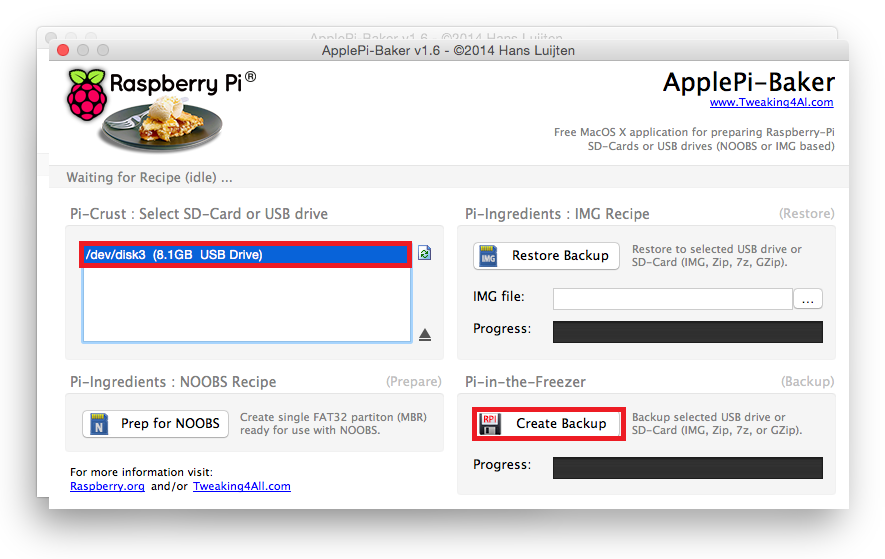
Apple Pi Baker Backup
Load up Apple Pi Baker, click your SD card and click Create Backup
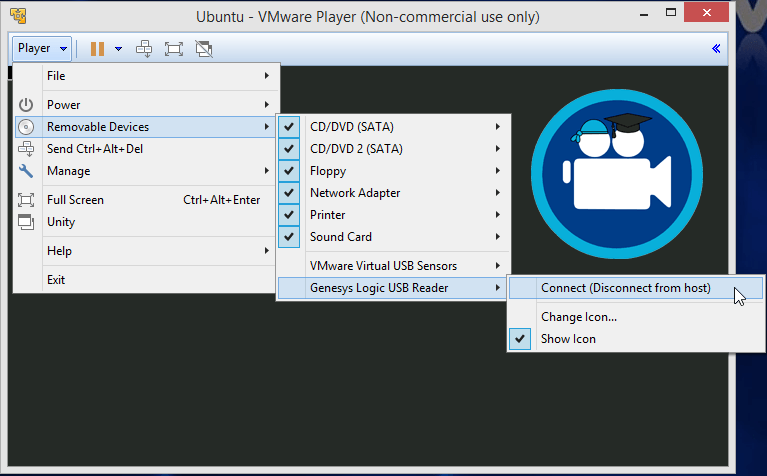
Enable USB SD Card Reader in VMPlayer
If you are running Ubuntu in VMPlayer, we need to tell VMPlayer to use the USB or SD card reader
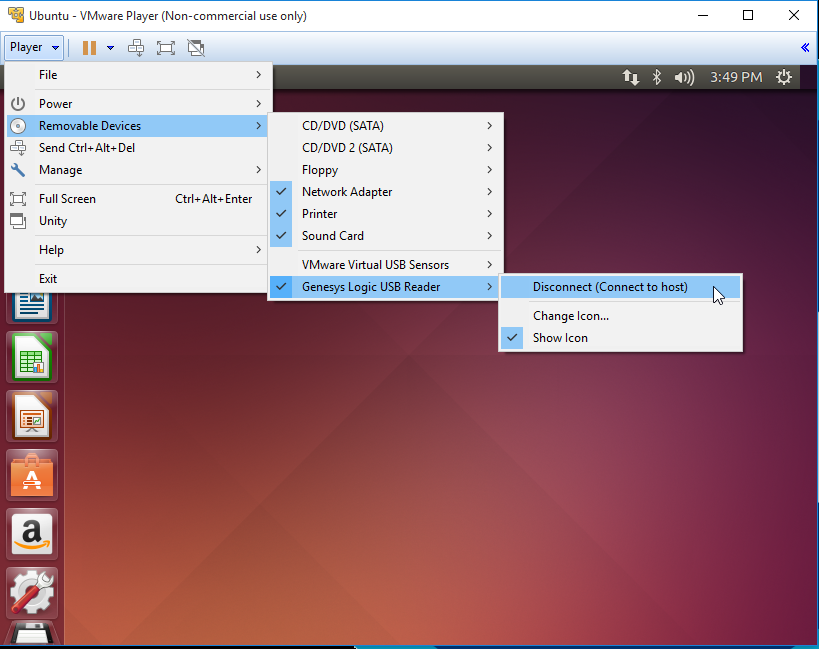
In VMPlayer, click Player, then Removable Devices, find your USB or SD card reader and click Connect (Disconnect from host)
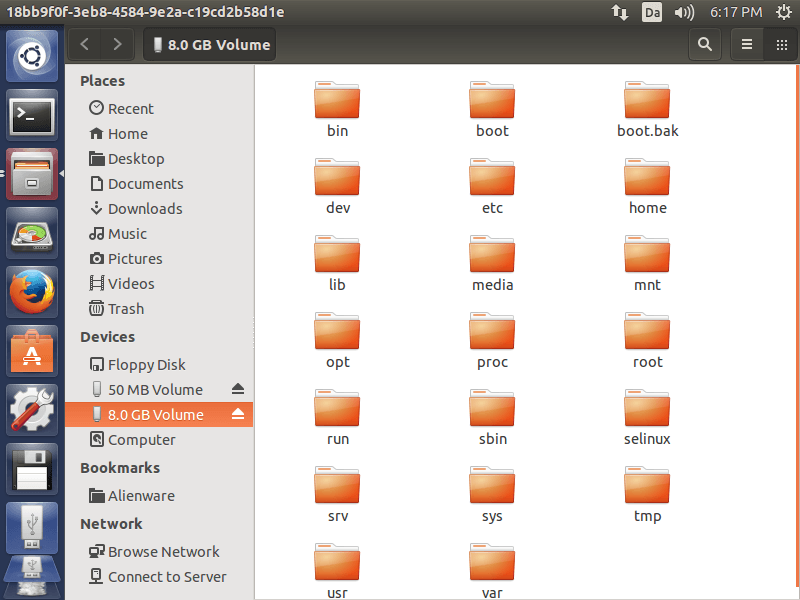
You will see the Raspberry Pi SD card pop up, it shows both volumes (partitions) – note that an 8GB SD card was used for this tutorial connected with a USB SD card reader.
The 50 MB volume is the msdos vfat partition. The 8 GB volume is the ext4 partition which the Raspberry Pi uses to store Raspbian, Minibian, Ubuntu or whatever operating system you are using.
Make a Raspberry Pi SD Card Backup in Ubuntu
In Ubuntu the SD card backup command looks like this (you run it in the Terminal or via SSH) which dumps the entire disk to a filename you specify in your home directory.
If you have no idea what this means then keep reading if you want to understand it as I attempt to break it down.
sudo dd if=/dev/sdb of=/home/htpcguides/raspberrypibackup.img bs=1MIf you do not know the /dev/sd* exactly then run this command
sudo blkidYou will get output like this which displays disks on your machine and lists their partitions.
Raspberry Pi SD cards always have a msdos vfat partition and an ext4 partition so you can see it is /dev/sdb we need to use
/dev/sda1: UUID="8c1f3298-166c-4abe-bd4f-8ee171bae920" TYPE="ext4"
/dev/sda5: UUID="9c8f07c2-85bb-4581-a6e5-c6d4e4e89952" TYPE="swap"
/dev/sdb1: SEC_TYPE="msdos" UUID="4F72-0755" TYPE="vfat"
/dev/sdb2: UUID="18bb9f0f-3eb8-4584-9e2a-c19cd2b58d1e" TYPE="ext4"
Ubuntu, Debian and other Linux systems use files to represent disks, so /dev/sdb is my SD card on the USB reader and /dev/sdb1 is the first partition, /dev/sdb2 is the second partition.
Dump the raw SD card, it will create a file equal to the total capacity of the SD card regardless of how much space is actually used.
To break it down a bit, if stands for input file and of stands for output file, bs stands for block size, basically the chunk size dd will use to read from the input file.
If your output from the blkid command was /dev/sdc or something then replace /dev/sdb/ below, also change htpcguides to be your username on your Ubuntu machine.
sudo dd if=/dev/sdb of=/home/htpcguides/raspberrypibackup.img bs=1MResize Raspberry Pi SD Card Partition using Gparted
Install gparted on Ubuntu
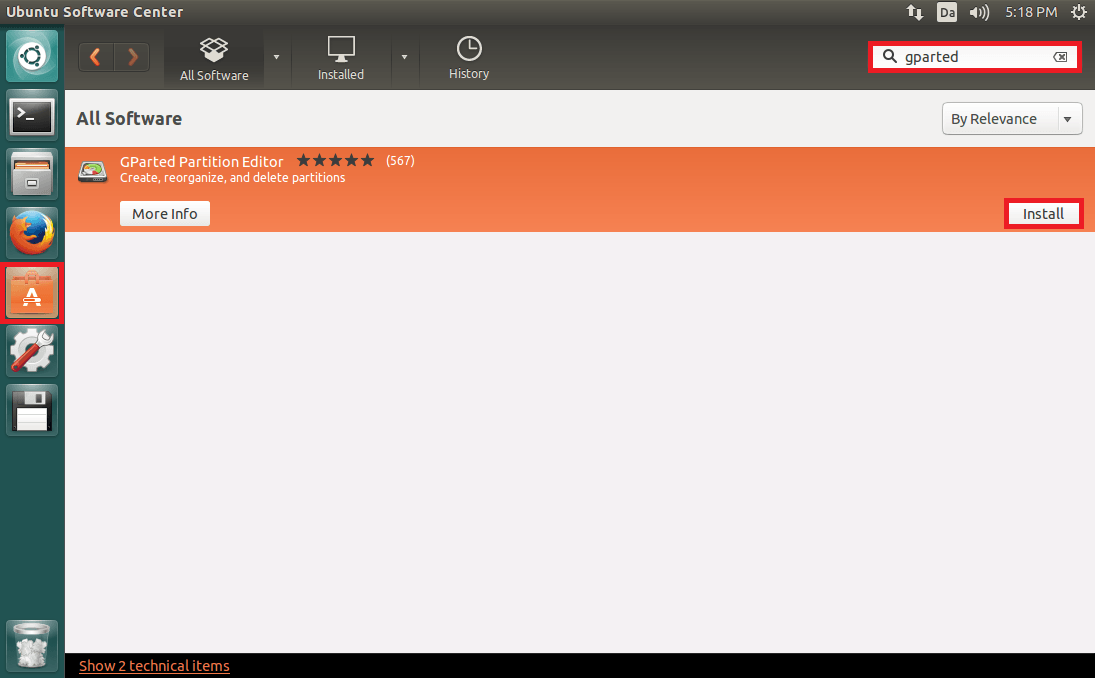
Install gparted first. Click the orange Appstore icon in the left dock
Search gparted in the top right corner and press Enter
When gparted shows up click Install
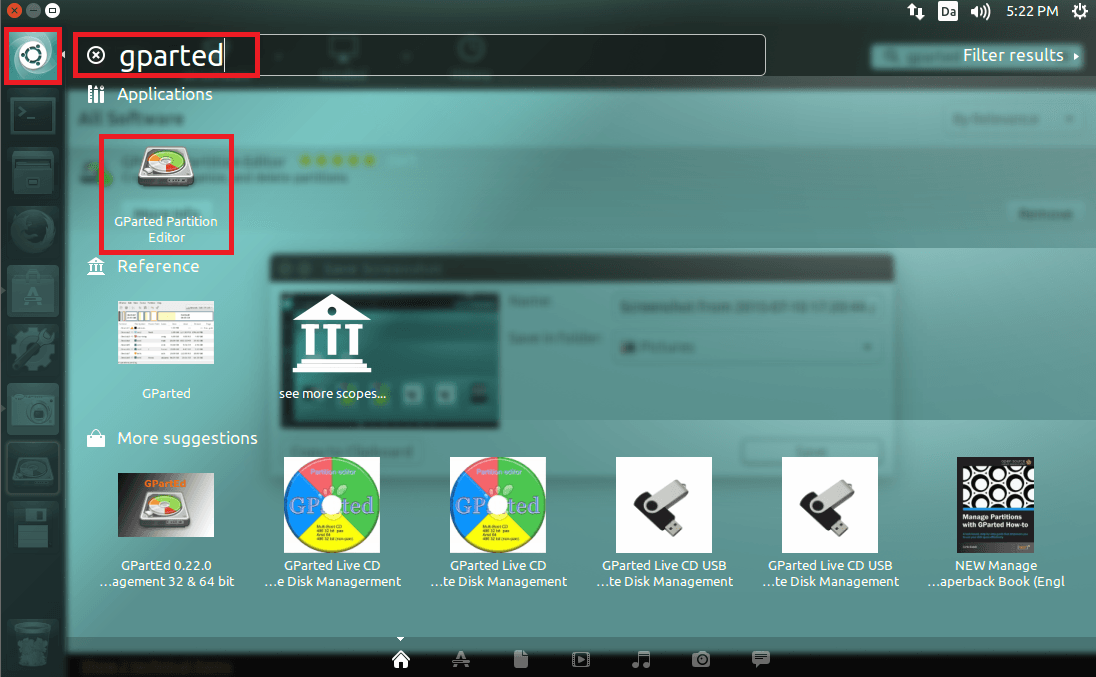
Now launch gparted by clicking the Unity icon and then searching for gparted
If you want a shortcut to it in the dock bar drag gparted over to the dock
Resize the SD Card using Gparted
Change your device to your sd card by selecting it in the top right corner
You need to unmount the ext4 partition or you will not be able to resize it.
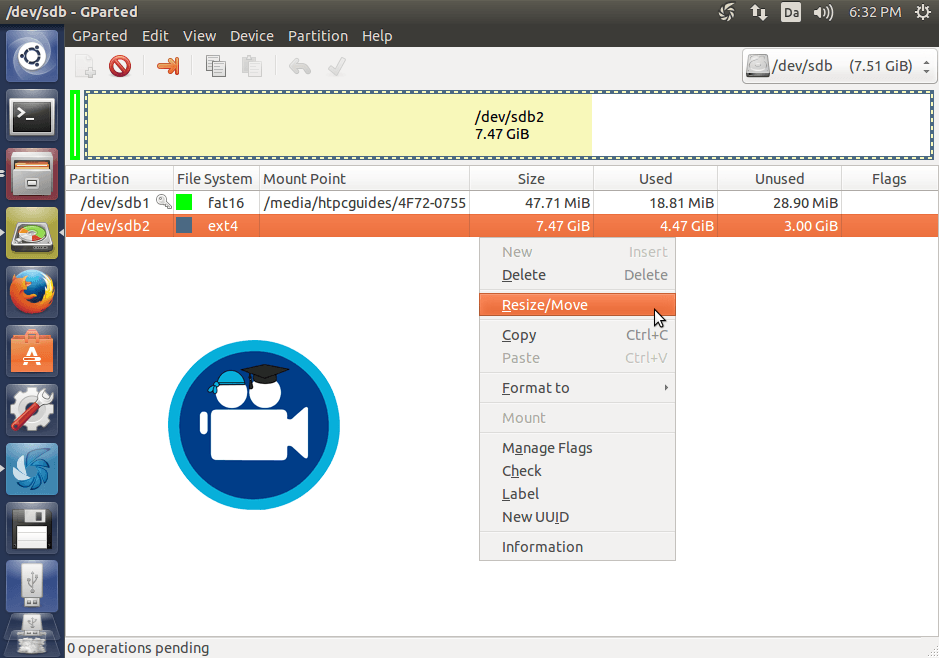
Right click on the ext4 partition – usually partition 2 – and select Unmount

The partition will now show as unmounted – see the Mount Point is blank
Note the used space in the Size column of the ext4 partition, you will need it soon
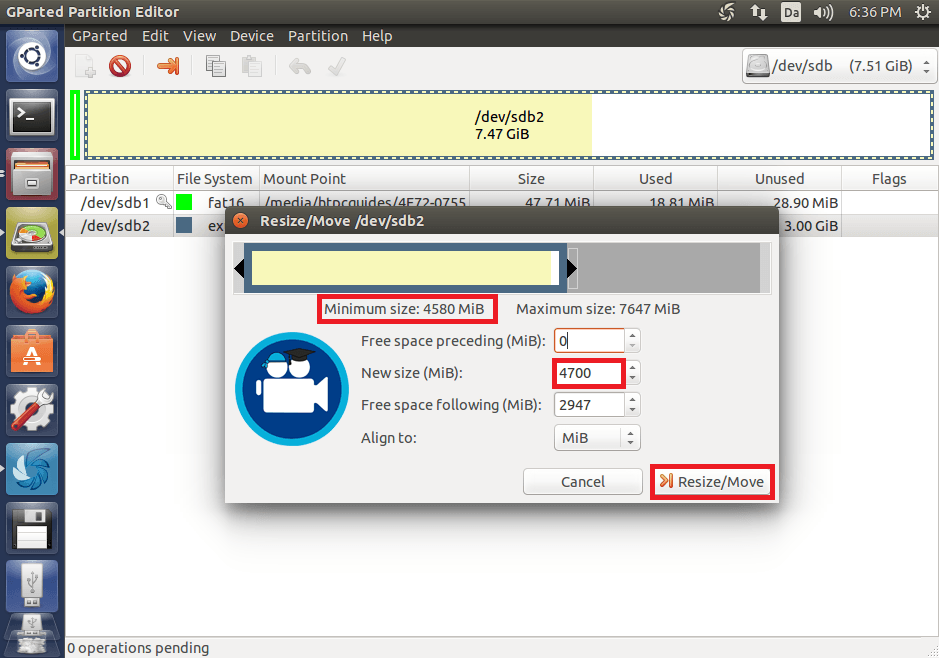
Right click on the ext4 partiion again and choose Resize/Move
I usually enter a size about 100-200MB larger than the ext4 partition size to be safe.
My partition size was 4.5 so I entered 4700 in New size (MiB)
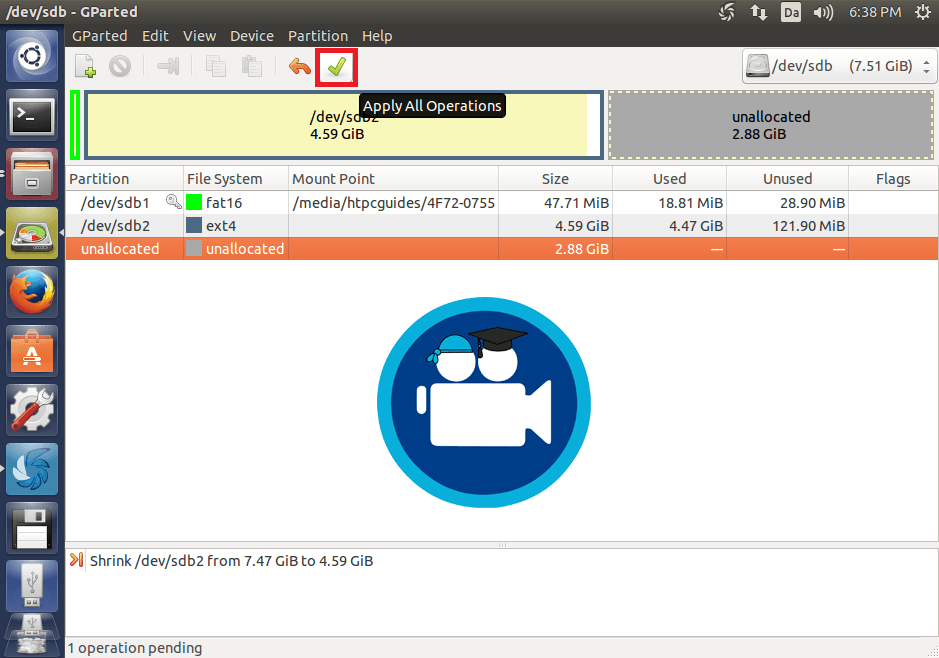
Click Resize/Move
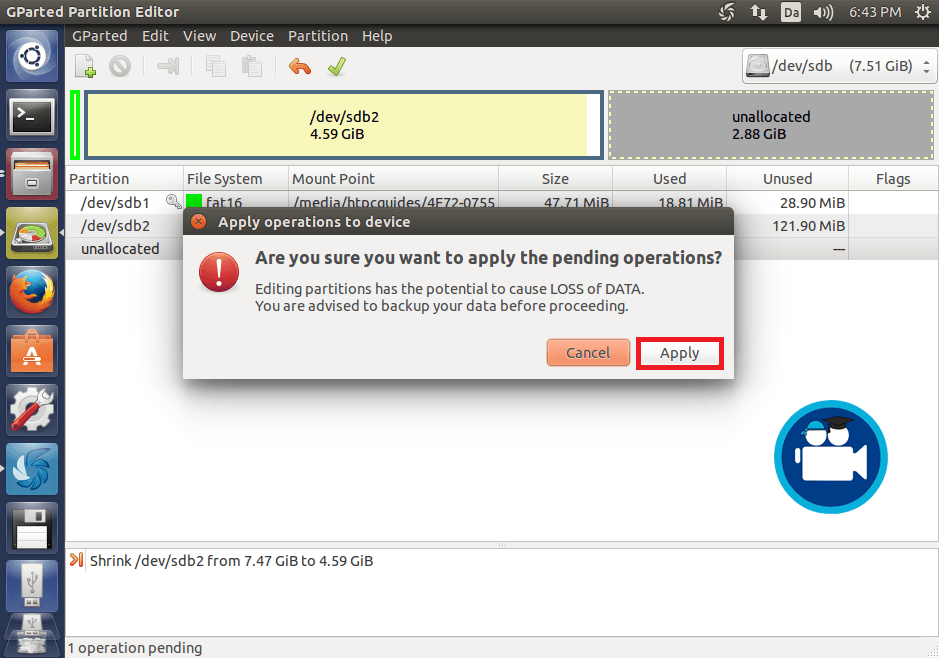
You will see this warning, it is OK if this messes up since we have the full backup you made earlier
Click Apply
This can take some time, do not click Cancel, just be patient.
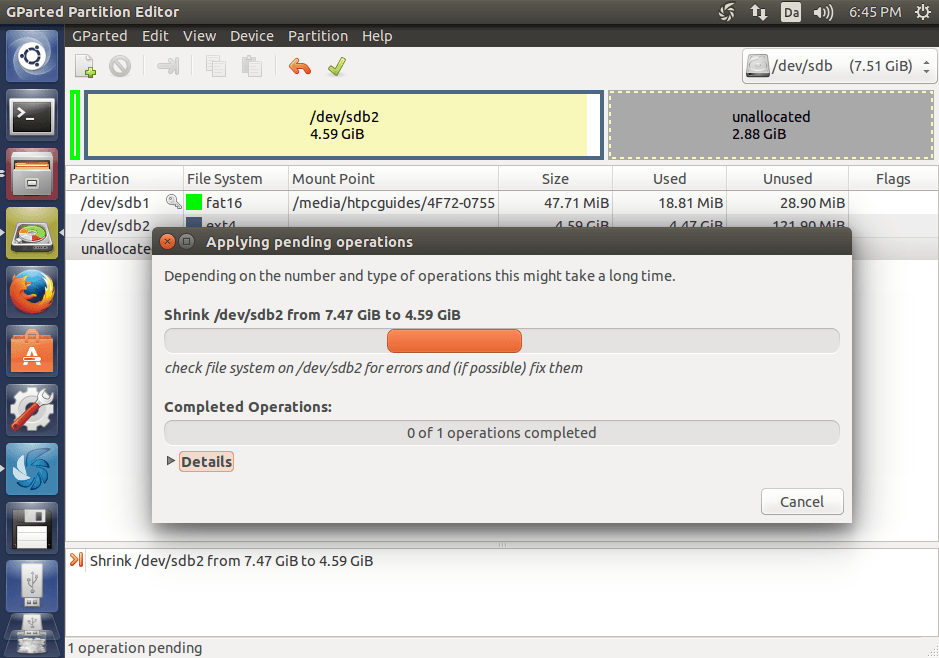
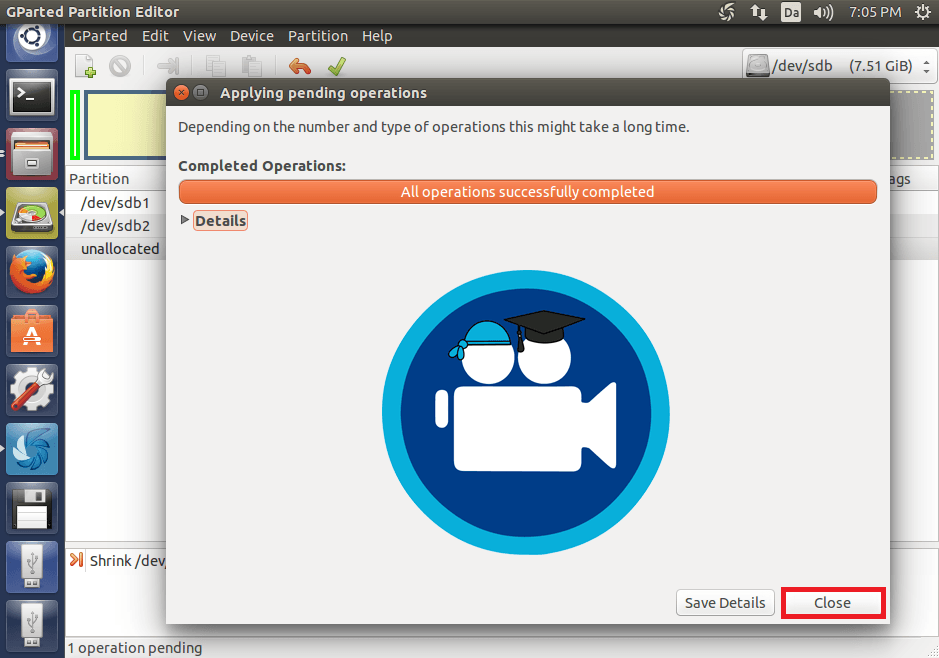
You will eventually see this message that everything has completed.
Click Close
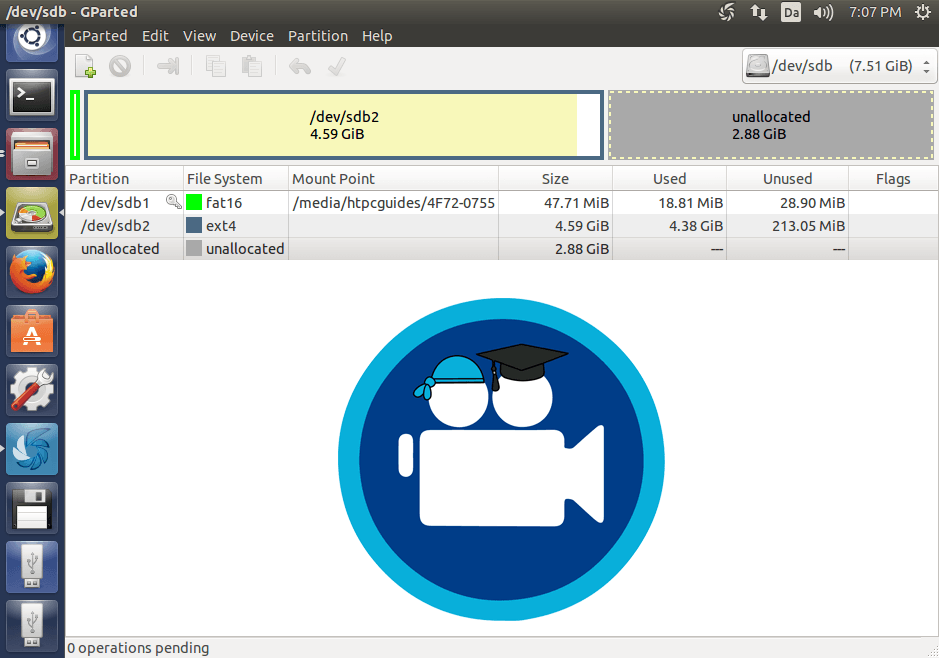
You can see the ext4 partition has the new size you specified and there is a new row showing the unallocated space we freed up from the ext4 partition.
Dump the Resized Raspberry Pi SD Card Backup
In Terminal or Putty type the command below to dump the Raspberry Pi SD card backup, it is similar to dumping the whole SD card but now you are specifying the size.
You should adjust your location for the username you use for Ubuntu and adjust the count size to about 100-200 MB more than the size you resized to in gparted.
I resized to 4700MB so I am dumping 4800MB of data from the SD card.
sudo dd if=/dev/sdb of=/home/htpcguides/raspberrypibackup.img bs=1M count=4800After a few minutes you will get this message that the dd backup of the resized SD card image has completed
4800+0 records in
4800+0 records out
5033164800 bytes (5.0 GB) copied, 426.87 s, 11.8 MB/s
Now you can go into your home folder and drag the img file to your host machine if you are running Ubuntu in a virtual machine and have the correct guest tools installed so you have a backup of the img file on your Windows host machine.
Restore the Resized Raspberry Pi SD Card Backup
The most important part of a backup tutorial is restoring your backup. Your backup is absolutely useless if it doesn't work.
I usually drag and drop the raspberrypibackupsd.img to my Windows machine and use Win32DiskImager to write the img file.
If you want to use your Ubuntu to test the backup unmount your device's partitions first if you are using a USB SD reader (note this may not work in a virtual machine but using a regular SD reader does)
sudo umount /dev/sdb1
sudo umount /dev/sdb2
In your Ubuntu machine you can reverse the input file (if) and output files (of) to restore the SD card backup
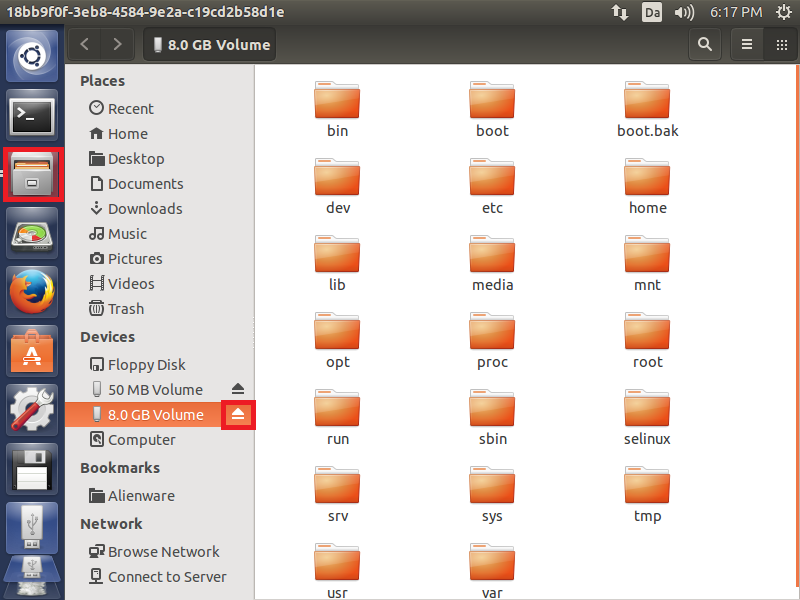
sudo dd if=/home/htpcguides/raspberrypibackup.img of=/dev/sdb bs=1MUnmount the USB SD reader by clicking File Manager and clicking the Eject icon next to the SD card partition
In VMPlayer, click Player, then Removable Devices, find your USB or SD card reader and click Disconnect (Connect to host)
Pop the SD card into the Raspberry Pi, Banana Pi or whichever device and attempt to expand the SD card. Afterwards try running update and make sure you don't get any errors
sudo apt-get updateIf the image worked then compress it using WinRAR or gzip to save even more space.