 My Indian TV is the most reliable IPTV Kodi Add on for Indian and Pakistani channels for expats. It has many of the popular channels from India and Pakistan as well as the Star sports channels for Indian and Pakistani expats. My Indian TV is a sister site of the popular NTV IPTV service which caters to Scandinavian, British and American expats. This guide will show you how to install the My Indian TV Kodi plugin on your Windows, Mac or Android HTPC.
Install My Indian TV Kodi XBMC Plugin Screenshot Guide
You need a My Indian TV subscription in order to use this plugin. My Indian TV is far more reliable alternative to the Paka India Live TV add on
Download the My Indian TV Kodi plugin and transfer it to your HTPC box running Kodi.
If you are on an Android device put it on a USB stick or more conveniently set up an FTP server on your Android media center
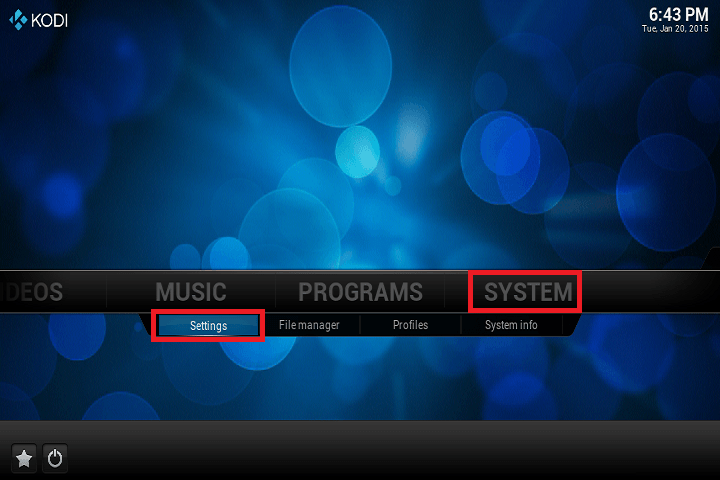
Load Kodi XBMC and go to System and choose Settings
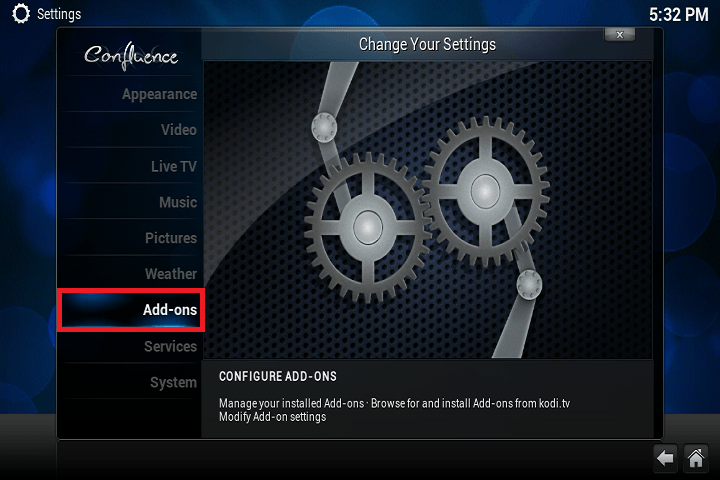
From here choose Add ons
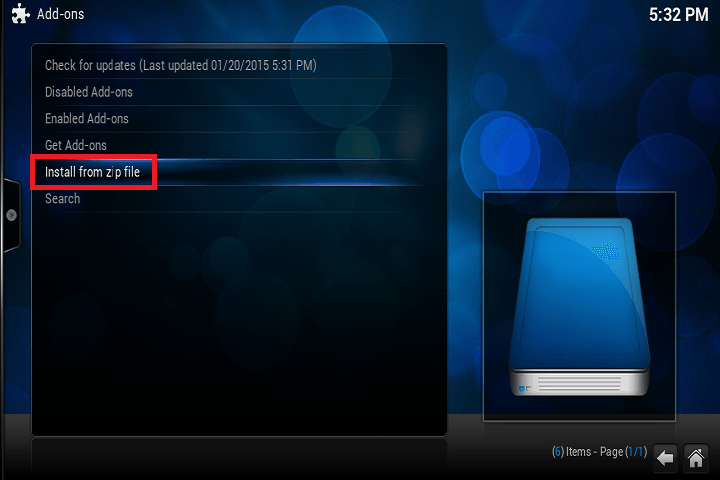
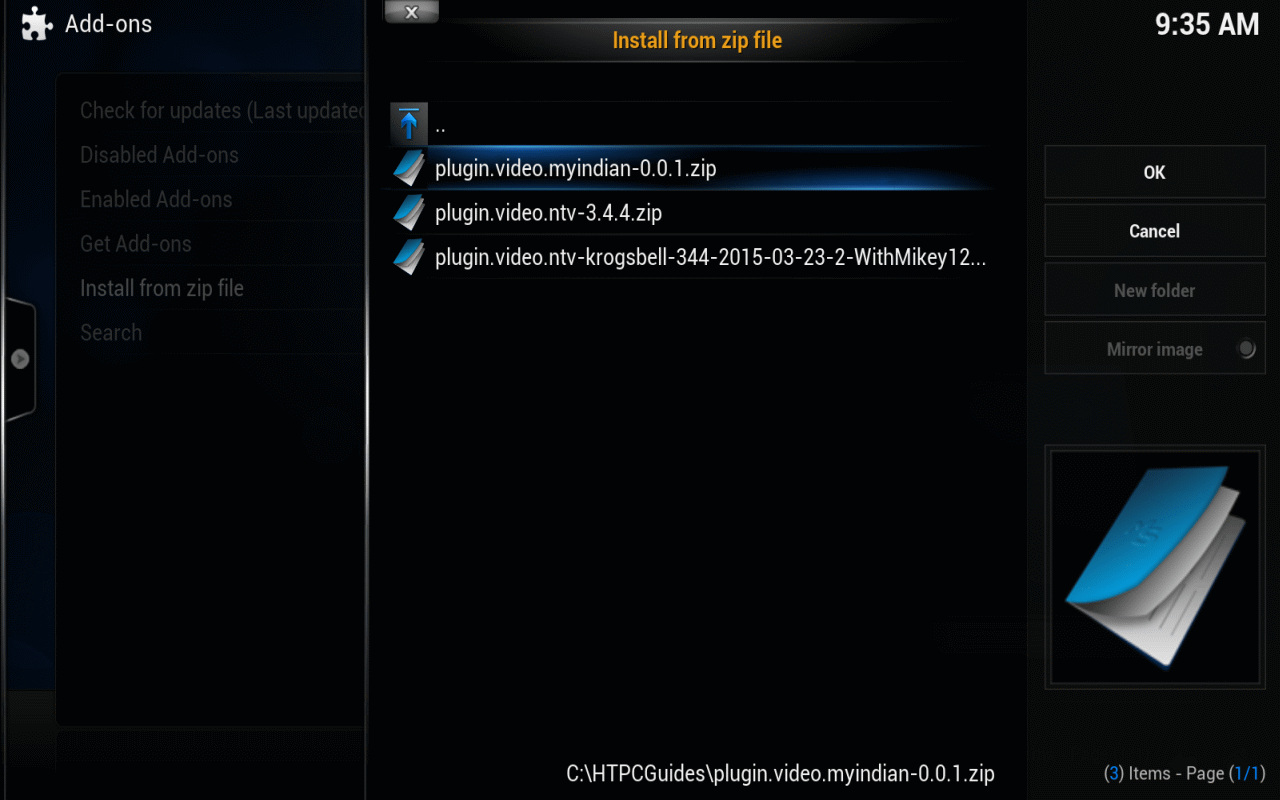
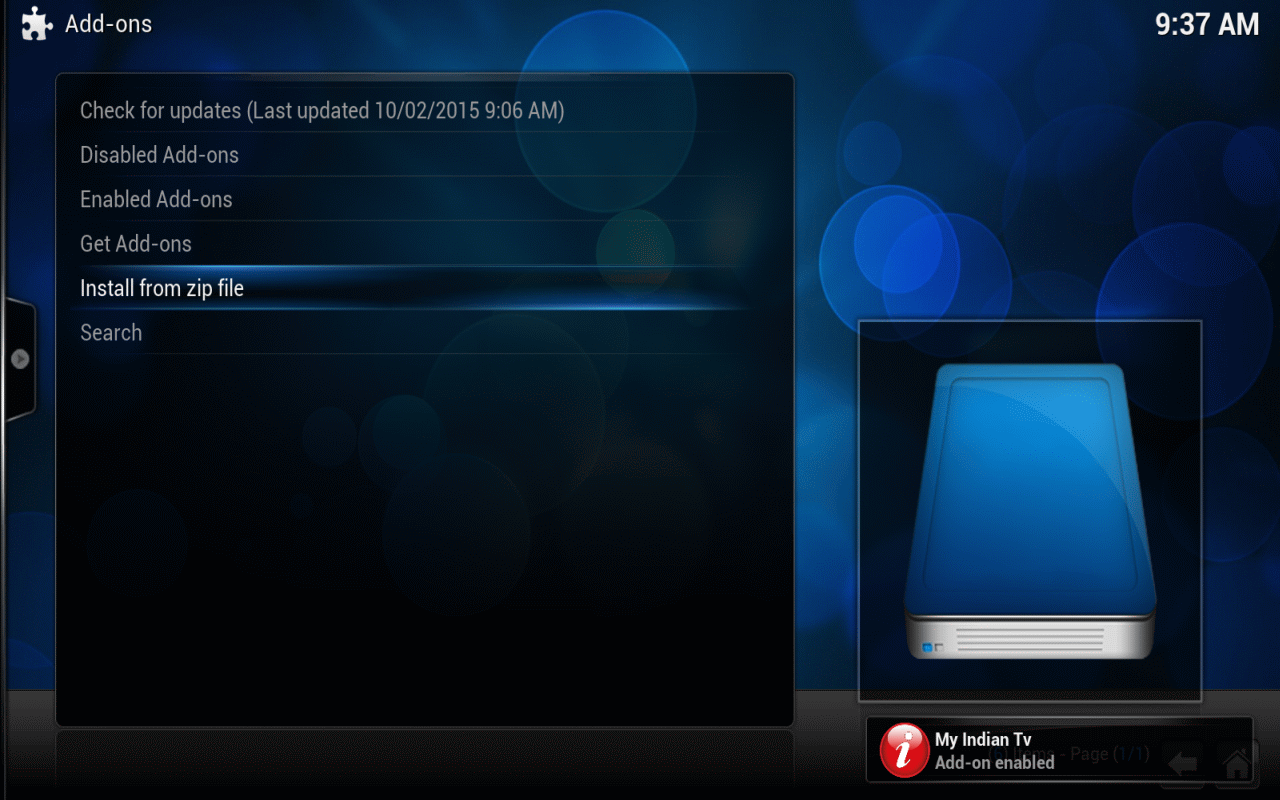
Choose Install from zip file
Browse to the zip file called plugin.video.myindian-0.0.1.zip and choose Install
You will see a popup in the bottom right that the My Indian TV add on has been installed
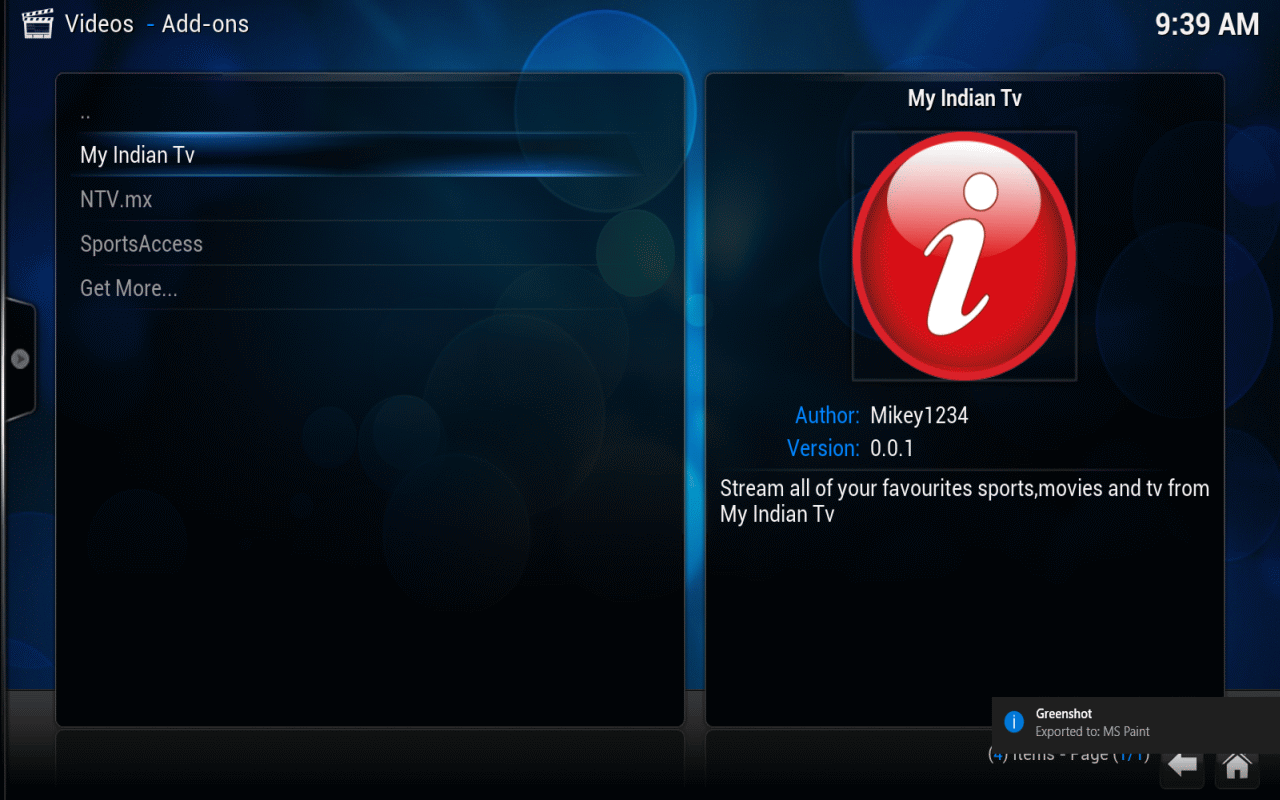
Now go back to your main menu and under Videos choose Add-ons
I like to disable the genres so it makes it easier to browse the channels, either right click on the My Indian TV add on or use C to bring up the context menu
Uncheck Use Genre For Listings, you can also enable Recording in the recording tab.
Click OK

Now you are all set to enjoy your stable My Indian IPTV streams, add it as a home screen shortcut if you plan to use it daily.